This recipe was a lesson about working with what you have. As you will see, I don't have a food processor, I don't have rhubarb, I didn't have an orange, I didn't even have a rolling pin for goodness' sake! But I made it work - and if I can make pies without a rolling pin, you can do anything in the kitchen too!
This version is actually a take on these Mini Strawberry Rhubarb Pies from the amazing blog Not So Humble Pie. I left out the rhubarb, not because I don't like it (because in fact, this Missourah girl loves rhubarb) and not because I can never spell it properly, but because we just didn't have it. And I'm a fan of using what I got. I did substitute lemon juice and lemon zest for the orange juice and zest.
To start - for my version of this recipe you will need:
Crust
3 cups all purpose flour, plus more for dusting
3 tablespoons granulated sugar
1 teaspoon salt
1 cup cold unsalted butter, diced into small chunks
1/2 cup plus 2 tablespoons ice water
vegetable oil non-stick spray (or butter, which is what I use) to grease the bottom of the muffin pan
1 large egg (for egg wash)
coarse sanding sugar (or whatever sugar you have :) )
Filling
about 3 cups fresh strawberries, hulled and diced (add 3 large rhubarb stalks if you have them and/or want to)
2 tablespoons finely grated lemon zest
1/4 cup fresh lemon juice (the amount of juice from one large lemon)
1 1/2 cups granulated sugar
STEP ONE: The Dough
This recipe is all about working with what you have - so, to start, I combined in a large bowl the flour, sugar, salt and chopped up butter. You want to make sure your butter doesn't get warm or soft in this process as it forms best when cold.

I mixed with some different utensils until I realized it works best with my hands (what doesn't, eh!) and just had at it. If you have a food processor, give all these ingredients a few pulses until you get a coarse meal.
(My apologies for lack of photos during this time, I was having fun digging in with my hands and forgot to take photos. Once it's too late, it's too late. :( )
Then you will slowly add the cold water a teaspoon at a time, mixing as you go, until the mixture forms a nice dough. If you are food processing, have at it. I, of course, used my hands.
Divide the finished dough into two balls (flatten them slightly into disks), wrap them in saran warp and place in the fridge for at least one hour (they can sit for up to a day).

I used this time to chop up my strawberries and plop them in the fridge.

STEP TWO: Dough to Crust
After at least an hour, take one of the balls of dough out of the fridge. On a lightly floured service, roll your dough 1/8 to 1/4 inch in height (yes, I had to use a whipped cream can from the fridge - this is because I live with two guys and I don't have my kitchen supplies - you are free to use your rolling pin).

To create your crusts, you can use a biscuit cutter or any other round kitchen object you see fitting. :) The size of your circles will depend on the size of your muffin pan. This reminded me of Goldie Locks - the boys, of course, do not have a biscuit cutter, so I first tried a drinking glass, but it was too small.. Then I tried an oatmeal container, but the circles were too big. Finally I found a large container of popcorn and cut around the bottom to create my crusts, and you guessed it! It was JUST right.

Grease your muffin pan and gently work the crusts into each space. You will need to work them as pockets of air get caught under the dough, and you also don't want the dough to rip or buckle in on itself. You will also want to make sure that a little bit of the dough is sticking out from the top of the pan (this helps with cleanup at the end.
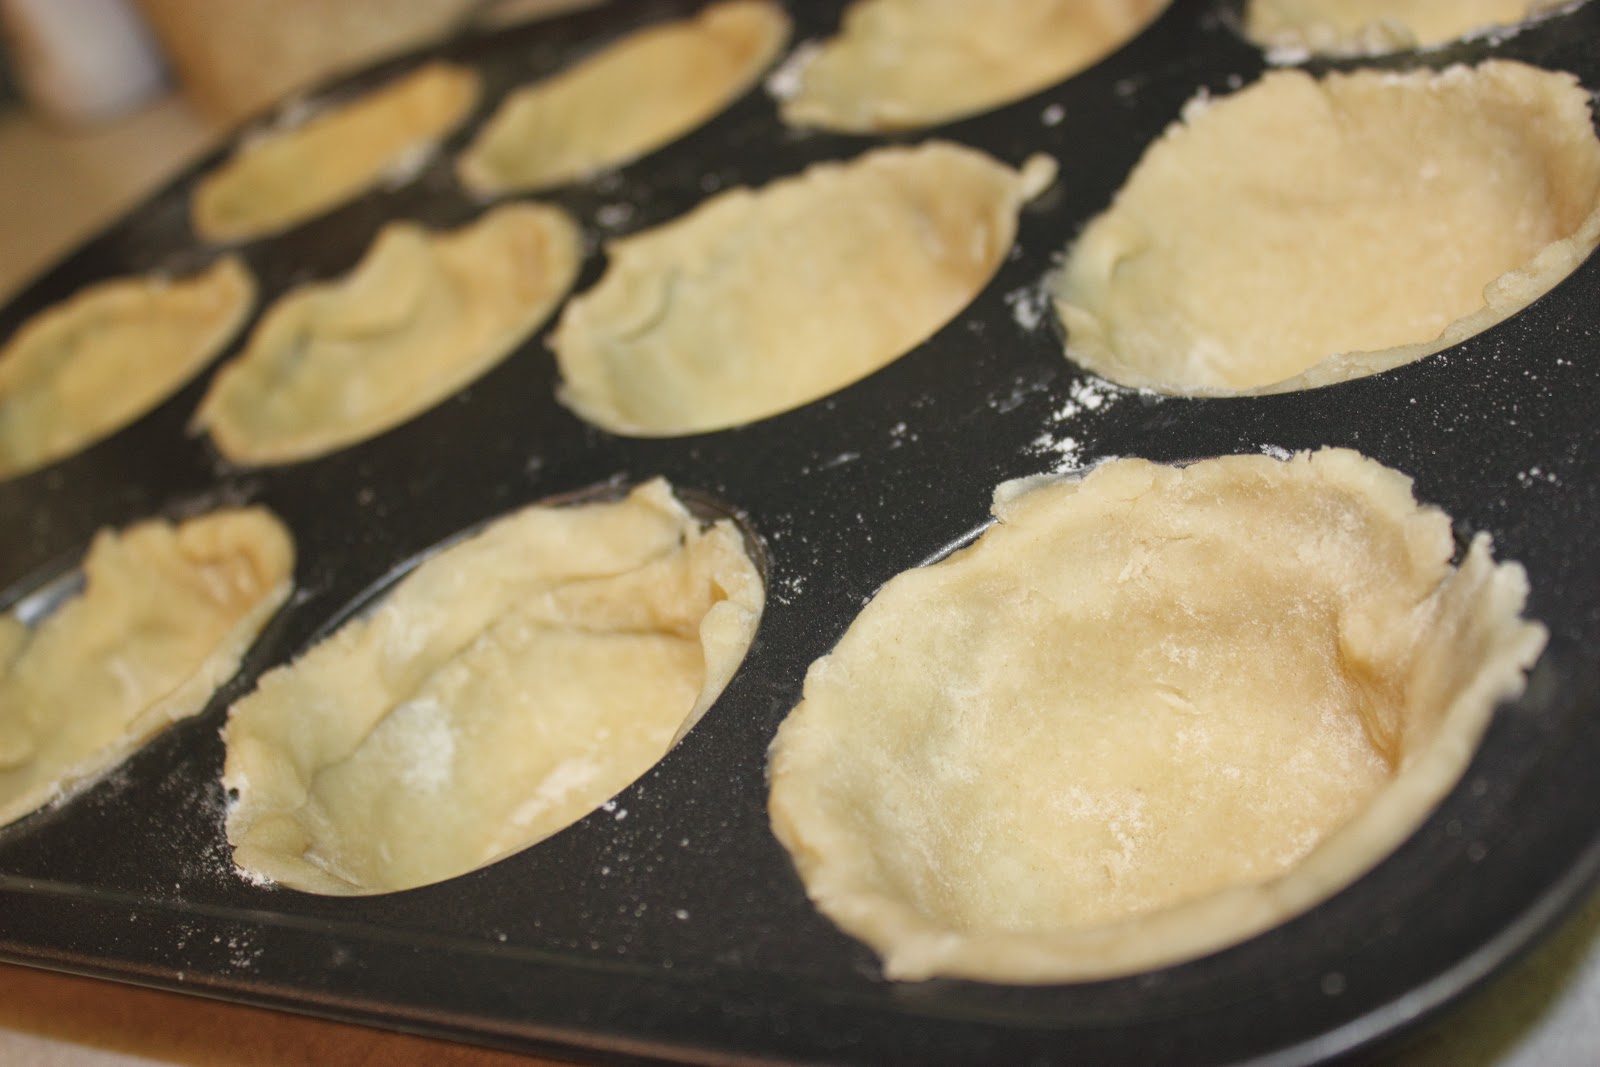
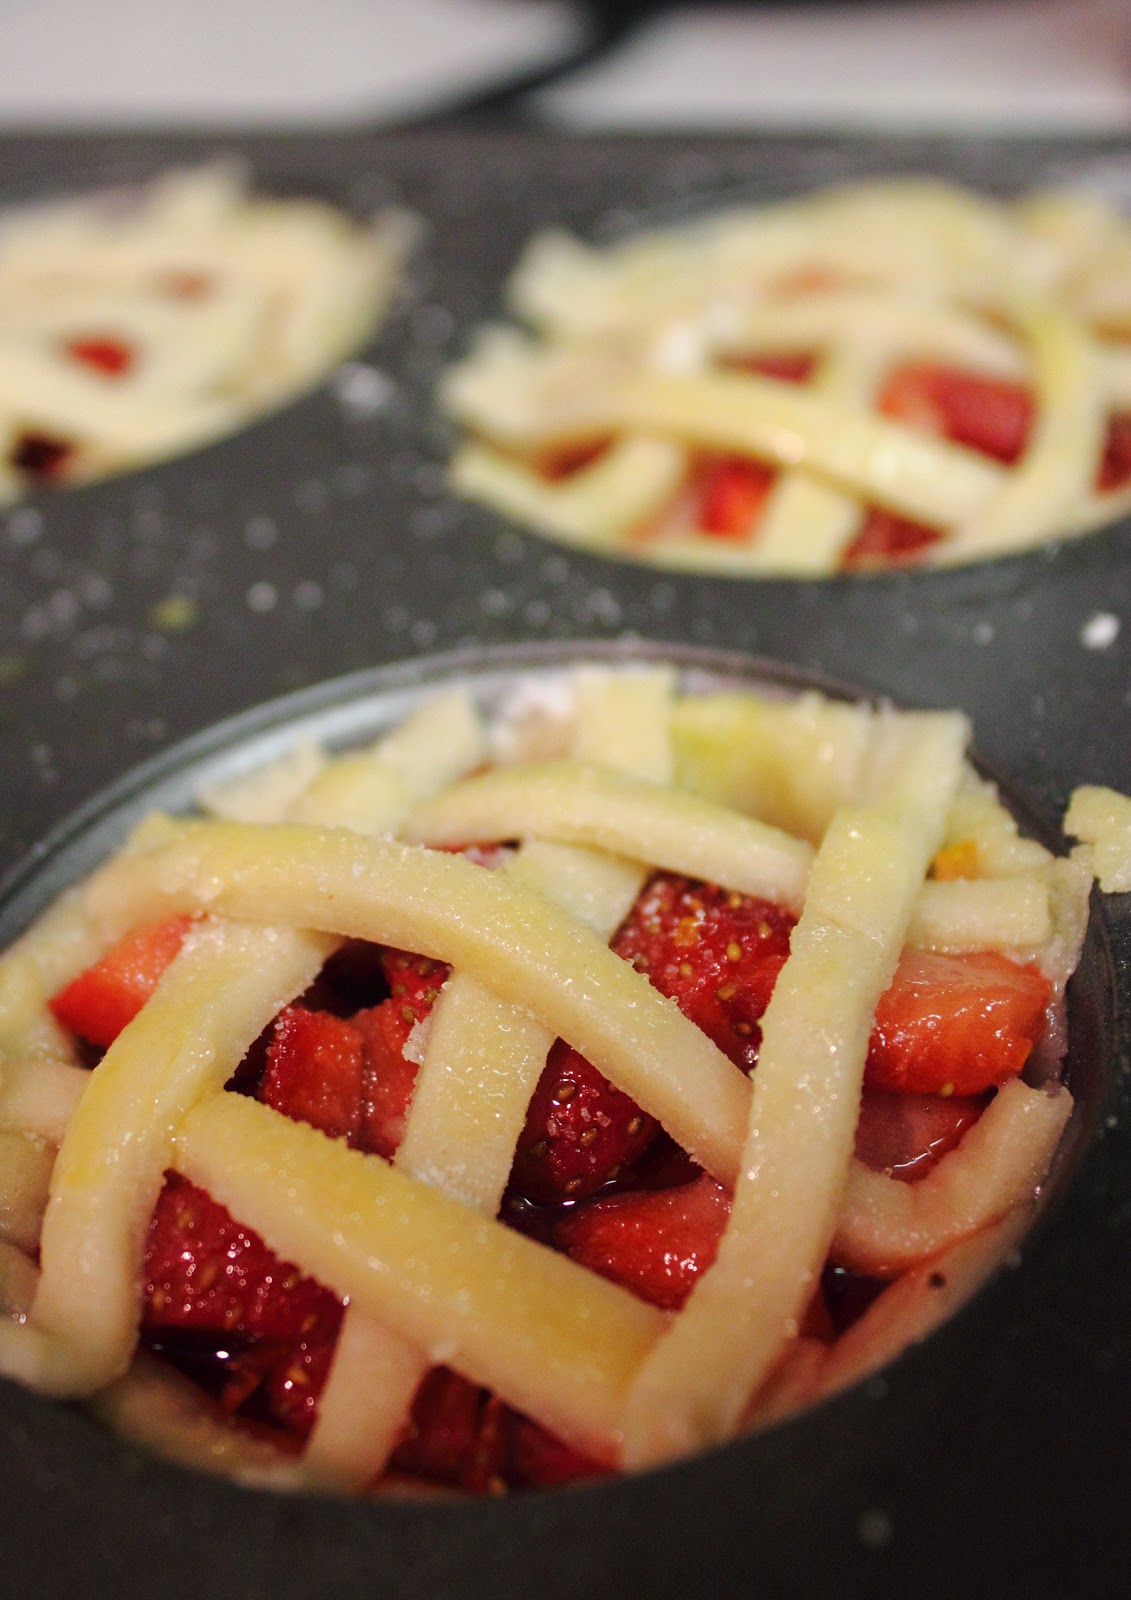
You should be able to cut 24 shells out of the dough with enough left over for some strips. If you have a larger muffin pan, you may be coming in with 18 or so pies. Use the remaining dough to cut thin stripes to be used on the top of the pies.
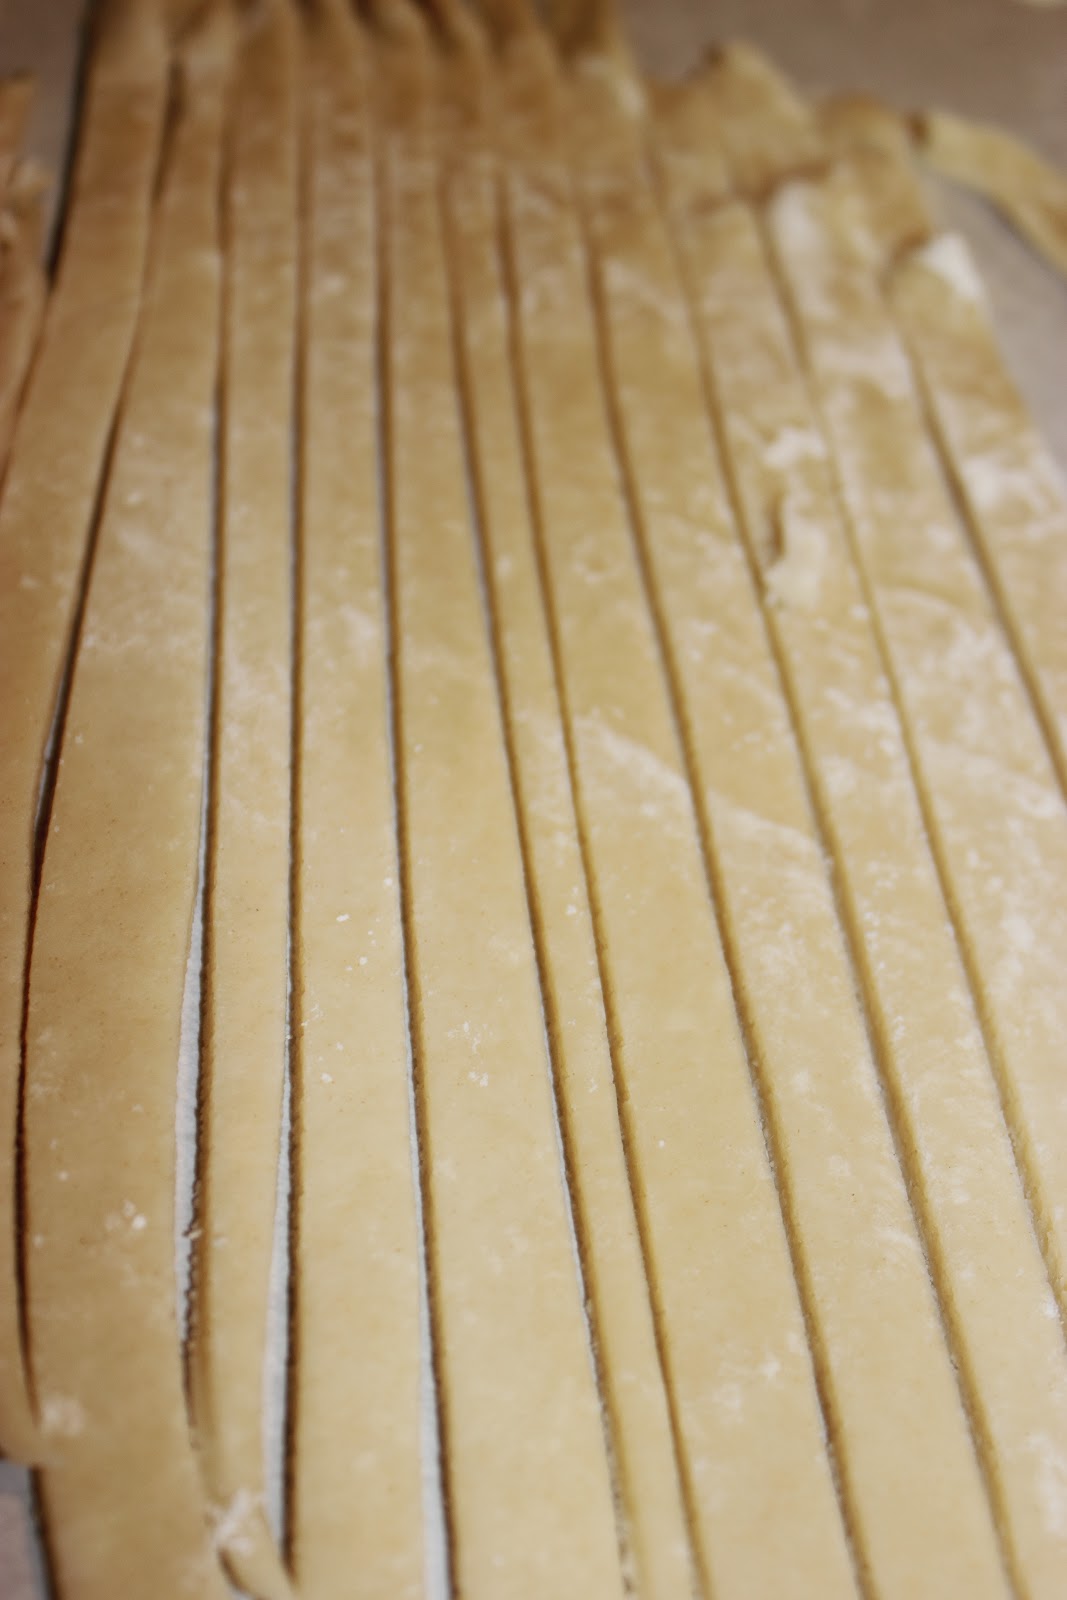
Into the fridge goes the tray of crusts and the strips of dough - for at least 30 minutes or until the dough is firm.
STEP THREE: The Filling
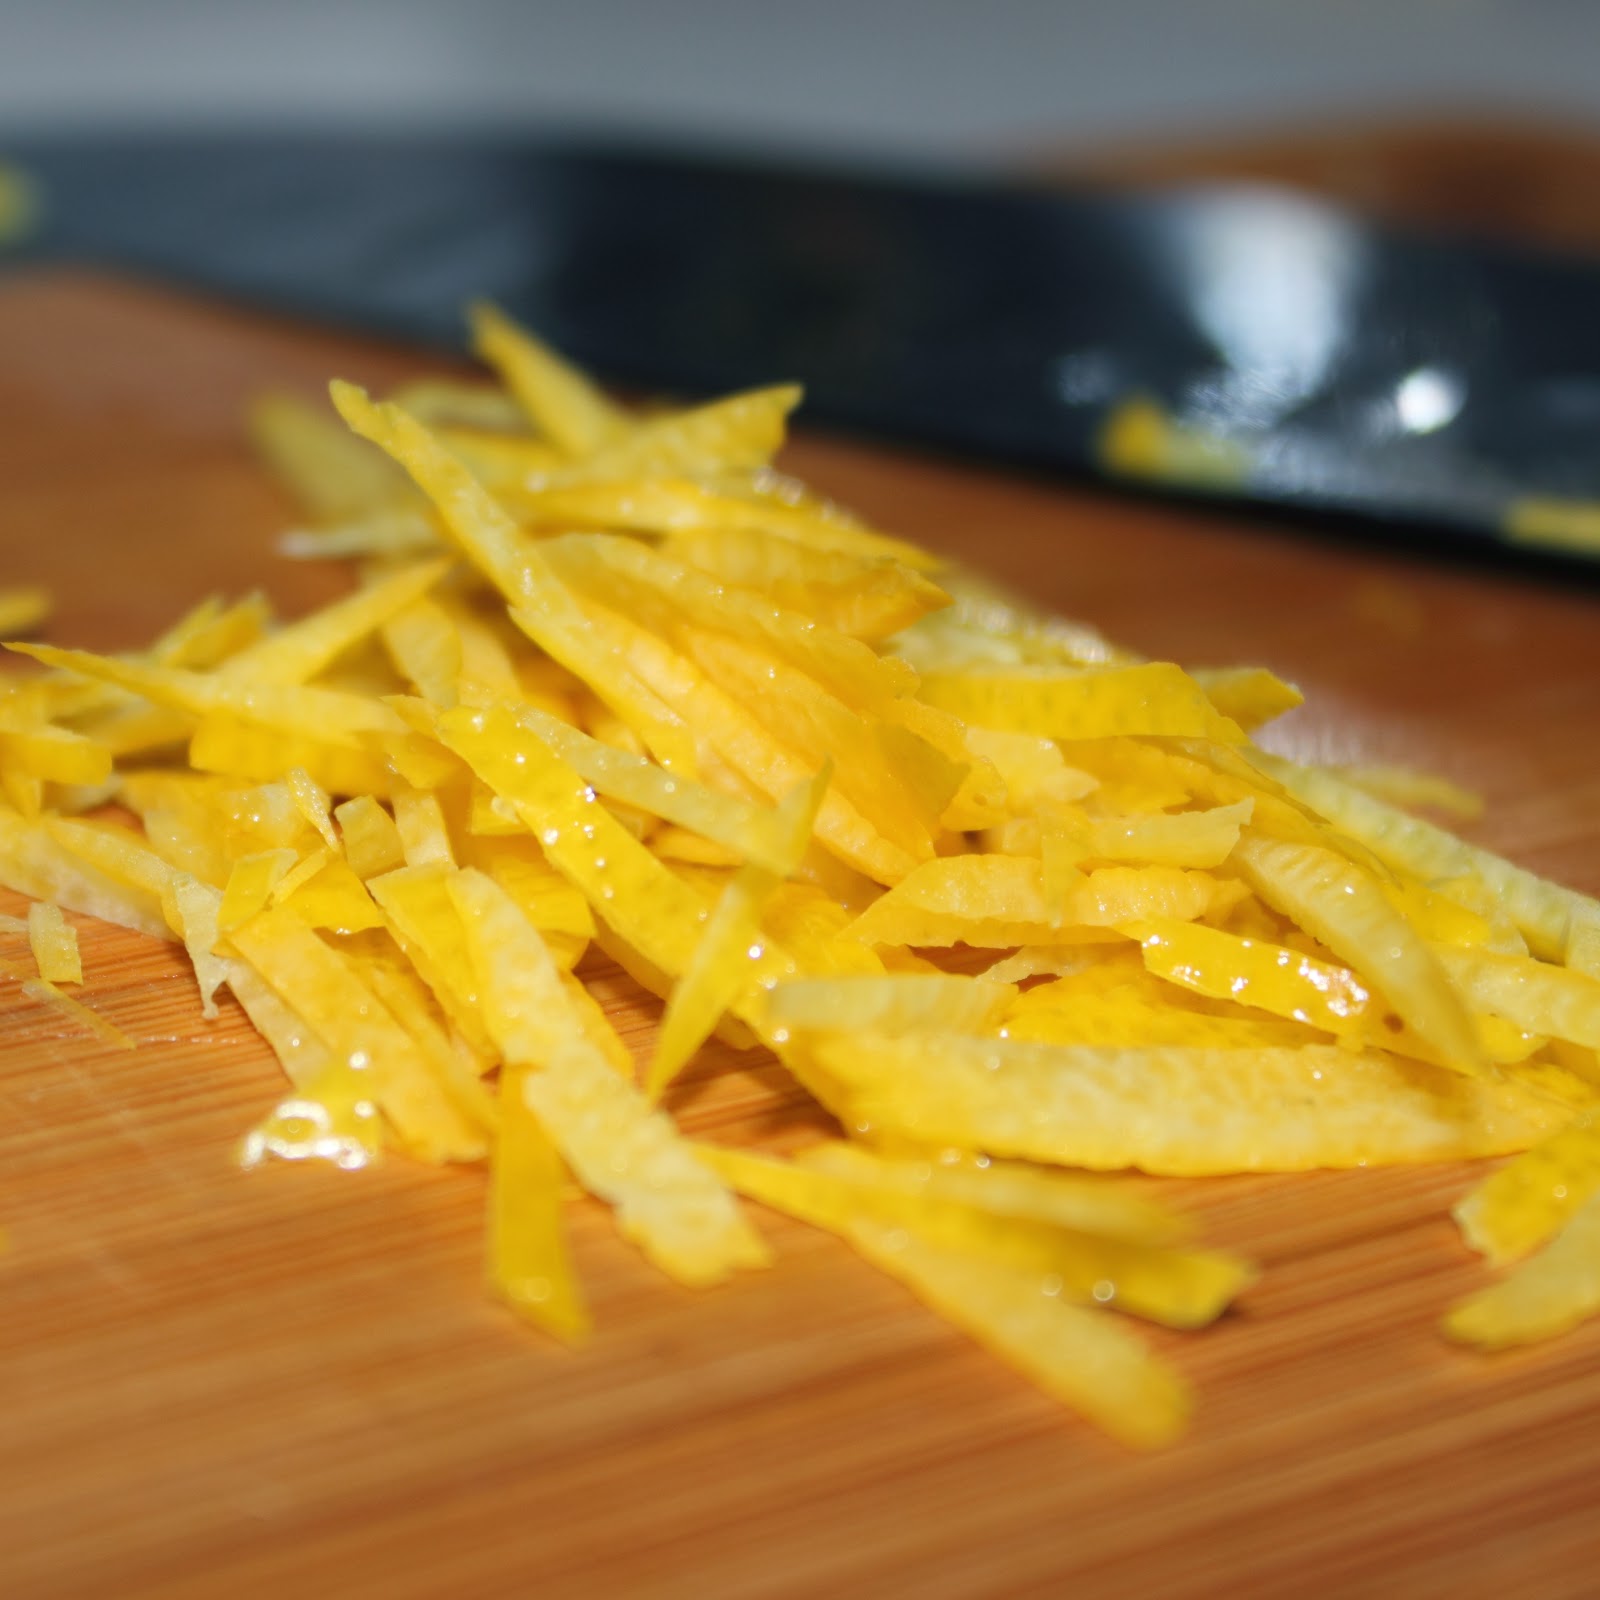
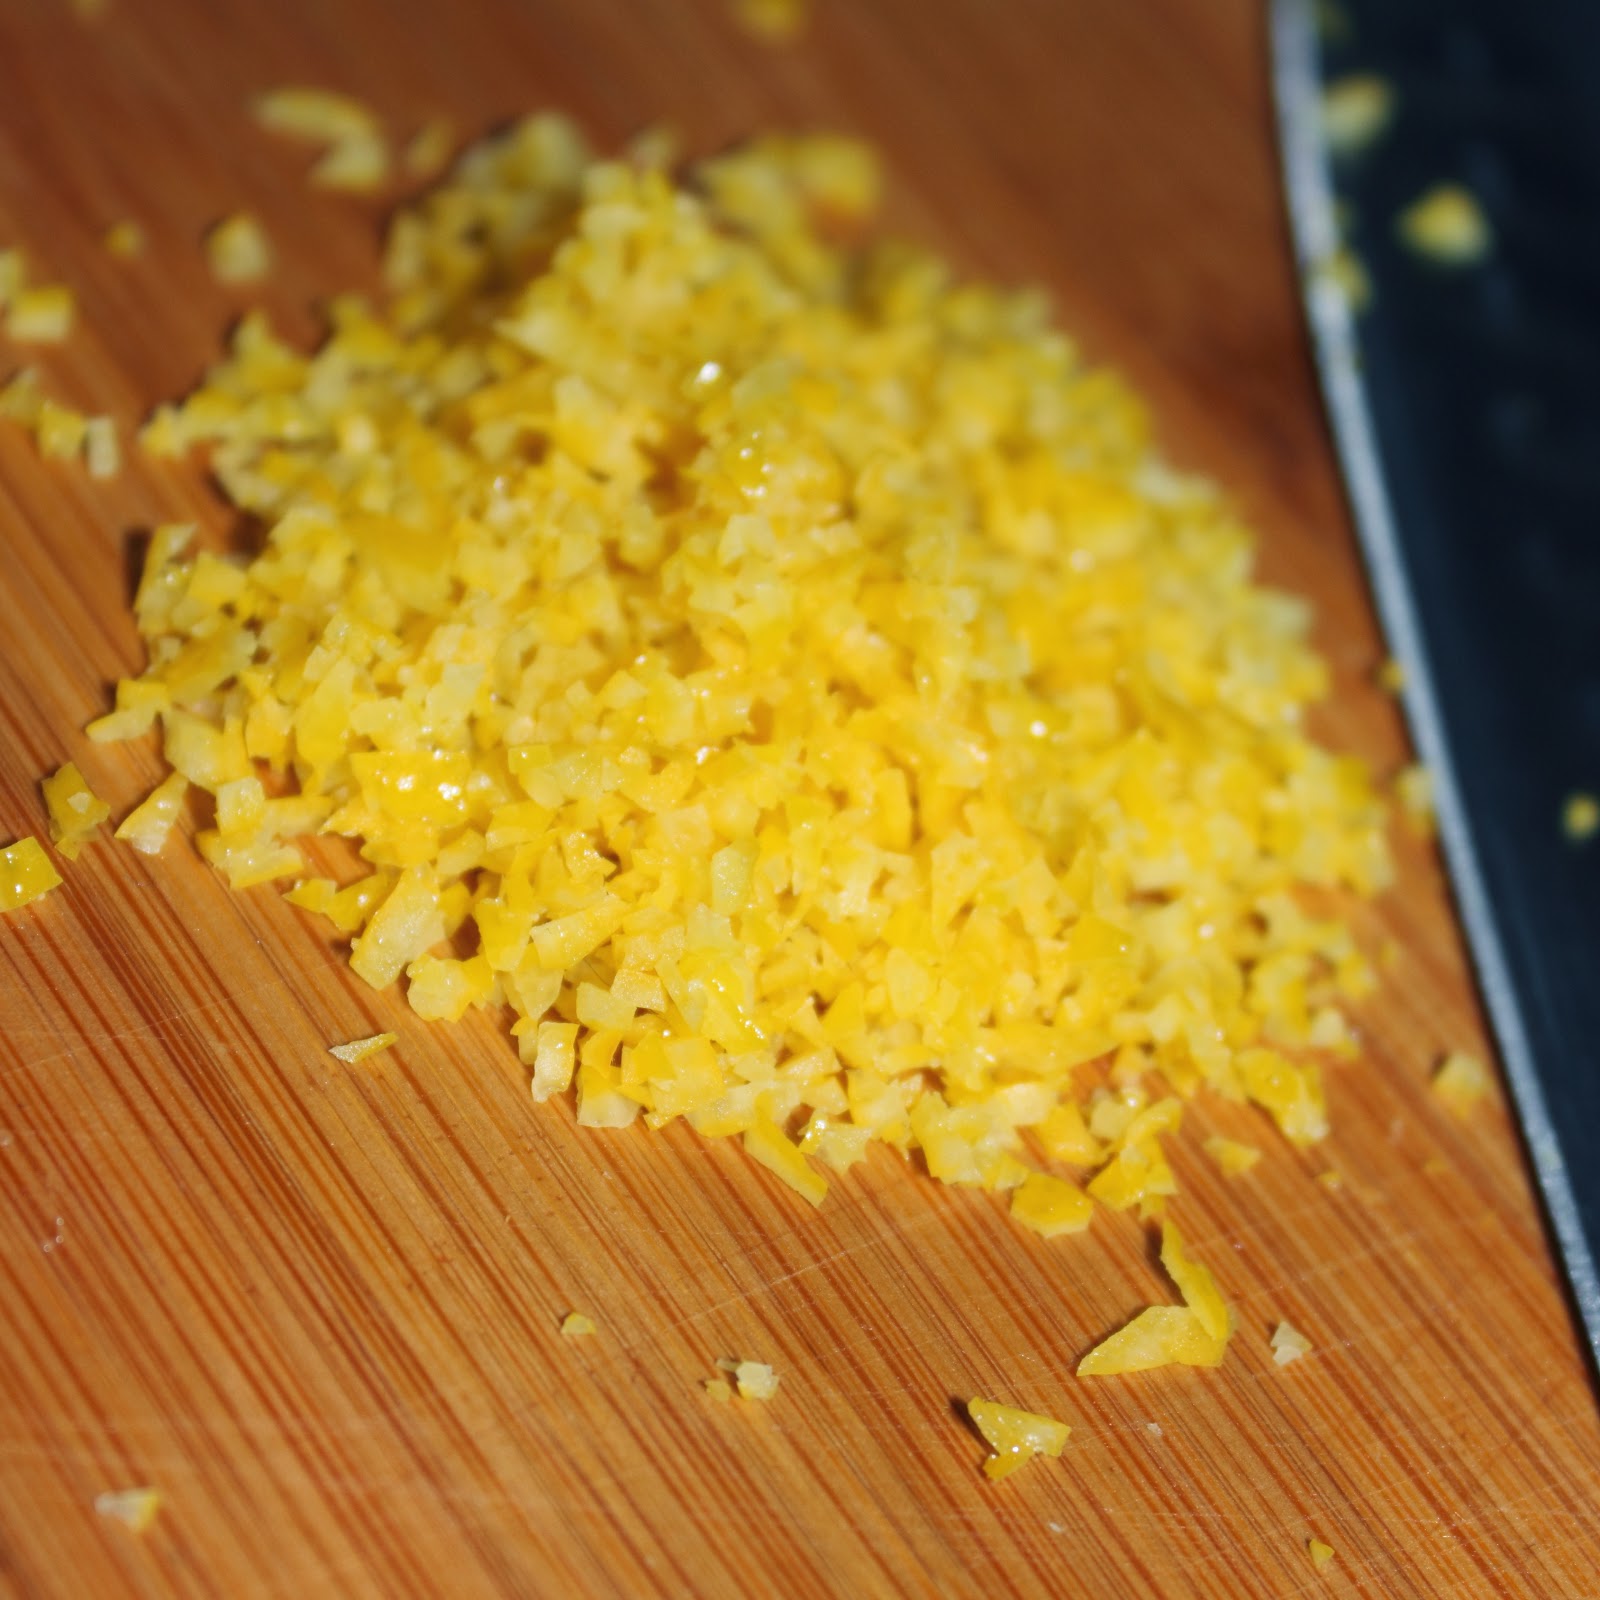
Oooooof course we don't have a zester, so I used a potato peel to peel small strips of the lemon peel and then chopped these pieces as finely as I could until they resembled lemon zest.

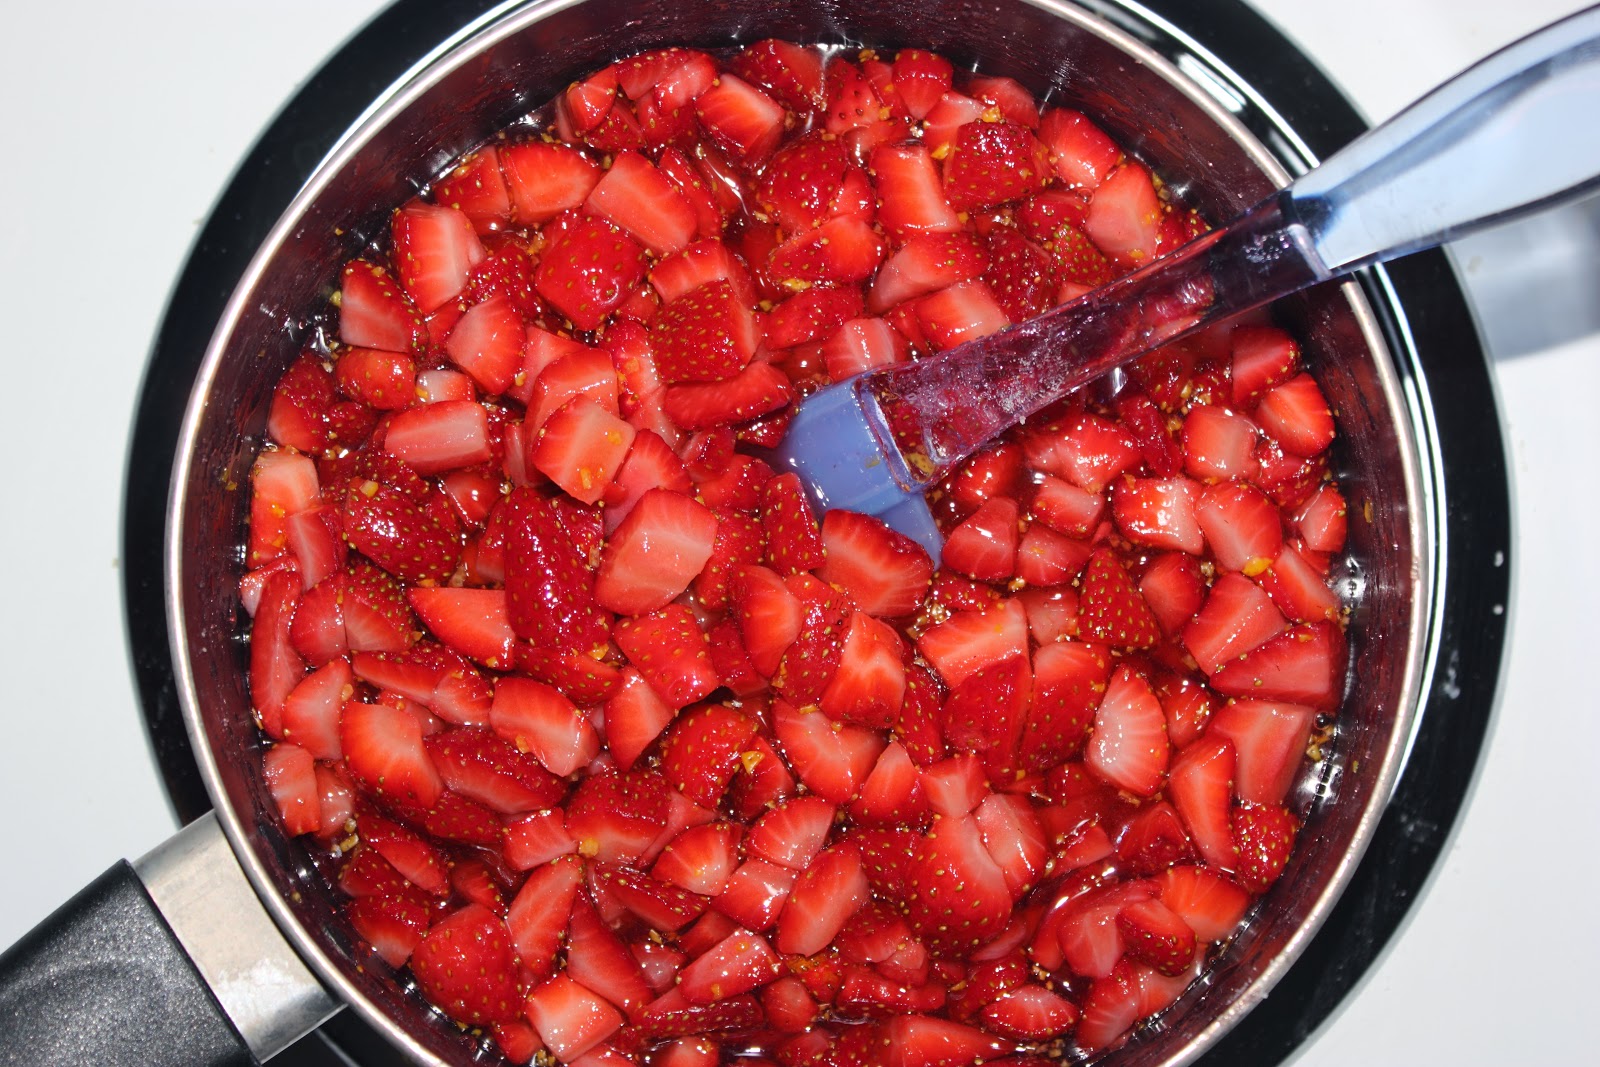
In a pot, you want to mix in: the strawberries, the sugar, lemon juice and your lemon zest. Heat this on medium for about 10-15 minutes or until the strawberries are barely soft to the touch.
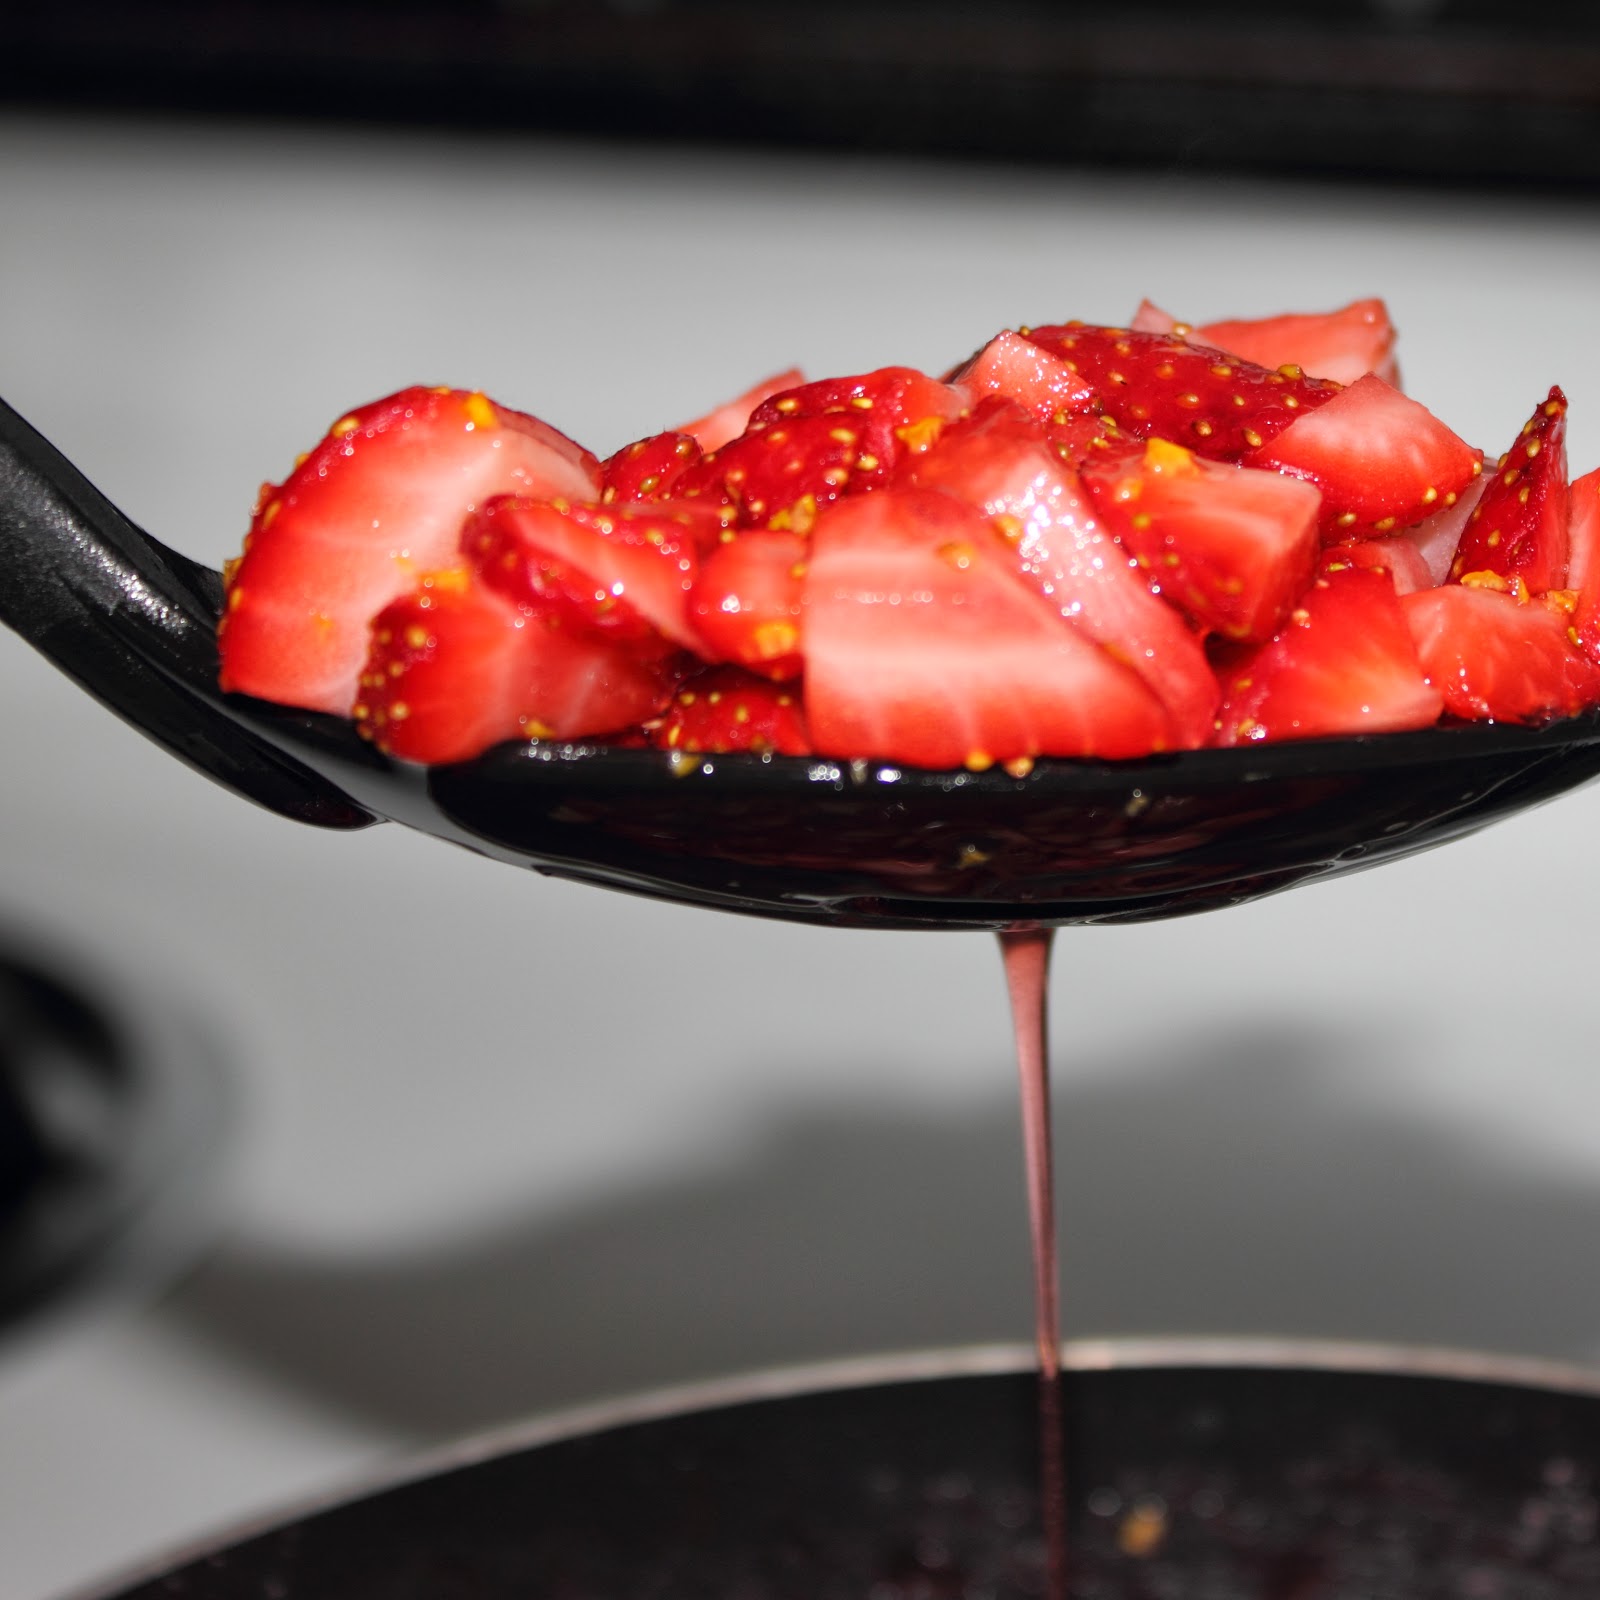
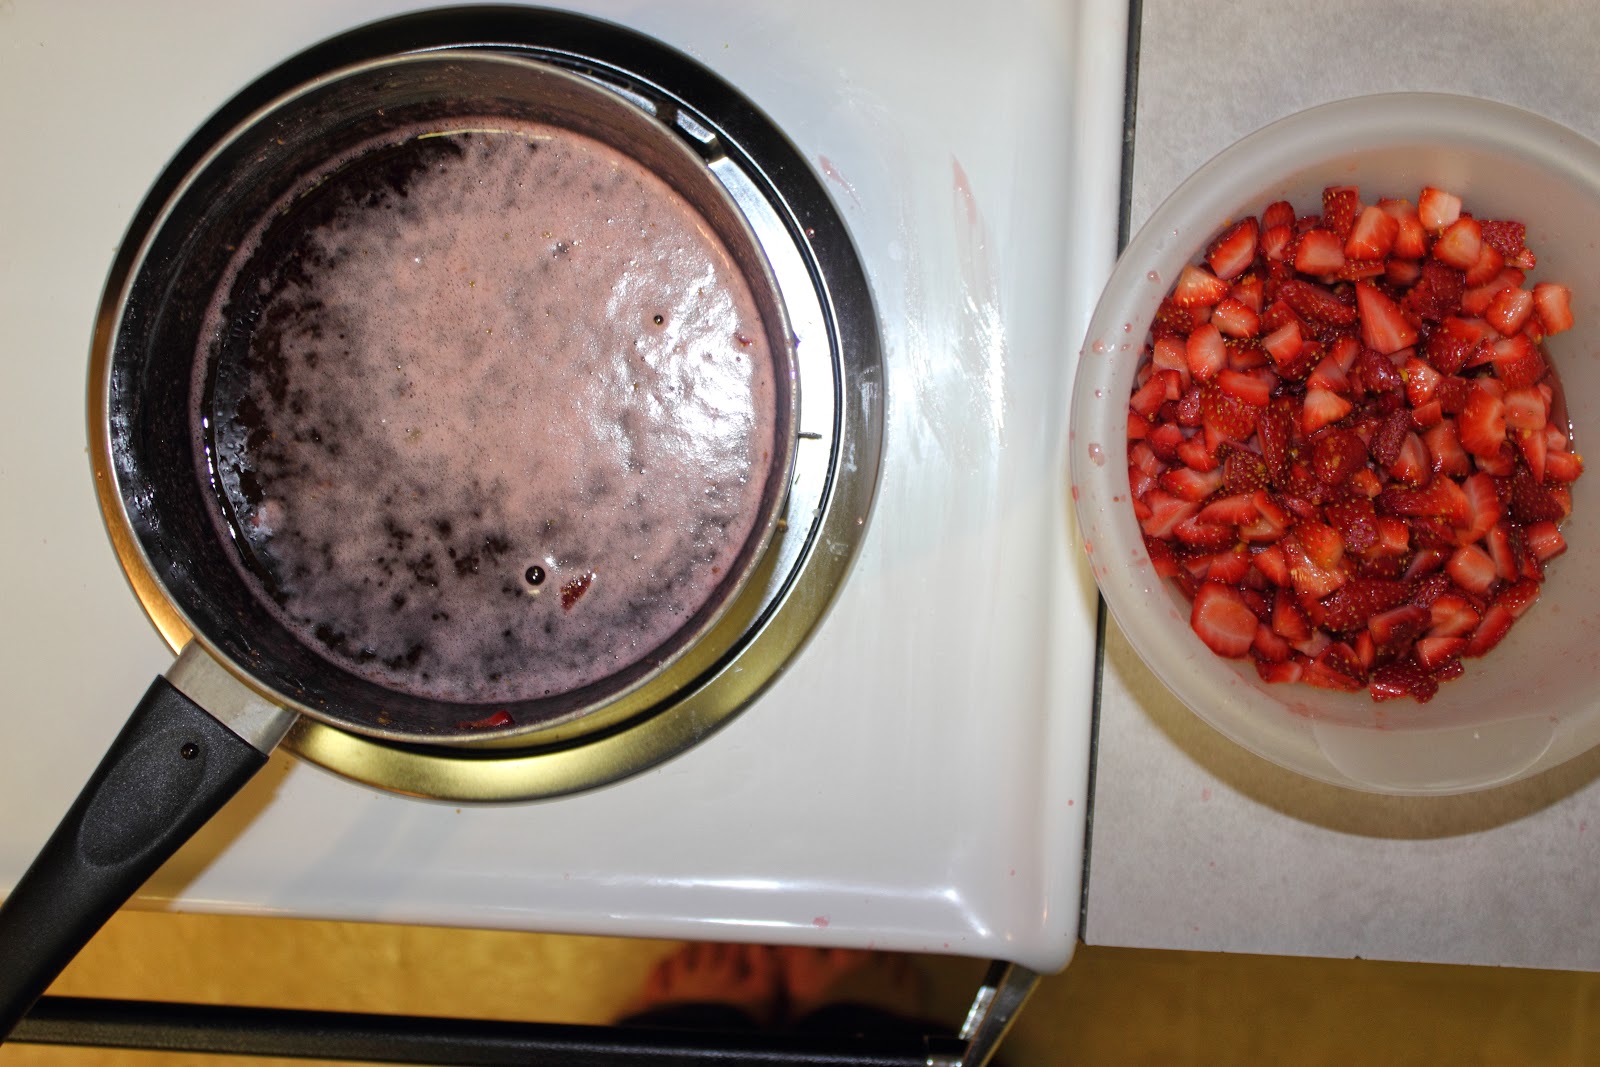
With a slotted spoon, remove all of the strawberries from the mixture and heat the sauce over medium until it starts to thicken. Add a little bit (I think I added 1/4 a cup) back to the strawberries - the rest I put in the fridge and will use this week for something!
 |
| Hello little cooker toes! |
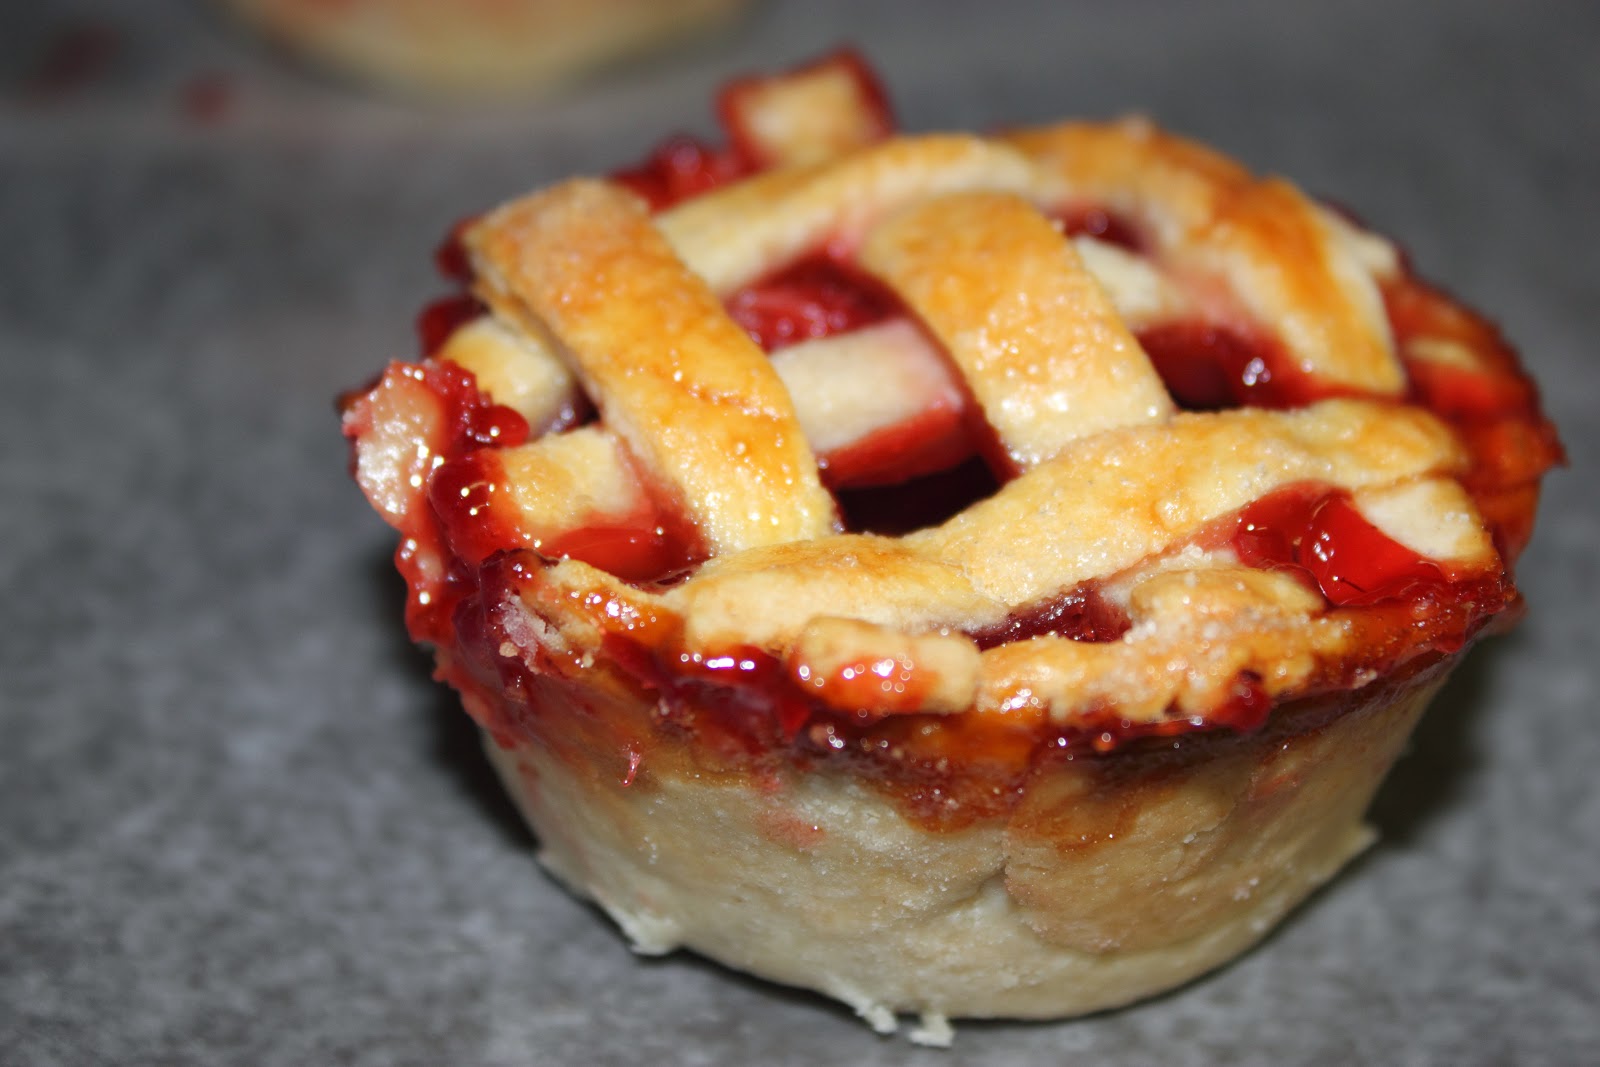
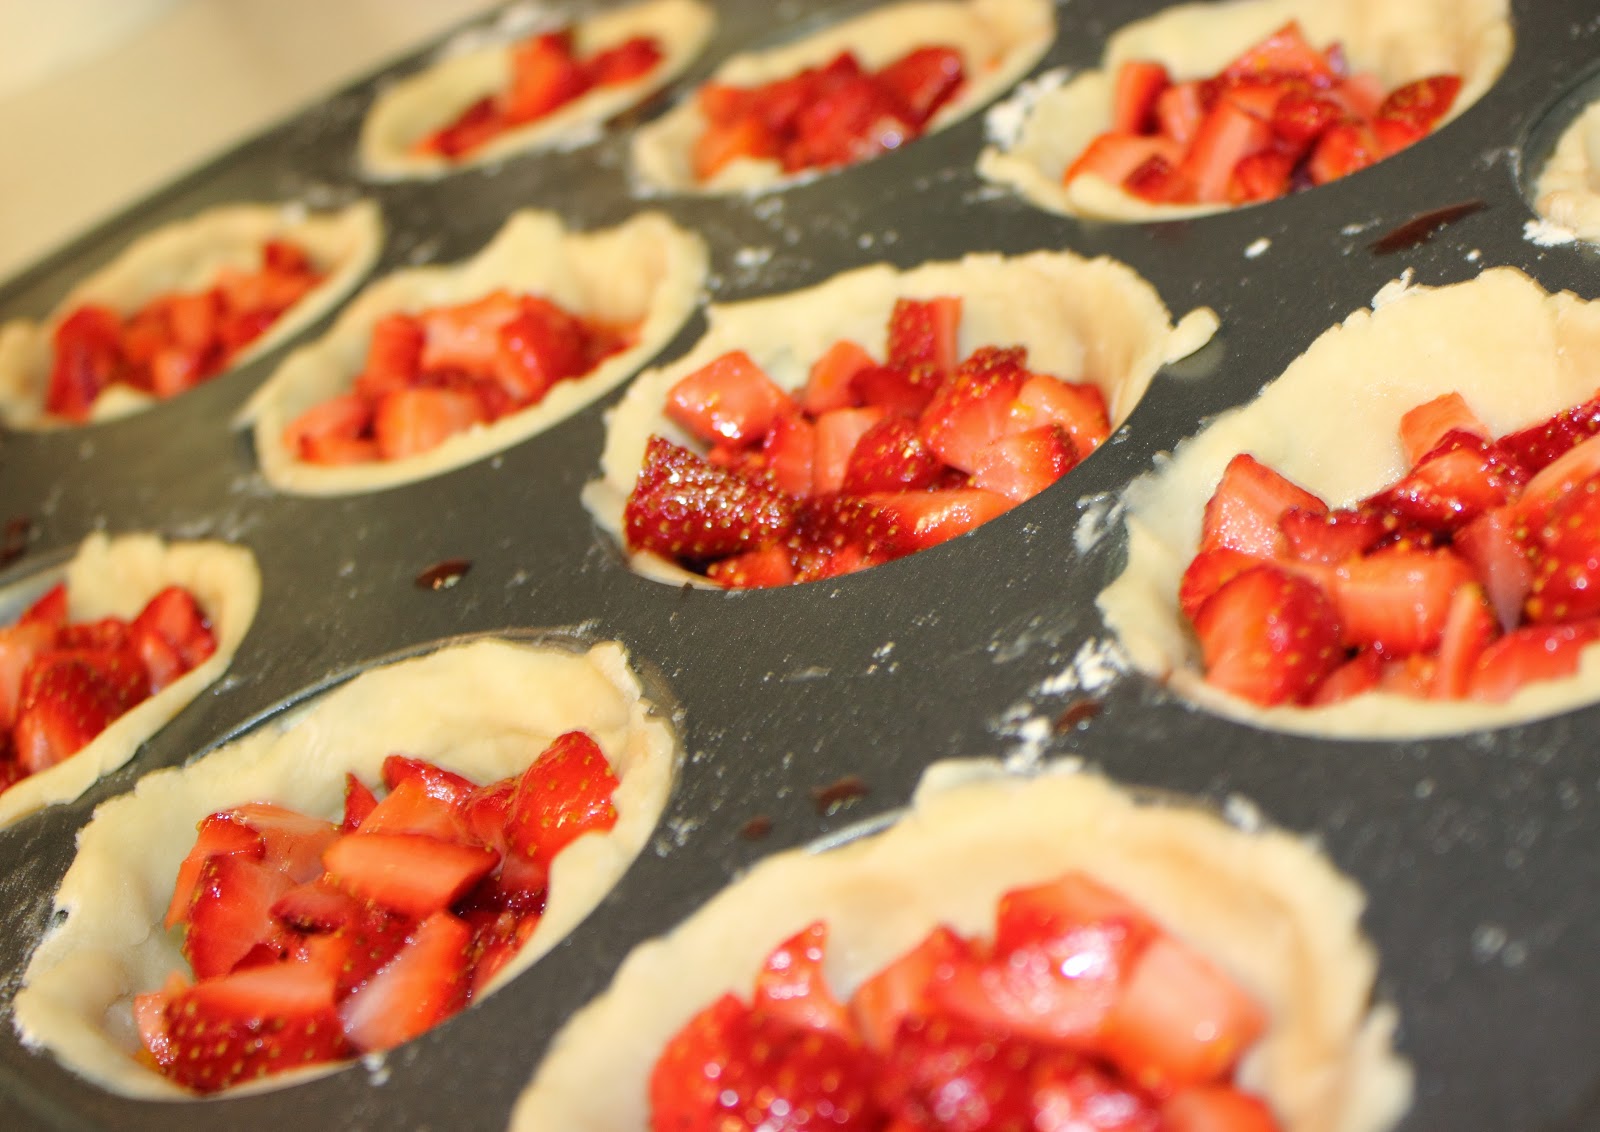
Remove your pie crusts from the fridge, and add 1.5 - 2 tablespoons of fruit filling to each shell.
Brush the edges of the pie crusts with egg wash and then top with the dough strips. Add a touch of sugar to the top of each pie.
Put these bad boys back in the fridge for at least 30 minutes or until they are firm.
STEP FOUR: The Baking
You will want to preheat the over to 350 degrees. Remove the pies from the fridge and pop them in the oven for 60-70 minutes.
They make your place smell so good!
When they are done, use a knife to gently remove them from the pan while they're still hot (removing the risk of them sticking to the pan) and leave them on a wire rack to cool.
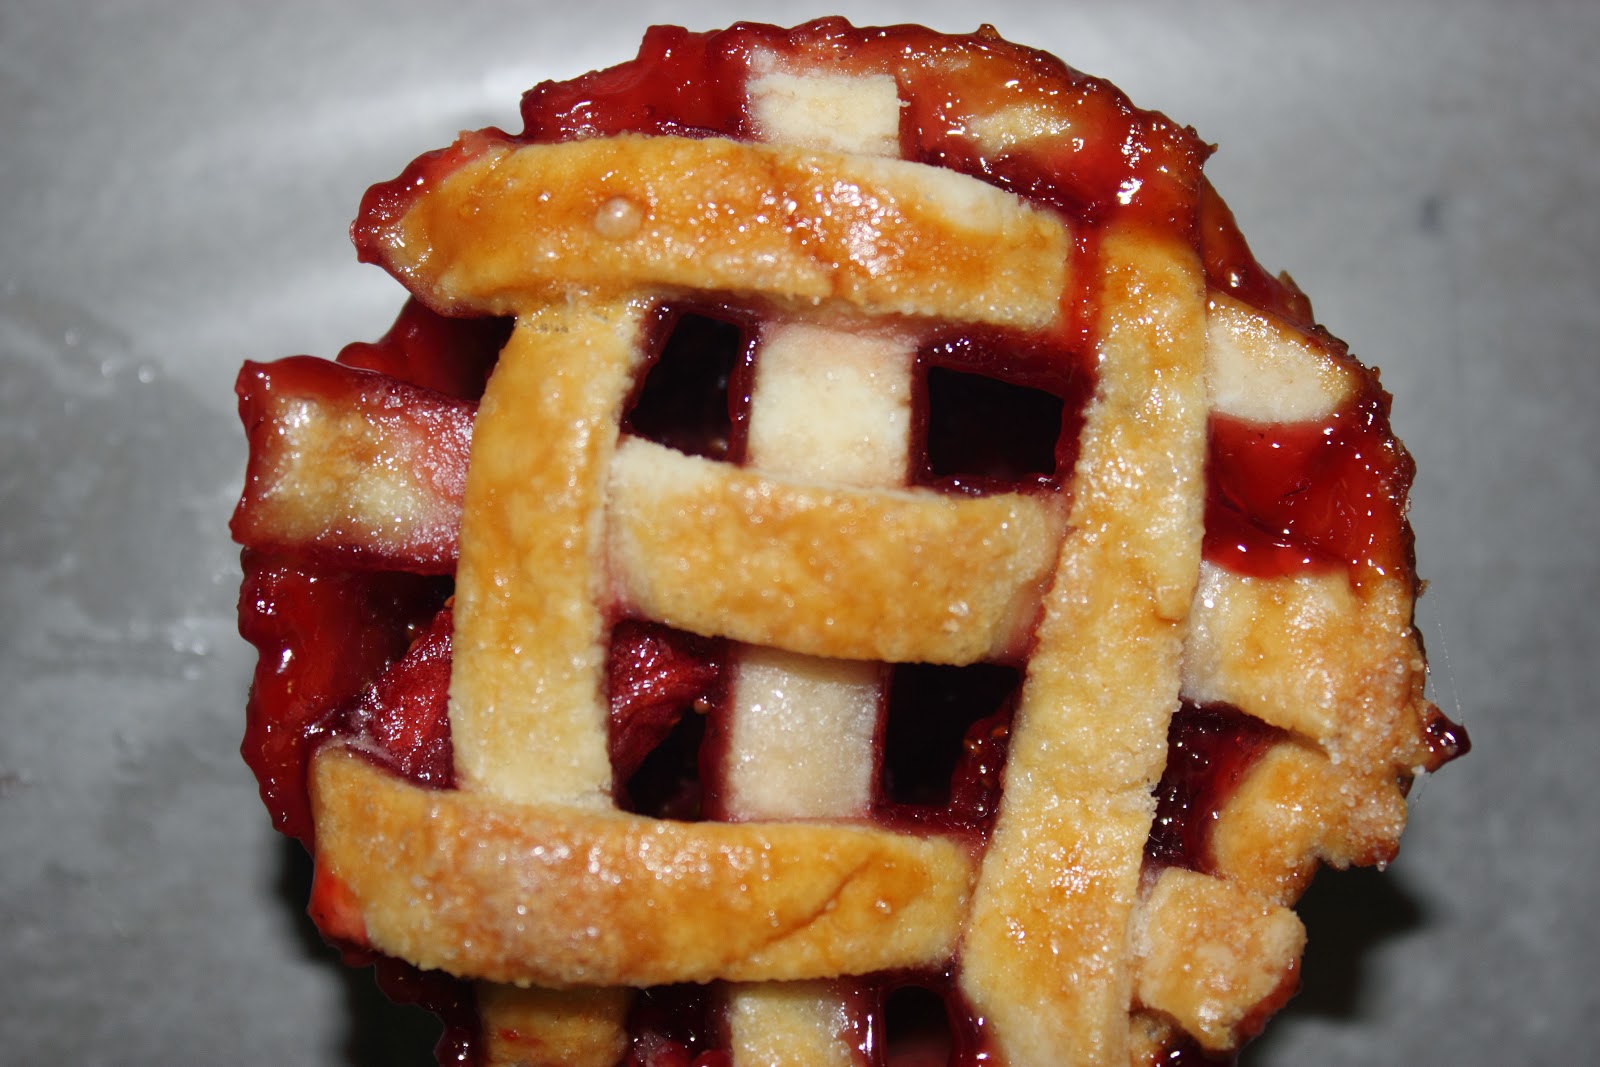
We ate them plain, but some vanilla icecream would go a long way in making it feel like summer! :)
I hope you enjoyed - now go fly high, little pies!
No comments:
Post a Comment