Tuesday, February 7, 2012

Ode to the heart: DIY Valentine's Day Cards

I have been wondering if I should unleash my "show your love, people" rant since Valentine's Day is coming up.. and I have decided that I will - in moderation.

Listen people, we, as a society, don't show enough love. It seems like hand-written notes are a thing of the past, gifts are only for Christmas (or Hanukkah, heeeey Jewish friends) and we only know it's someone's birthday because facebook tells us so. Don't get me started on rude people and folks who don't smile back when you both make eye contact and you smile! Even just a turn of the sides of the mouth is appreciated.

I don't know a lot about our purpose on earth, but I know one thing to be true - one of our jobs is to show love, to give love, to make others feel beautiful and special, and then, in turn, to receive love. I am a HUGE fan of sending greeting cards (who does not love getting a personalized piece of mail? See below), finding the perfect gift for someone (that fits the receiver's personality, not the giver!), and letting special people know you love them - just because! 


So this brings me to my adoration of Valentine's Day. Not necessarily the history of Valentine's Day (interesting article found here: http://www.history.com/topics/valentines-day) because it's quite gruesome and depressing, but the modern interpretation of Valentine's Day is to SHOW LOVE. How could this be bad? If you peel away the "I hate the commercialization, you-have-to-have-a-boyfriend, remind-me-I'm-single-why-don't-you"ness, the true meaning of Valentine's Day is for us to stop and take a moment to really think about those that we love. So whether this means sending an email to a faraway friend, or calling your mom, or making or buying a card for someone - it is important to stop and think of those we love.

Myth: "You have to have a significant other." 
My verdict: FALSE. Some of my favorite (and let's be clear, most of my) Valentine's Days have been spent with girlfriends - having a potluck dinner, watching horribly wonderful chick flicks, or having a "pamper ourselves" night. Those nights were lovely, and ones that I remember forever.

Myth: Valentine's Day is just a Hallmark holiday. 
My verdict: TRUE/FALSE - Yes, Hallmark makes a ton off of Valentine's Day, but you don't have to buy into that! I started making holiday cards during my first stint with unemployment (oh boy, this makes me look good). I didn't have a lot of money but I did have a lot of time. I used fabric from my favorite shirt (that had just ripped due to shotty craftsmanship) and spent hours making hand-made Christmas cards. That was two years ago and I have been making my holiday cards ever since.

Since I happen to have a lot of time on my hands this year (wow, surprised!) - I have made Valentine's Day cards for about 15 loved ones, that I will be sending with some other goodies that I am going to make this week (blog posts to follow, youbetcha!)


Here's what I did for my cards, but really, as long as you have some crafty paper and a pen, you can do anything you like! Even finger paint hearts is fun and easy. See below for links to other great Do It Yourself Valentine's Day Cards.

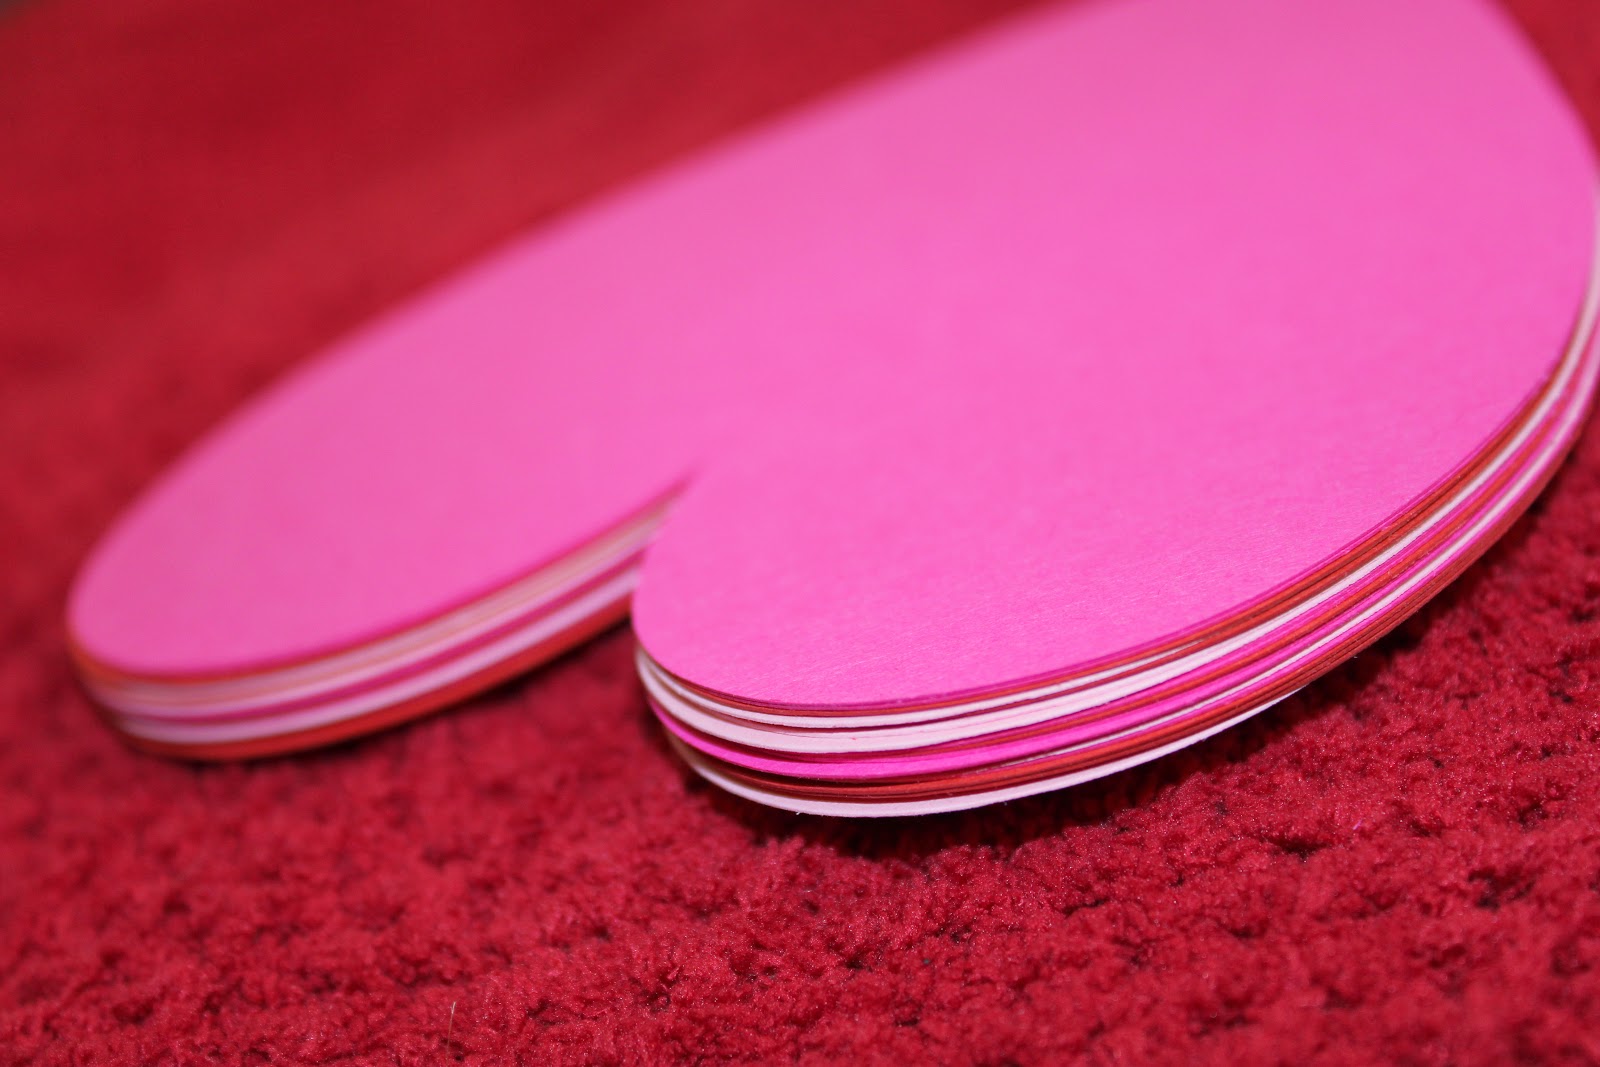
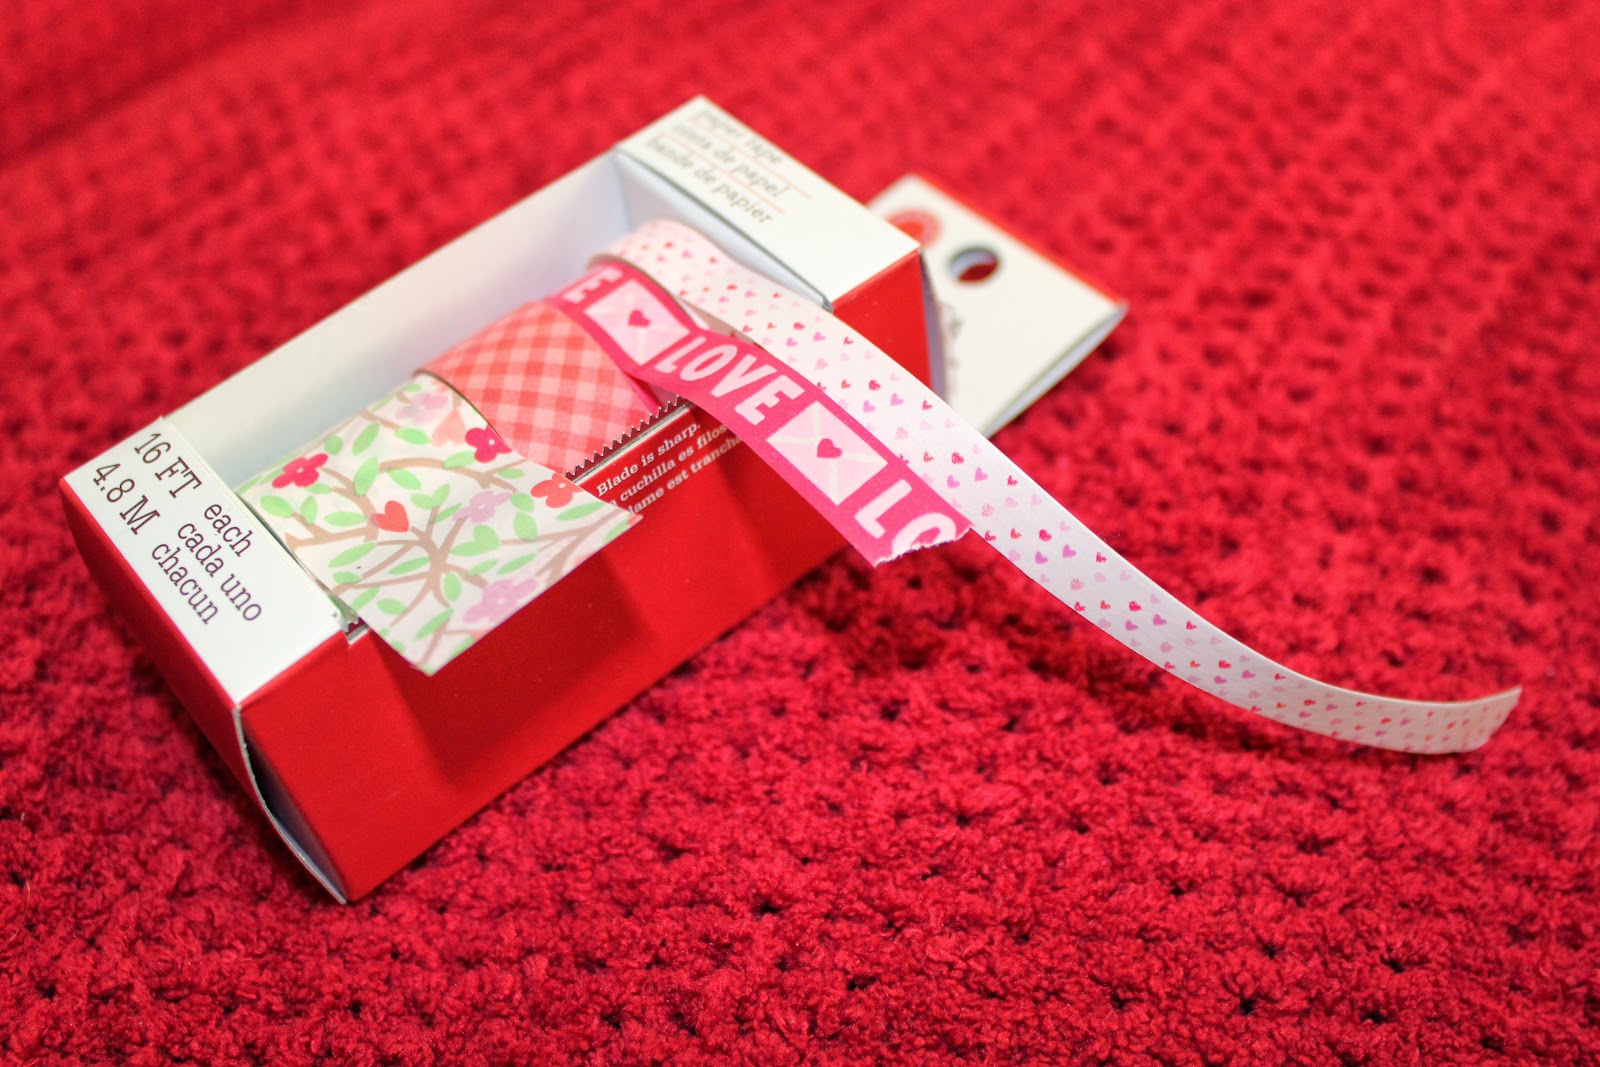
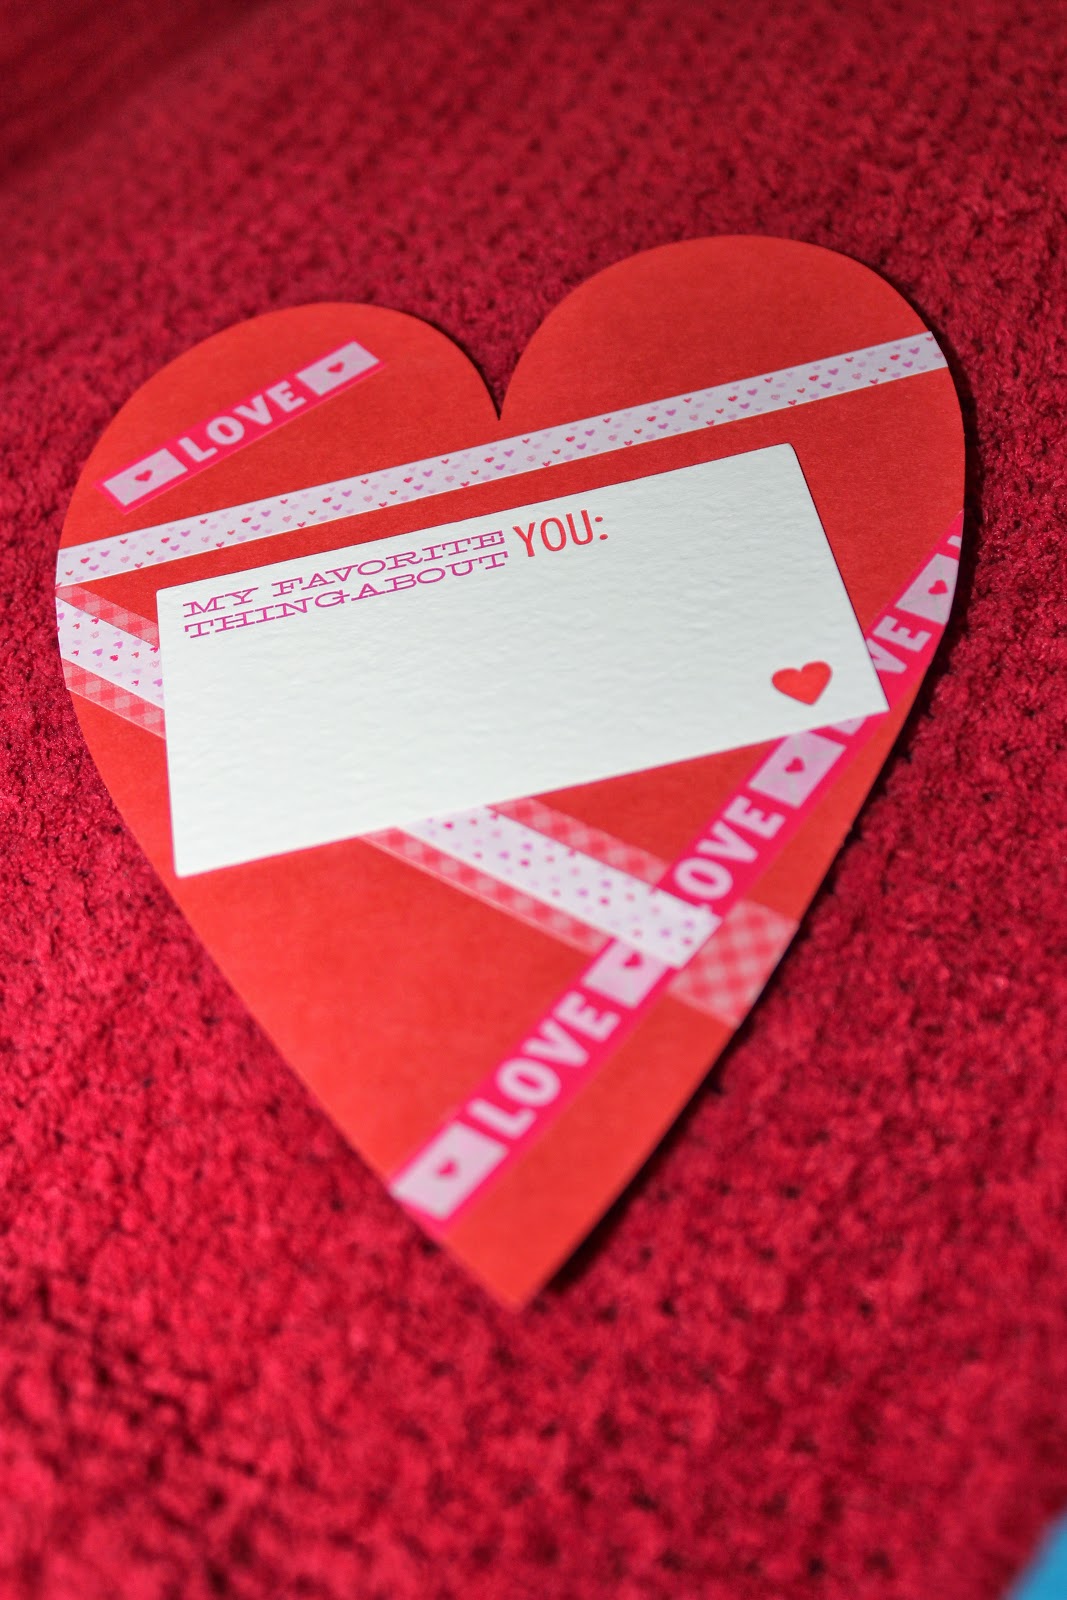
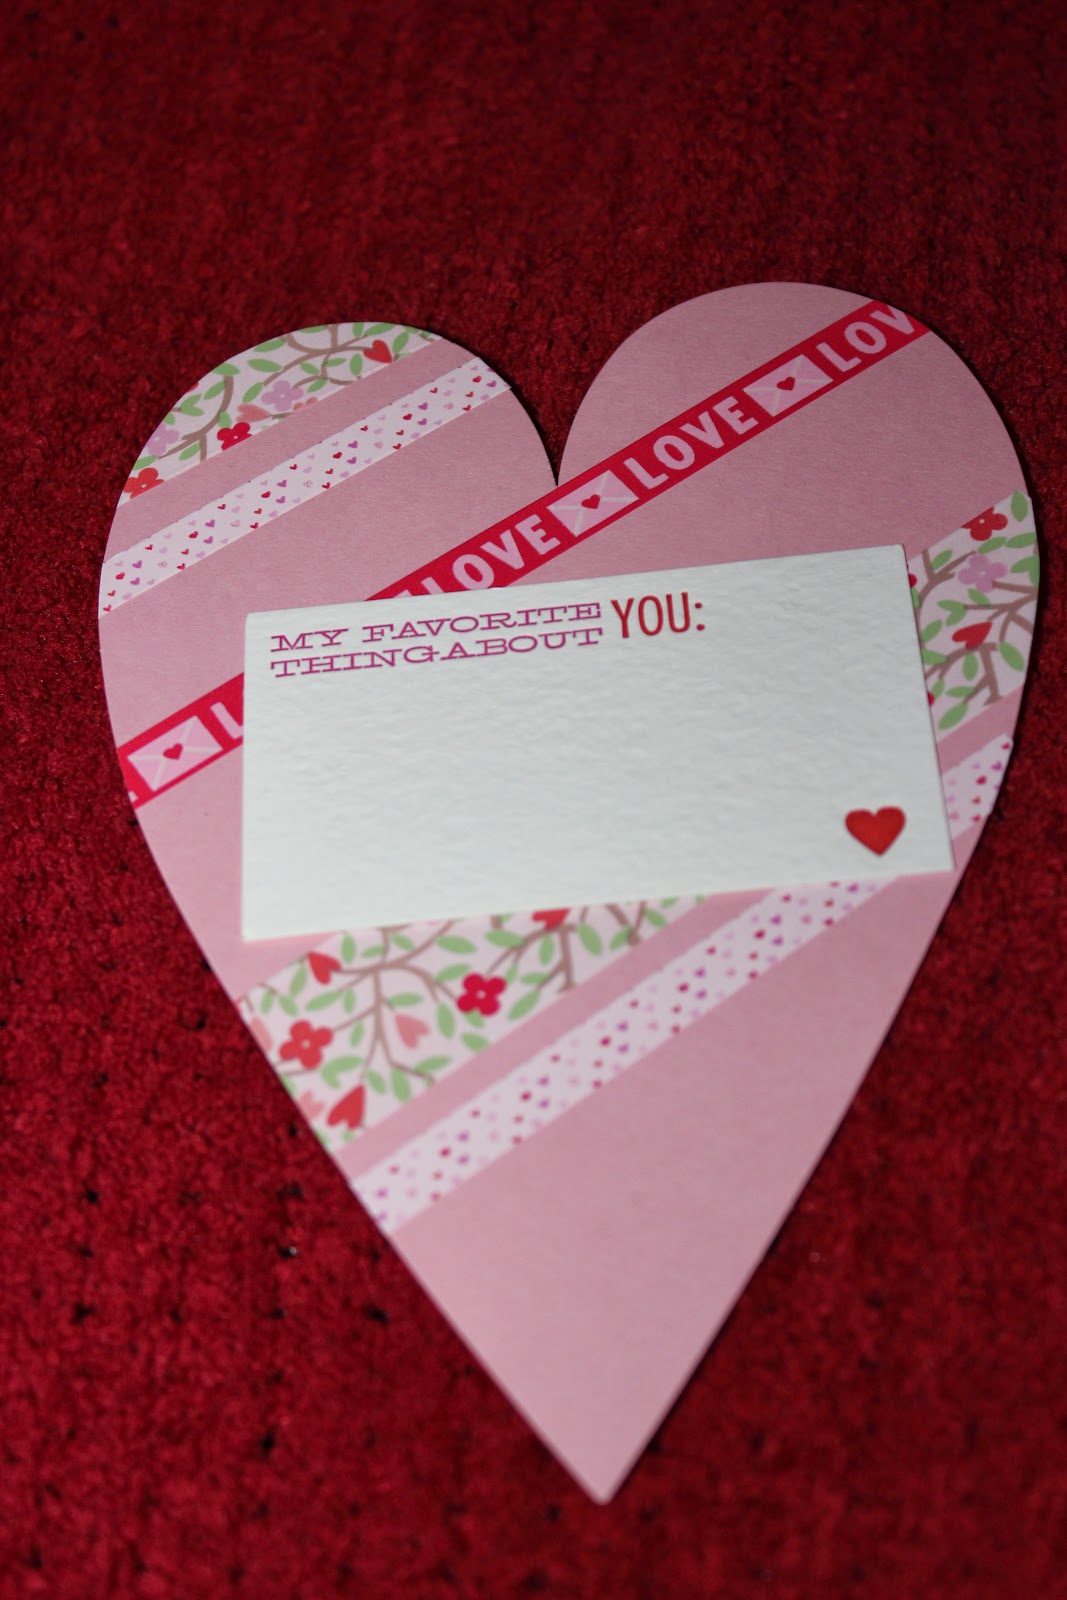
I found at Papersource:

20 paper hearts (already pre-cut but super easy to do yourself)


Ribbon tape (great alternative to ribbon since you don't have to mess with glue)


And I went to town! Decorating each heart with ribbon to reflect the person that I was sending it to (remember - designing the gift for the receiver).. I then attached my card and wrote one to two favorite things about the person I am sending it to.


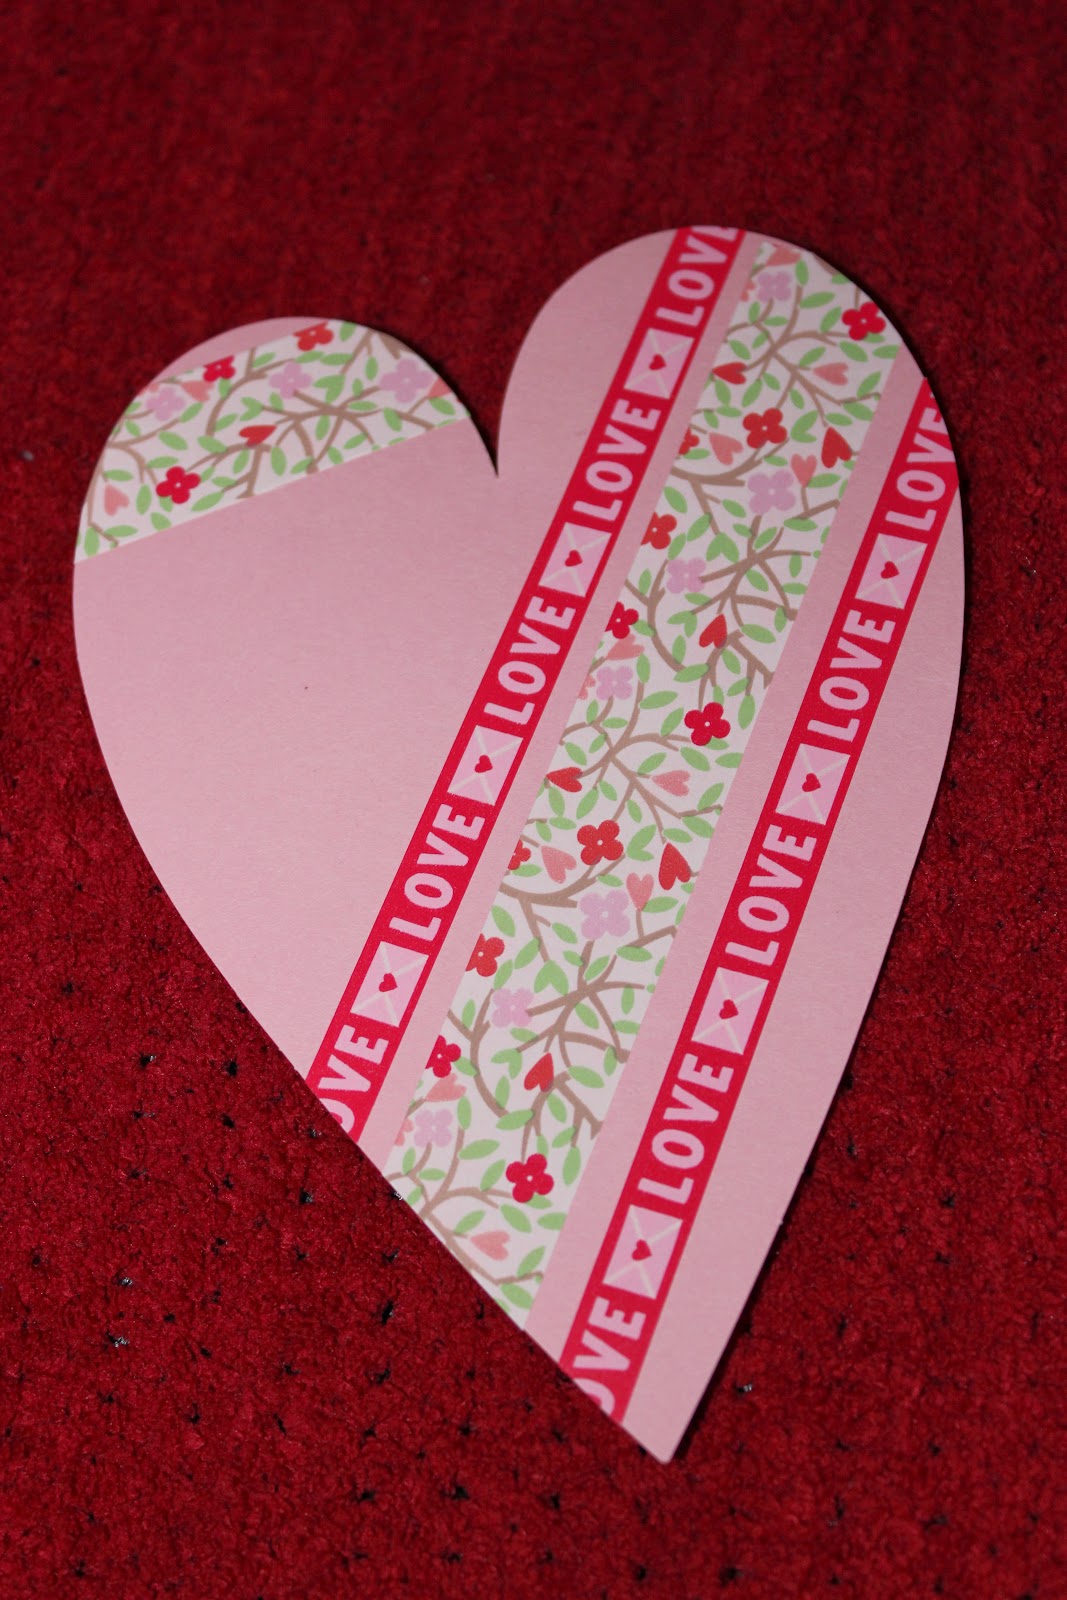
Not only was this a fun craft project, but I am hoping that these cards will bring a moment of happiness to my mom and girlfriends (and even some guy friends), they'll also appreciate the effort as well as the love. :)
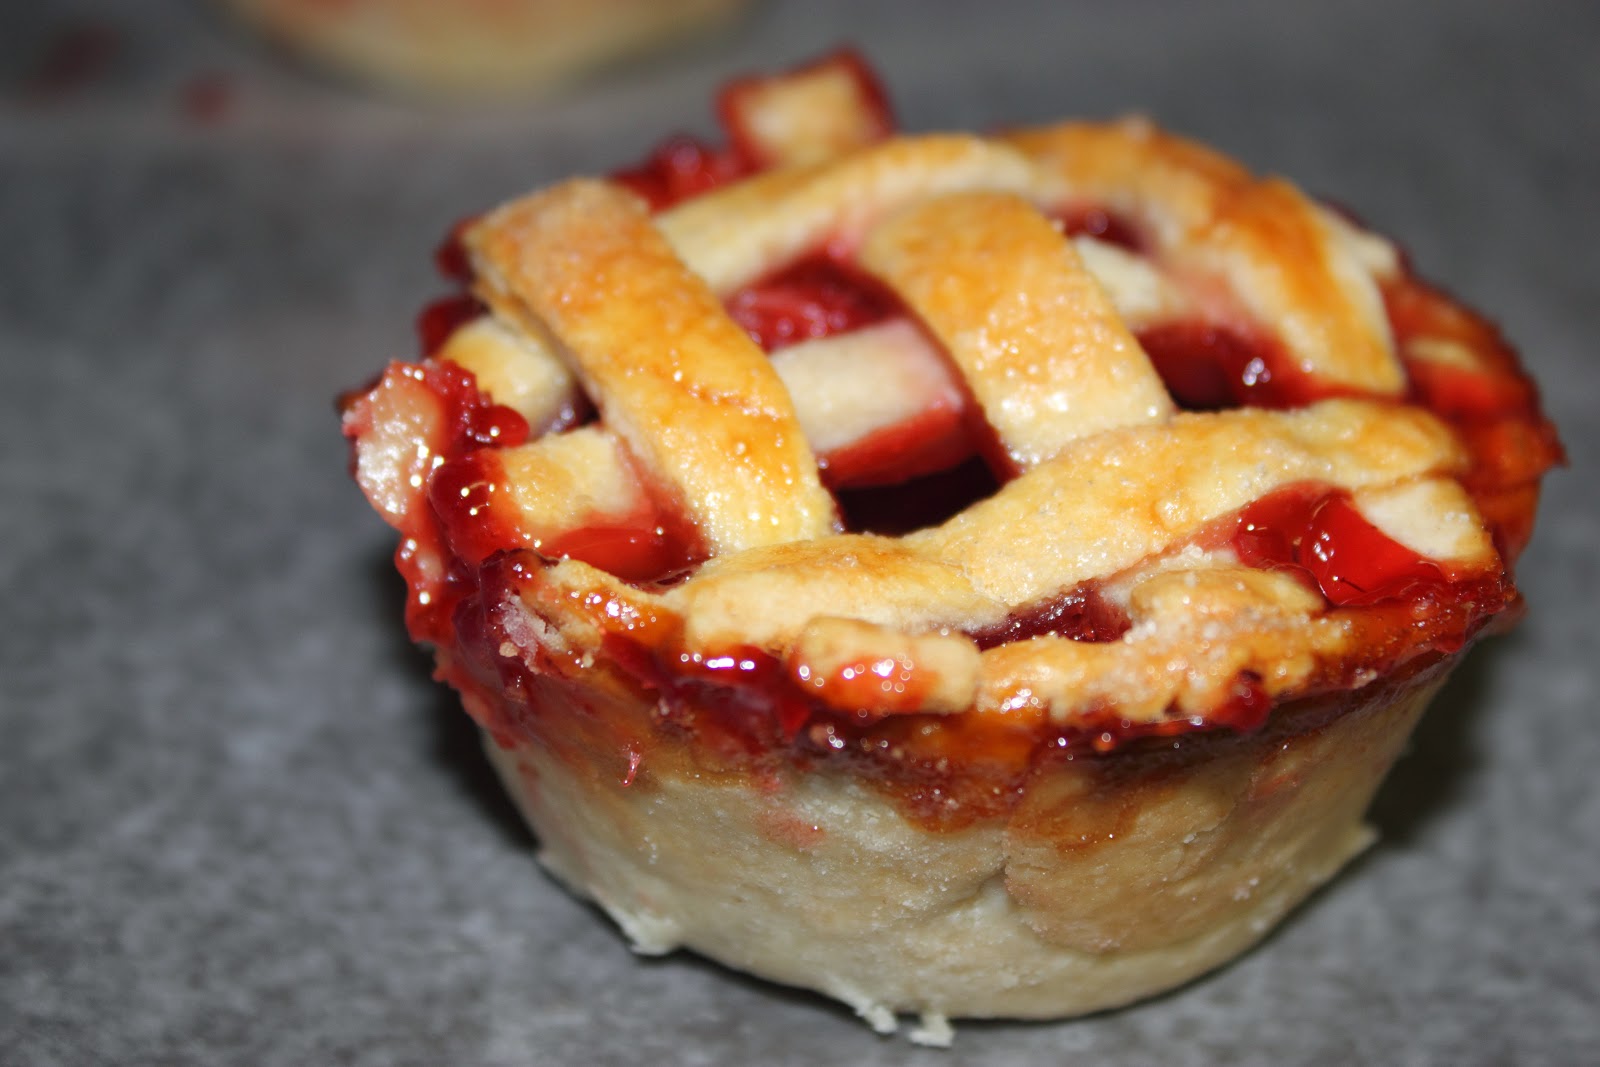
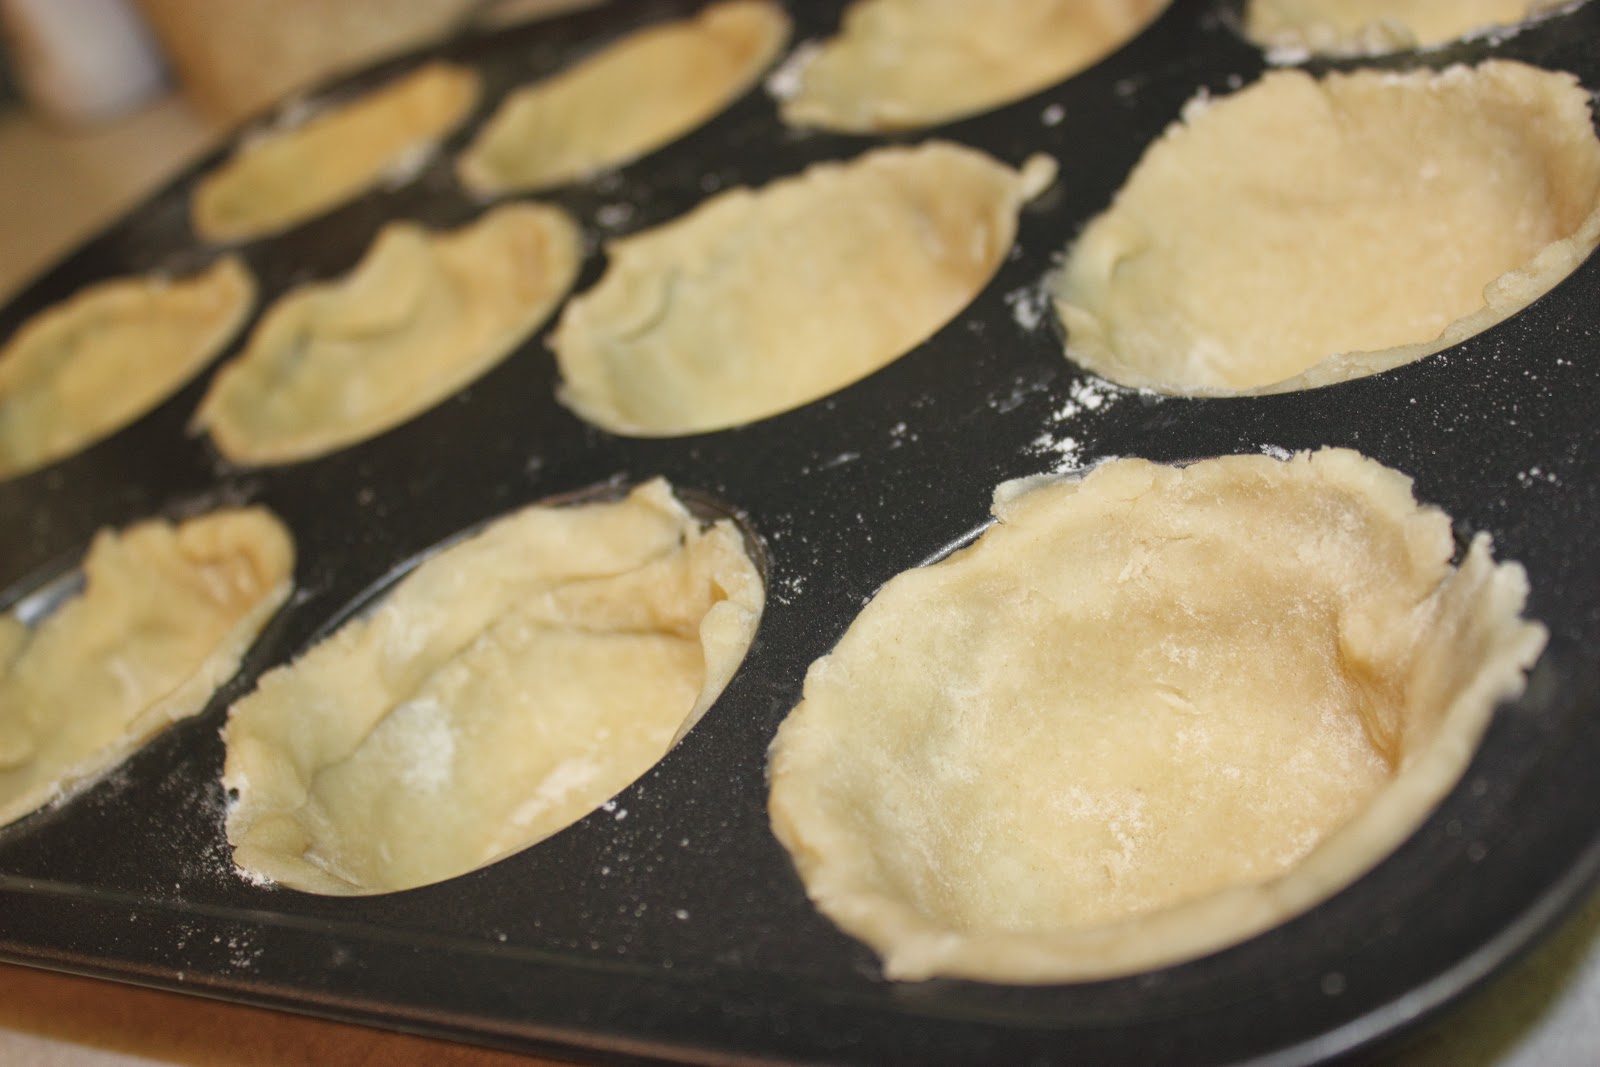
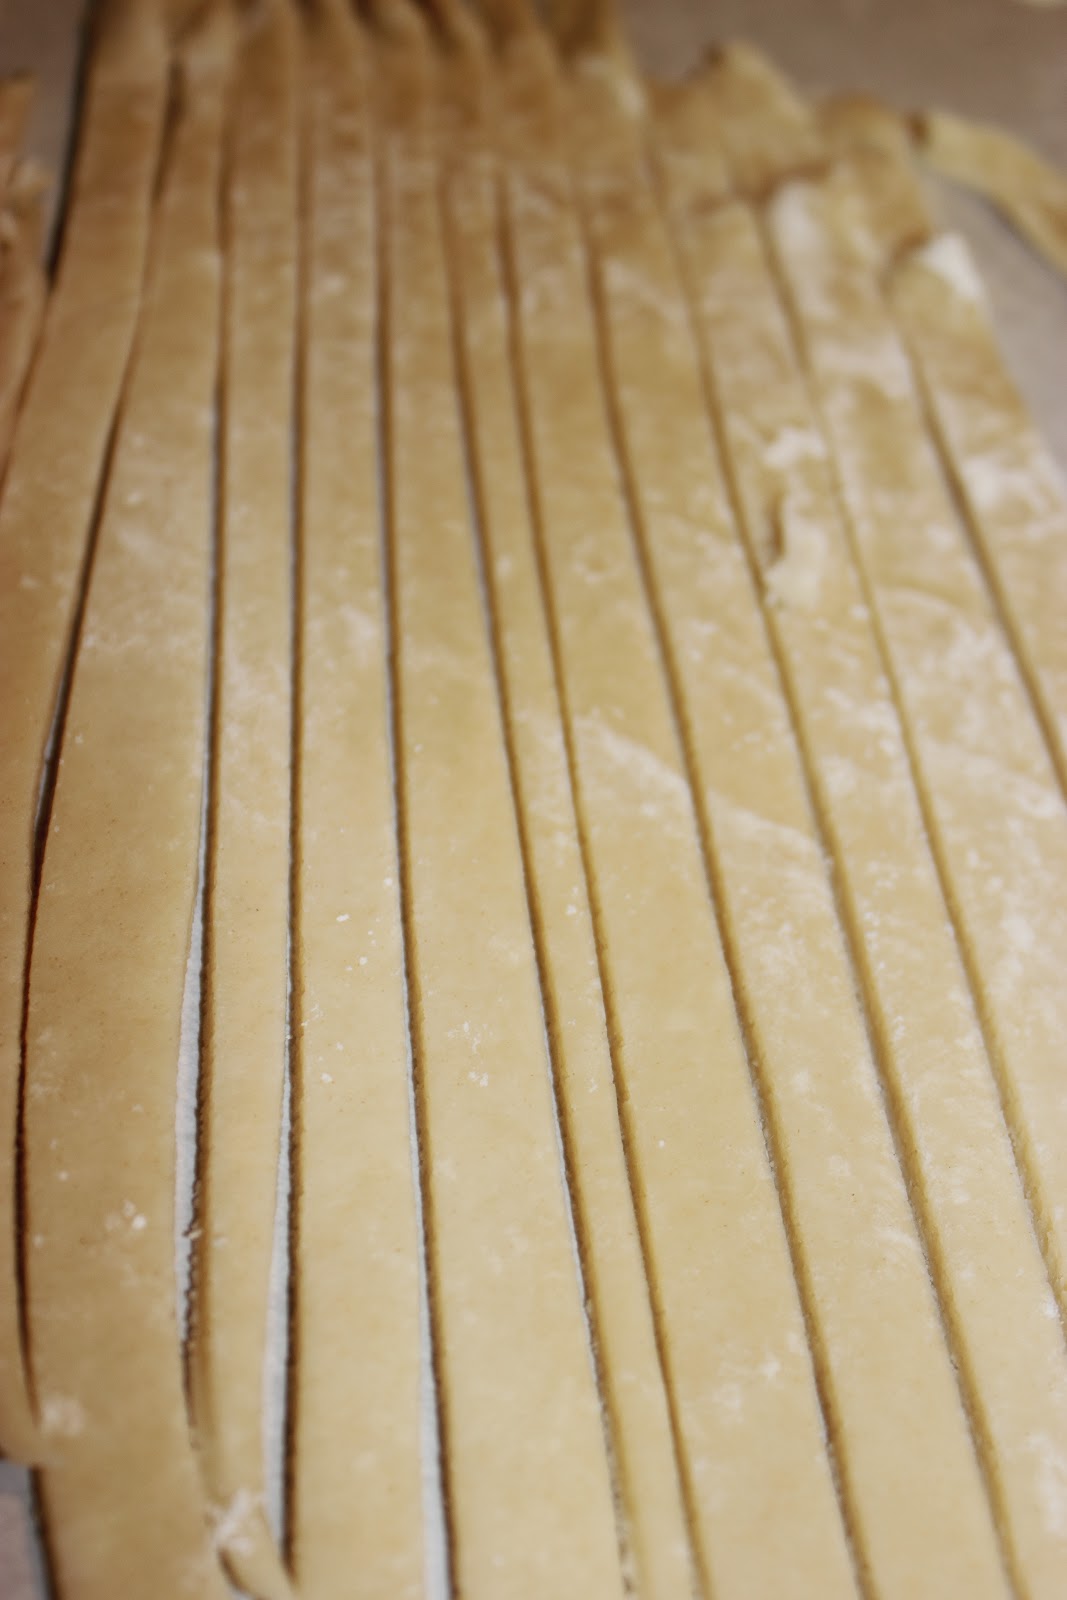
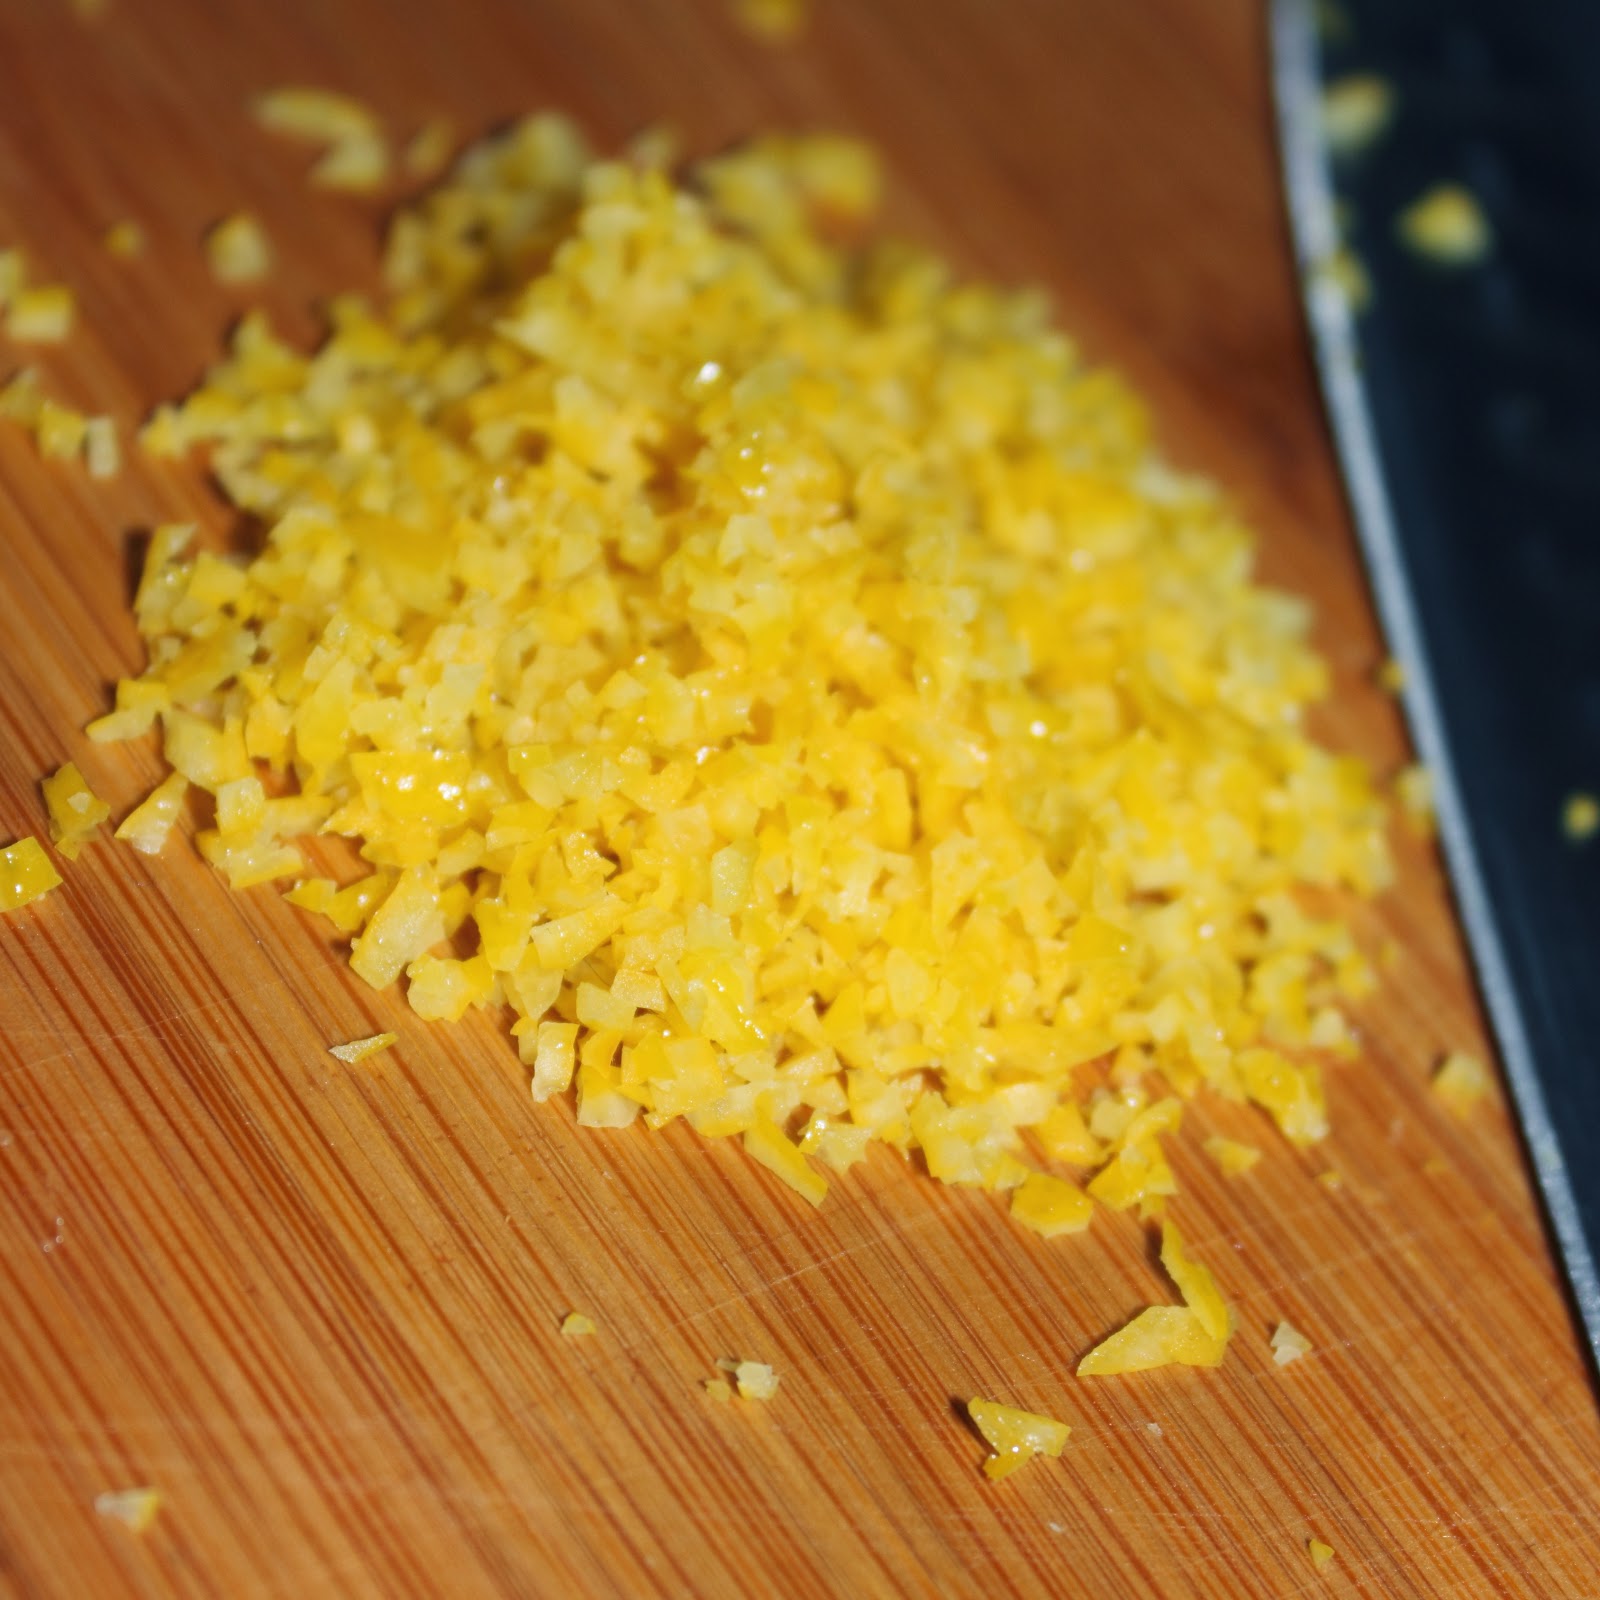
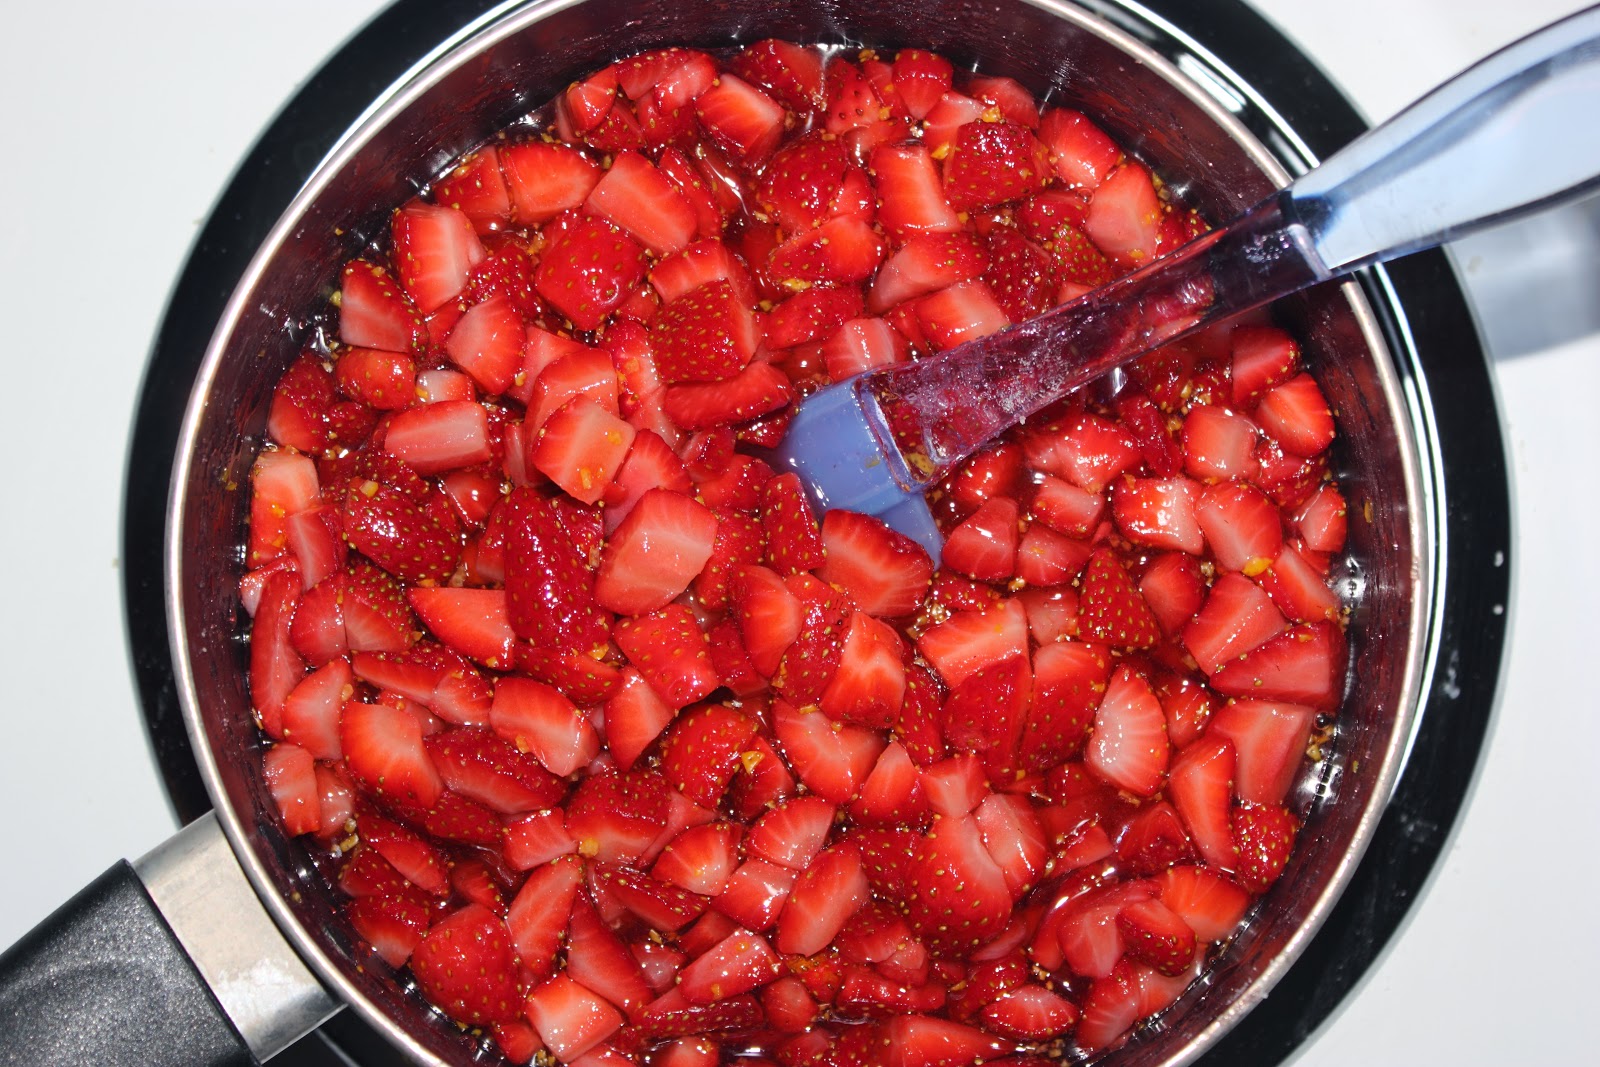
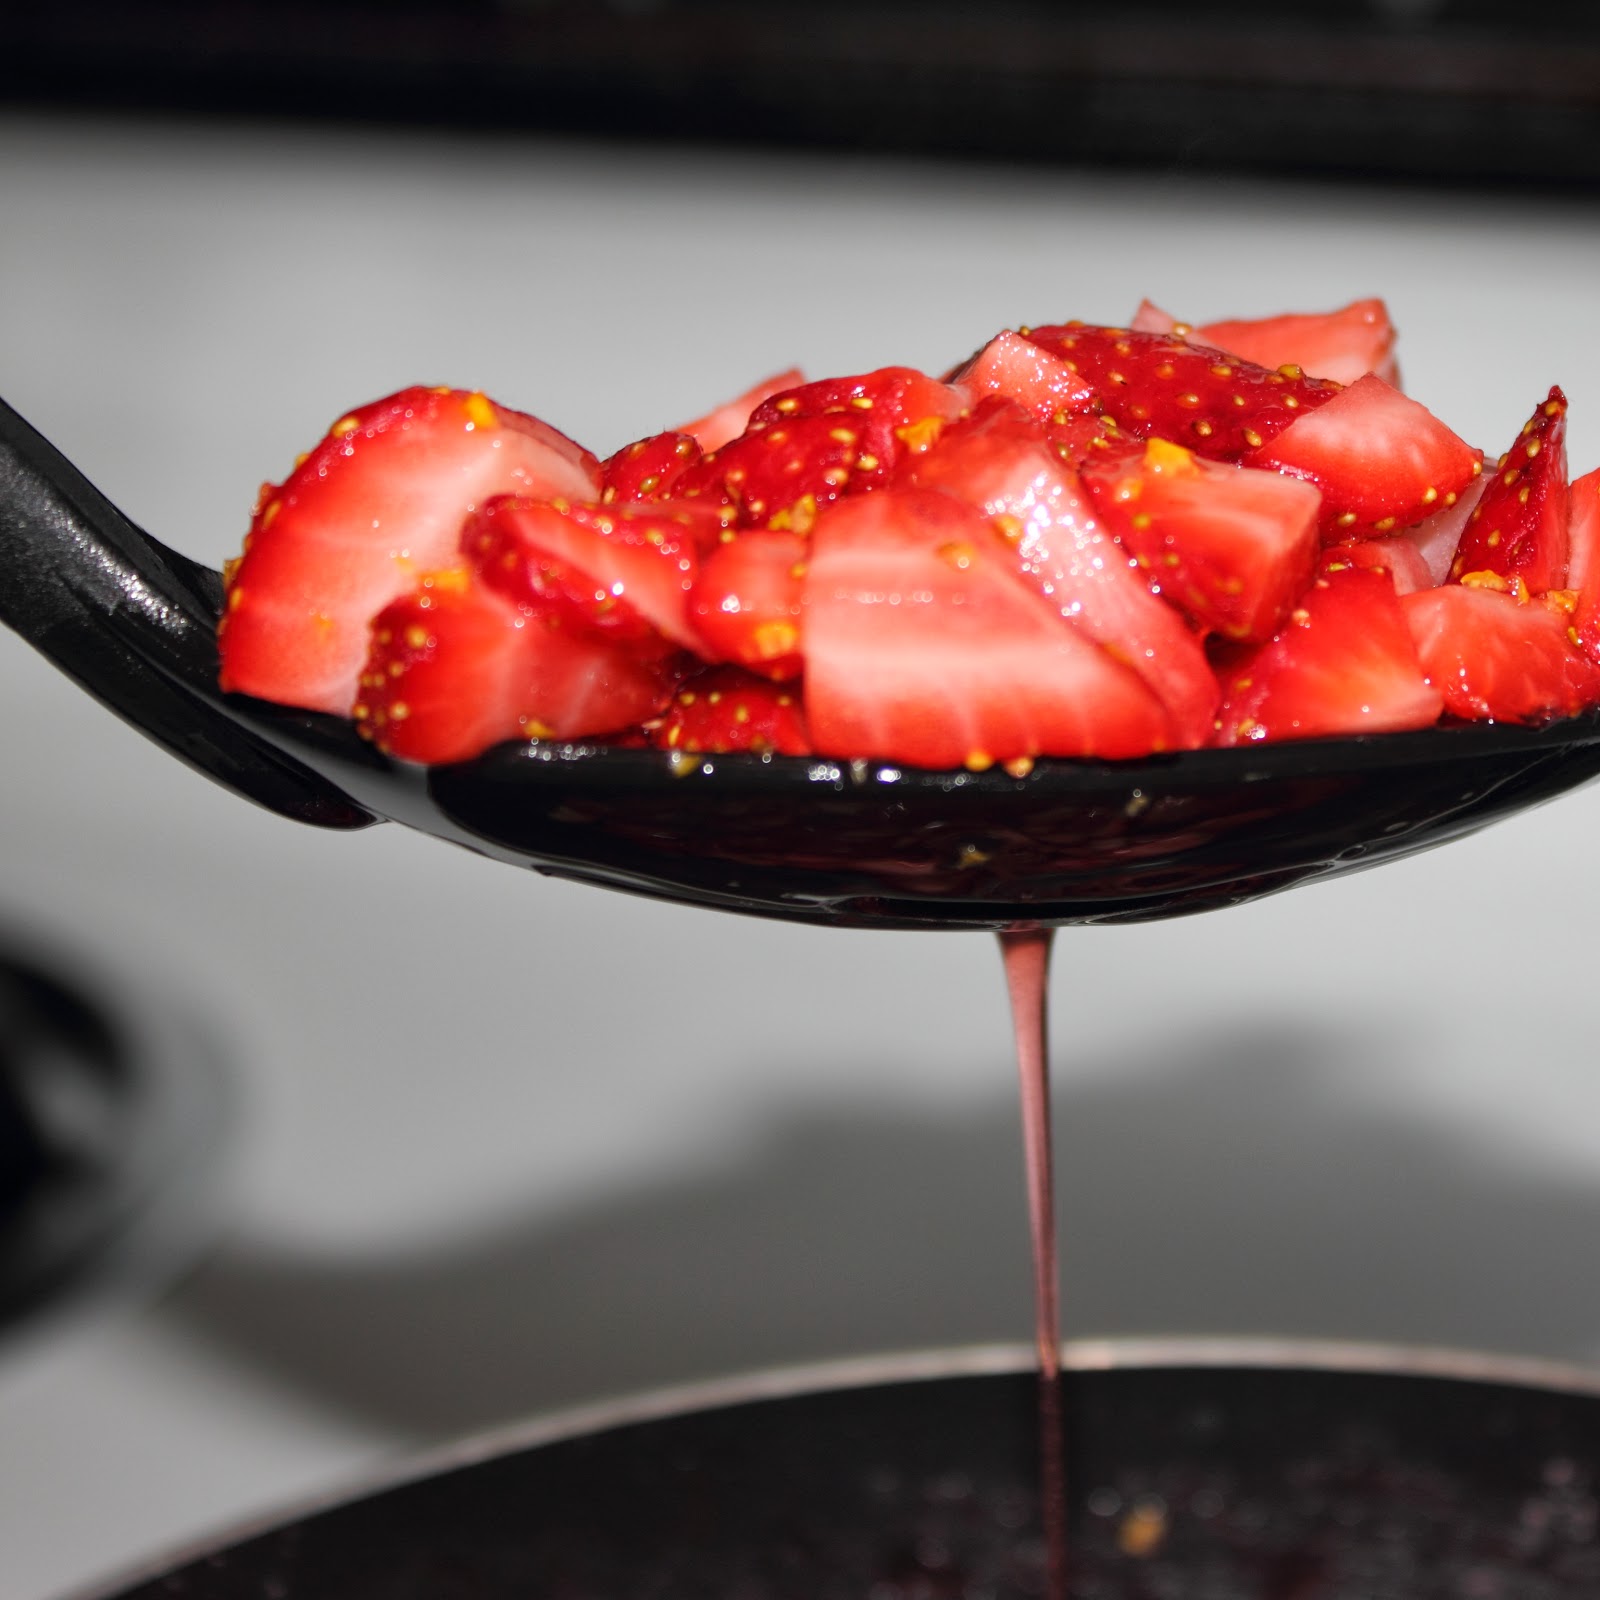
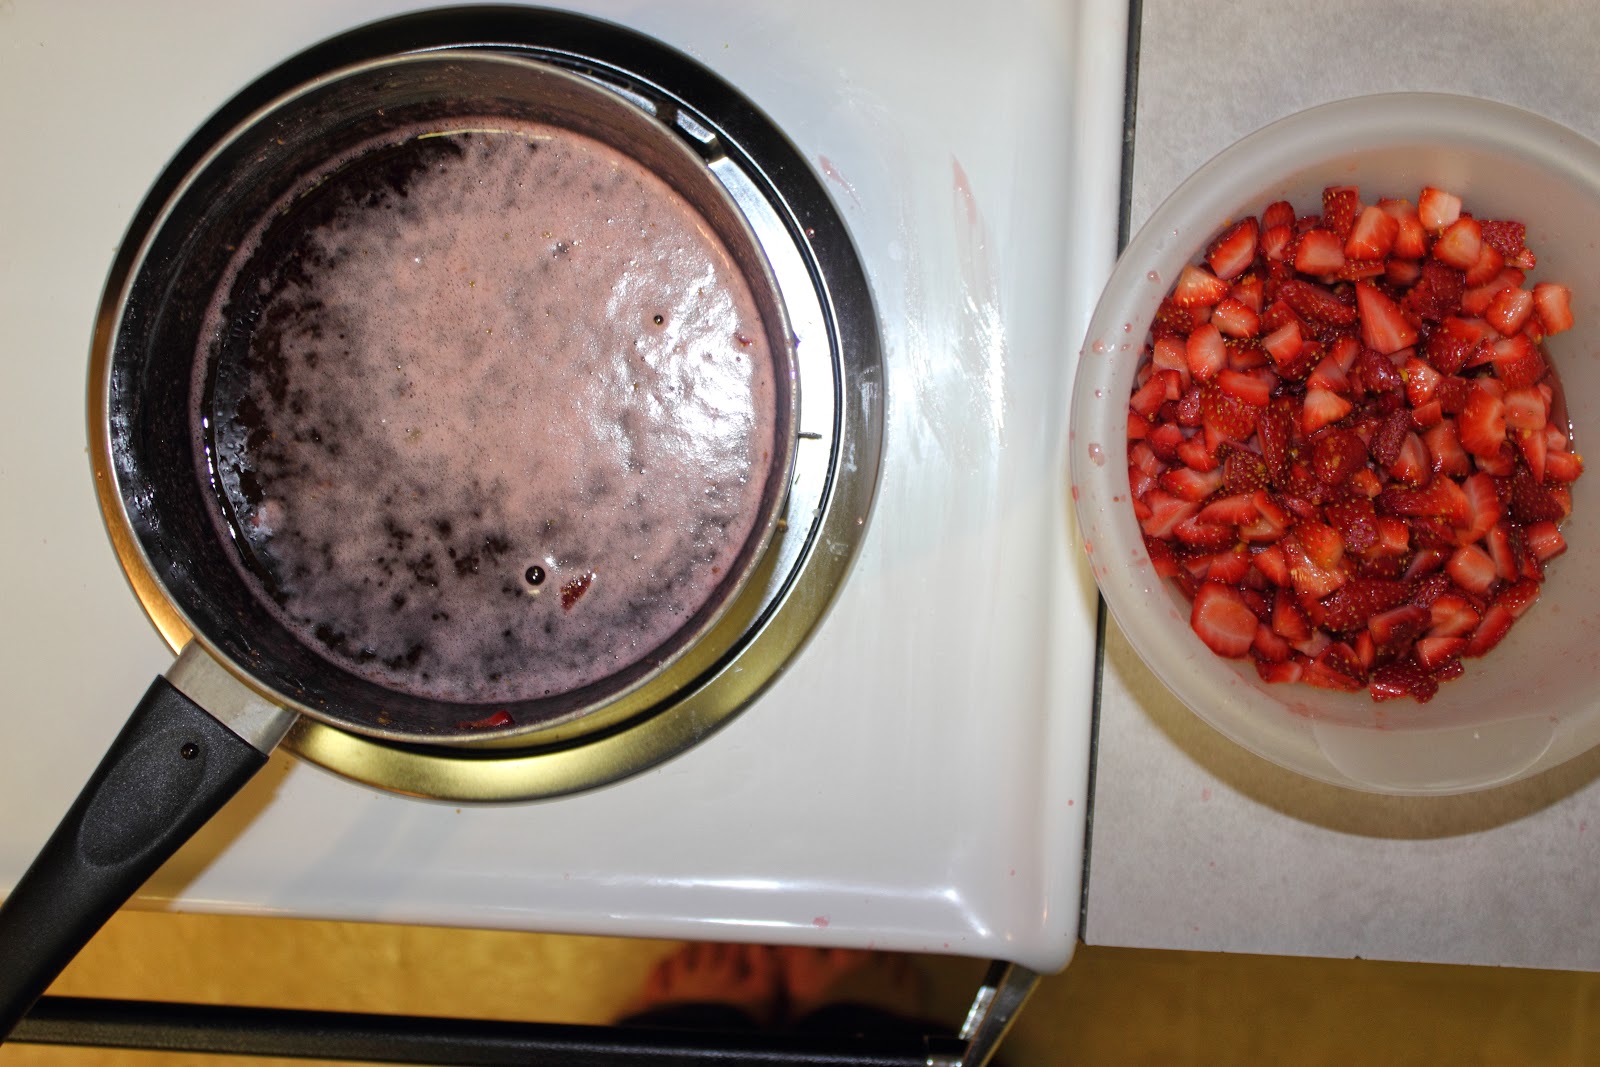
Easy Recipe Alert: Spinach and Artichoke Dip

This cooking novice is all about starting off easy - so for the Superbowl, I decided to whip up some homemade versions of my favorite dishes. I love knowing where the food I'm eating is coming home - albeit, I prefer to buy organic although we don't always and who the hell knows where mayo comes from?

I am obsessed with appetizers, if I could only eat cheese and crackers, chips and dip and mini quiche for every meal, I would be set. So our Superbowl dishes consisted of rotel and chips (good Midwesterners are all too familiar - my east coast friends had never heard of rotel!), crescent wrapped mini hot dogs and spinach and artichoke dip. Here's my super duper easy recipe for Spinach and Artichoke Dip:

You will need: 2 cups Parmesan cheese (we only had 1.5 cups on hand, and it worked great), 1 box (10 oz) frozen chopped spinach (thawed), 1 can (14 oz) artichoke hearts (drained and chopped), 2/3 cup sour cream, 1 cup cream cheese (8 oz = regular Philly Cream Cheese box), 1/3 cup mayo, 2 teaspoons minced garlic and some sort of dipping cracker/bread/pita (we made our own from french bread, butter, and salt).


Bread Directions: 

Using about 1/3 of a large french loaf, we cut thin slices, placed them on a cookie sheet, drizzled a bit of butter and salt on the top. Pop them in the oven on Broil for 1-2 min, turn over and repeat on the other side. Perfectly toasted bread - and we know where it came from (healthy + yummy)!


Dip Directions: 
(Could not be easier!) Preheat the oven to 375 degrees. Mix together the Parmesan cheese, spinach and artichoke hearts.

All I think of is "BLOB" - I love how ugly this looks pre-mix. :) 


Combine remaining ingredients (sour cream, cream cheese, mayo and garlic).


Mix remaining ingredients in with spinach mixture.


Bake 20-30 minutes. Voila! And SO YUMMY!


Monday, January 30, 2012

Artifacts and Taxes

Good evening! This post will be a lot shorter than the last.. mostly because it's tax night tonight (woo?) and pictures are better than words.

Yesterday we spent the afternoon at Architectural Artifacts Inc in the Ravenswood neighborhood of Chicago. My boyfriend was once an architecture major in college and I love taking pictures of weird and interesting things - oh and it's free to enter and browse around - so this place fit us well! We did a quick browse, and I was having some focusing issues (camera, not attention), but I'm sure we'll head back there soon!

I hope you enjoy a few quick snapshots. :)

Which way?


Fly high, little pie!

I may have taken the weekend off from blogging, but we did not take the weekend off from these mini-Strawberry Pies. They are almost gone and although I may have complained on Friday about the time-commitment, they were definitely worth it.


This recipe was a lesson about working with what you have. As you will see, I don't have a food processor, I don't have rhubarb, I didn't have an orange, I didn't even have a rolling pin for goodness' sake! But I made it work - and if I can make pies without a rolling pin, you can do anything in the kitchen too!

This version is actually a take on these Mini Strawberry Rhubarb Pies from the amazing blog Not So Humble Pie. I left out the rhubarb, not because I don't like it (because in fact, this Missourah girl loves rhubarb) and not because I can never spell it properly, but because we just didn't have it. And I'm a fan of using what I got. I did substitute lemon juice and lemon zest for the orange juice and zest.

To start - for my version of this recipe you will need:

Crust
3 cups all purpose flour, plus more for dusting
3 tablespoons granulated sugar
1 teaspoon salt
1 cup cold unsalted butter, diced into small chunks
1/2 cup plus 2 tablespoons ice water
vegetable oil non-stick spray (or butter, which is what I use) to grease the bottom of the muffin pan
1 large egg (for egg wash)
coarse sanding sugar (or whatever sugar you have :) )

Filling
about 3 cups fresh strawberries, hulled and diced (add 3 large rhubarb stalks if you have them and/or want to)
2 tablespoons finely grated lemon zest
1/4 cup fresh lemon juice (the amount of juice from one large lemon)
1 1/2 cups granulated sugar


STEP ONE: The Dough


This recipe is all about working with what you have - so, to start, I combined in a large bowl the flour, sugar, salt and chopped up butter. You want to make sure your butter doesn't get warm or soft in this process as it forms best when cold.


I mixed with some different utensils until I realized it works best with my hands (what doesn't, eh!) and just had at it. If you have a food processor, give all these ingredients a few pulses until you get a coarse meal.

(My apologies for lack of photos during this time, I was having fun digging in with my hands and forgot to take photos. Once it's too late, it's too late. :( )


Then you will slowly add the cold water a teaspoon at a time, mixing as you go, until the mixture forms a nice dough. If you are food processing, have at it. I, of course, used my hands.

Divide the finished dough into two balls (flatten them slightly into disks), wrap them in saran warp and place in the fridge for at least one hour (they can sit for up to a day).


I used this time to chop up my strawberries and plop them in the fridge.


STEP TWO: Dough to Crust


After at least an hour, take one of the balls of dough out of the fridge. On a lightly floured service, roll your dough 1/8 to 1/4 inch in height (yes, I had to use a whipped cream can from the fridge - this is because I live with two guys and I don't have my kitchen supplies - you are free to use your rolling pin).


To create your crusts, you can use a biscuit cutter or any other round kitchen object you see fitting. :) The size of your circles will depend on the size of your muffin pan. This reminded me of Goldie Locks - the boys, of course, do not have a biscuit cutter, so I first tried a drinking glass, but it was too small.. Then I tried an oatmeal container, but the circles were too big. Finally I found a large container of popcorn and cut around the bottom to create my crusts, and you guessed it! It was JUST right.


Grease your muffin pan and gently work the crusts into each space. You will need to work them as pockets of air get caught under the dough, and you also don't want the dough to rip or buckle in on itself. You will also want to make sure that a little bit of the dough is sticking out from the top of the pan (this helps with cleanup at the end.


You should be able to cut 24 shells out of the dough with enough left over for some strips. If you have a larger muffin pan, you may be coming in with 18 or so pies. Use the remaining dough to cut thin stripes to be used on the top of the pies. 


Into the fridge goes the tray of crusts and the strips of dough - for at least 30 minutes or until the dough is firm.

STEP THREE: The Filling


Oooooof course we don't have a zester, so I used a potato peel to peel small strips of the lemon peel and then chopped these pieces as finely as I could until they resembled lemon zest.


In a pot, you want to mix in: the strawberries, the sugar, lemon juice and your lemon zest. Heat this on medium for about 10-15 minutes or until the strawberries are barely soft to the touch.


With a slotted spoon, remove all of the strawberries from the mixture and heat the sauce over medium until it starts to thicken. Add a little bit (I think I added 1/4 a cup) back to the strawberries - the rest I put in the fridge and will use this week for something!


Hello little cooker toes!

Remove your pie crusts from the fridge, and add 1.5 - 2 tablespoons of fruit filling to each shell.


Brush the edges of the pie crusts with egg wash and then top with the dough strips. Add a touch of sugar to the top of each pie.


Put these bad boys back in the fridge for at least 30 minutes or until they are firm.


STEP FOUR: The Baking


You will want to preheat the over to 350 degrees. Remove the pies from the fridge and pop them in the oven for 60-70 minutes.


They make your place smell so good!


When they are done, use a knife to gently remove them from the pan while they're still hot (removing the risk of them sticking to the pan) and leave them on a wire rack to cool.


We ate them plain, but some vanilla icecream would go a long way in making it feel like summer! :)

I hope you enjoyed - now go fly high, little pies!

Friday, January 27, 2012

Life should be easy.

I believe it: life should be easy.

Or, at least, life should not be hard. So I just popped in the oven 12 mini-strawberry and lemon pies (of course I had to add lemon, I am addicted to lemon) which has so far taken 5 hours to make! This is not easy, this is hard, and probably the last time that I will make mini pies (until mincemeat pie season, because I want to try those). Anyway, those pies = next blog = 30min/pie each = whoever eats them better love them.

So I wanted to post a quick and easy recipe, complete opposite of what I did today. We have had stir fry chicken and veggies with rice two days this week - which is a testament to how amazing (and easy!) it is. Potentially one of my favorite meals ever - and those are two days per week that we are not eating pizza (which my boyfriend would eat 7 days a week if there was enough pizza in the world).


You need: veggies (whatever you like - I use white onion, carrots, celery and green pepper), chicken (or tofu or another meat or you can take the protein out, I am flexible with what you decide to make for yourself), rice and about two table spoons of oil (I love this recipe with peanut oil but we didn't have it so we used regular olive oil).

Choppy chop chop - Get your oil warming in a pan (usually medium or medium/high), add thinly sliced onion and let those fry up beautifully as you chop the other veggies.


At the same time, start your rice. To be honest, I never cook the rice, because I usually burn it or it all sticks, so the boyfriend makes the rice, perfect, every time, I don't know how he does it. My best suggestion is to follow the package instructions (you have ever right to close this tab and never return to my blog again - "she is telling me to follow the directions on my own package, useless!" I understand.) Moving on.

When your onions are starting to caramelize and are completely soft, add your other veggies to the pan. (The picture above looks like my veggies were pretty chunky but in fact, the carrots were slivered width wise into 1/6ths - I say the thinner the better for all stirfry veggies.)

In a separate pan, start your proteins. Although I prefer fresh, we had only frozen chicken breasts available so I took enough for two hearty servings out and grilled them up (on medium). 

See the veggies, chicken, and rice, all living harmoniously on one stove?
Once the chicken is cooked (or no longer frozen, ugh), chop it up in quarter size pieces and toss it on in with the veggies. Don't be shy. Your veggies should be softening up nicely and the onions will be caramelizing beautifully.

The chicken will pick up the oil from the pan and start searing nicely with the veggie flavors. Leave frying for another 10 minutes. 

Just pile that deliciousness on top of the rice - I like to add a little soy sauce, and voila, life could not get easier!

I am wishing you a wonderful and *easy* day! Cheers.