Showing posts with label Paper Source. Show all posts

Thursday, May 3, 2012

DIY Monogram Letters


We are, as human beings, incredibly narcissistic. We love most everything to do with ourselves. Including our names, our initials, monogrammed bags, jewelry, mugs, you name it (ba dum cha!!). 


As English speakers, we're very lucky that there are only 26 letters in the alphabet - it makes personalized stationary, anything with initials (oh, I'm wearing an "L" necklace right now), and gift giving a lot easier.

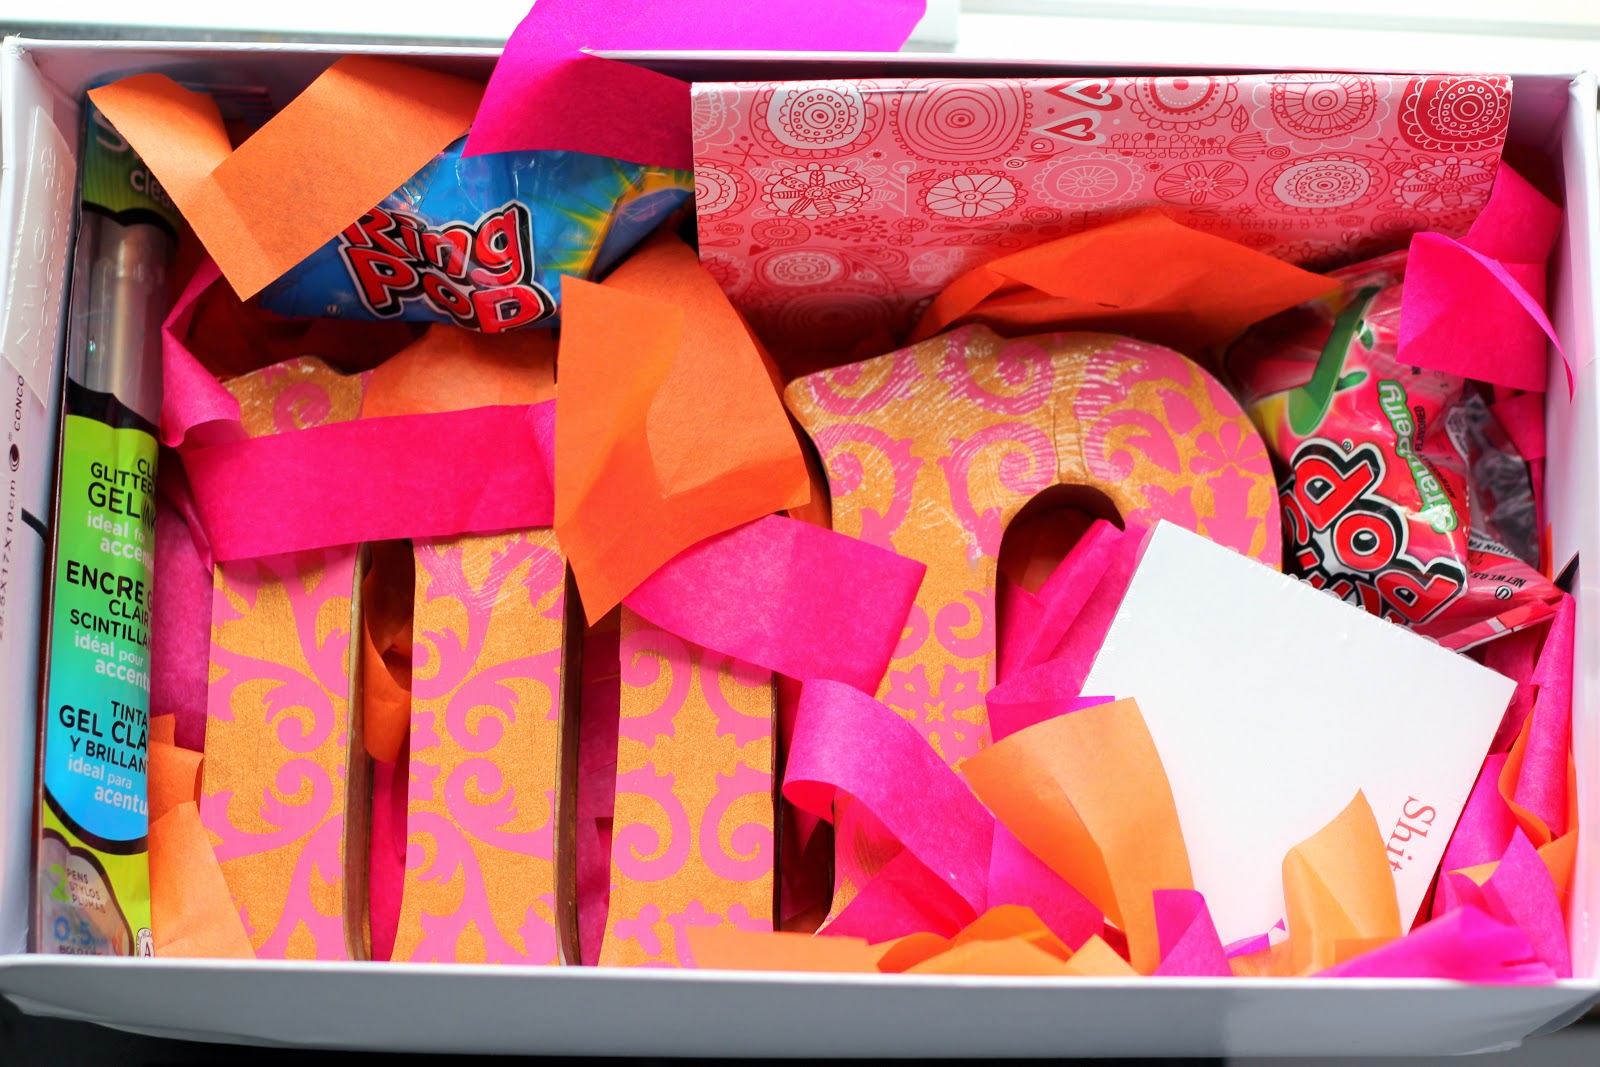
While trying to find a (fun, young and thoughtful) gift to send a friend, I ran across these cardboard letters! Now, tell me, who doesn't love their initials?!
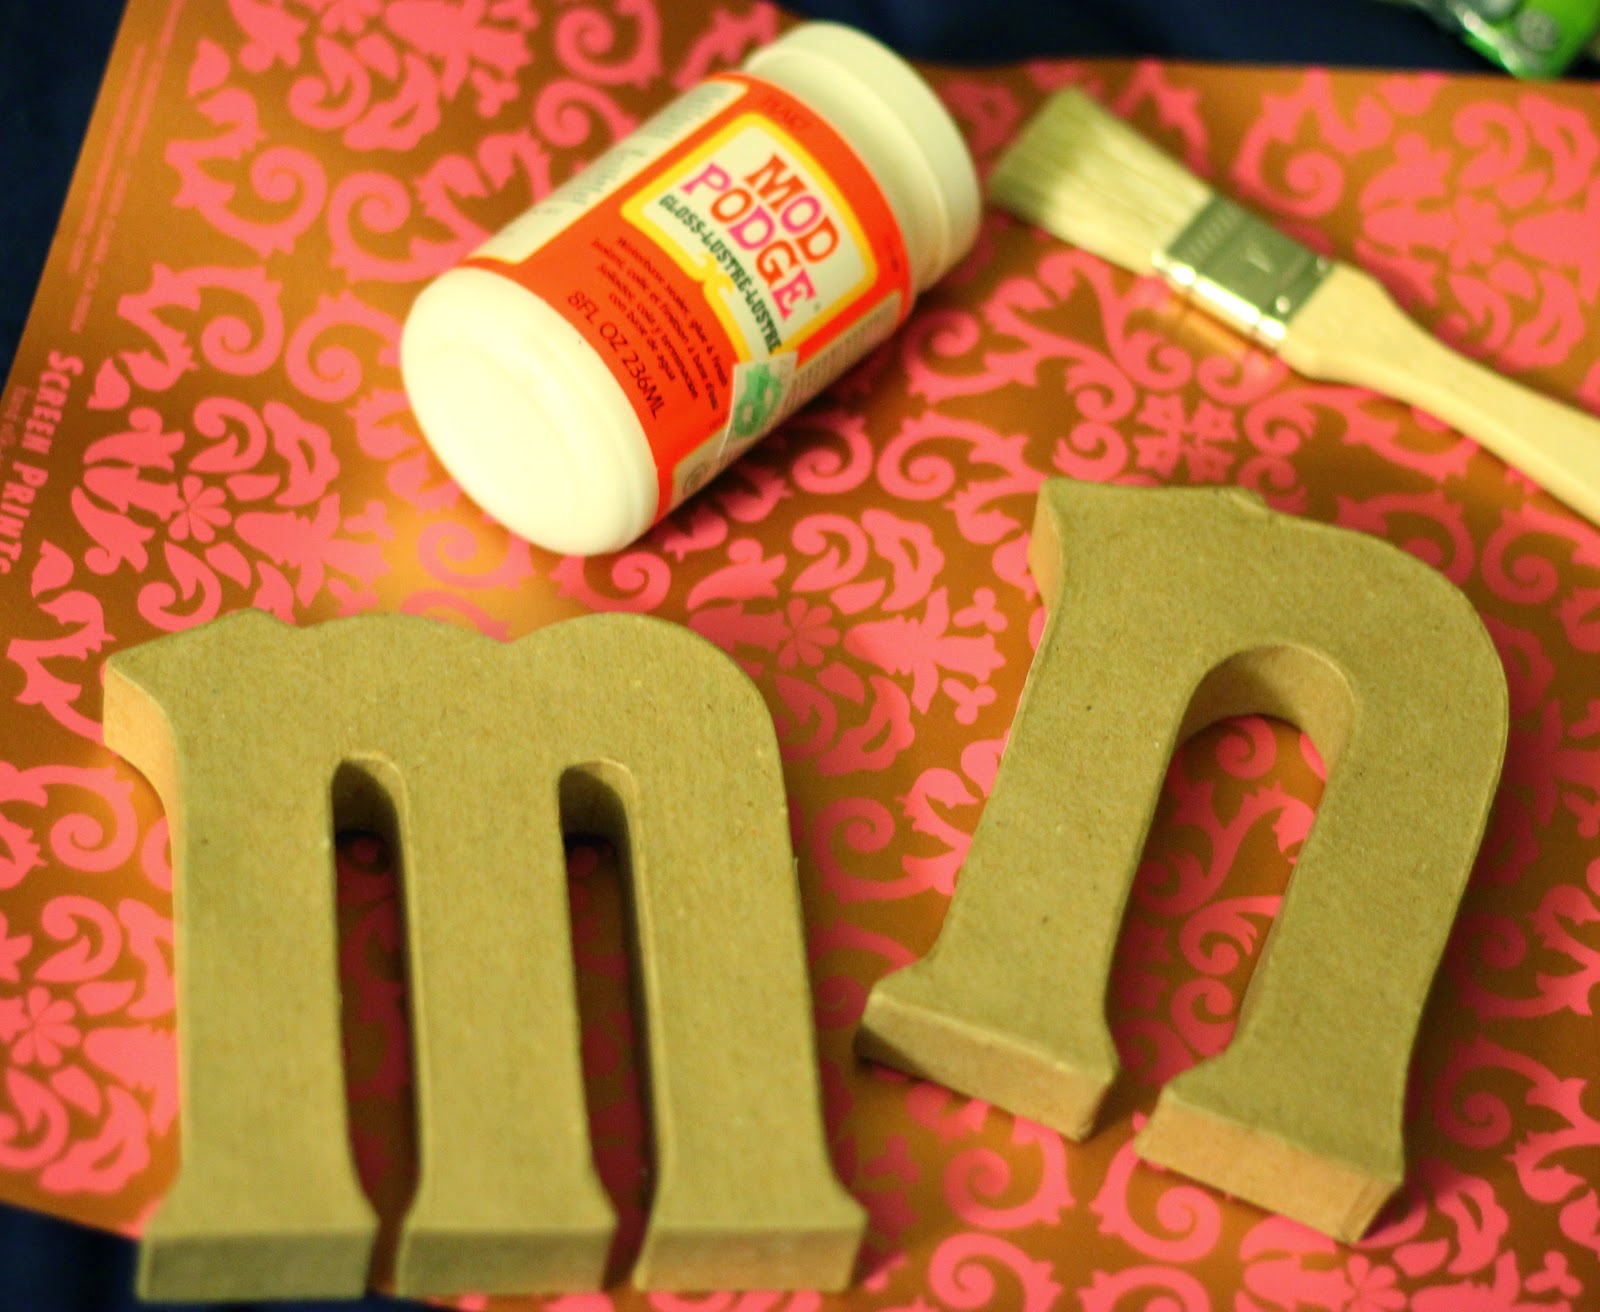

At less than $4 each, I grabbed one for my friend's first initial and one for her last initial and one sheet of pretty craft paper.. I already had Mod Podge and a brush. 
Total cost coming in under $10.

Easy + inexpensive + thoughtful + I get to play with glue* = perfect present!
*I started the first part of this project in bed, while my boyfriend worked. He gave me a look which said "don't get glue on the bedspread" and I responded with a look that said "Gawd, so insulting! I can't believe you don't trust my crafting skillz!" Sure enough - I spilled mod podge on his bedspread. I don't think I'm allowed to craft in bed anymore. :-/

To start, I traced my letters on the back of the pretty craft paper (making sure to trace one for the front of the letter and one for the back of the letter).
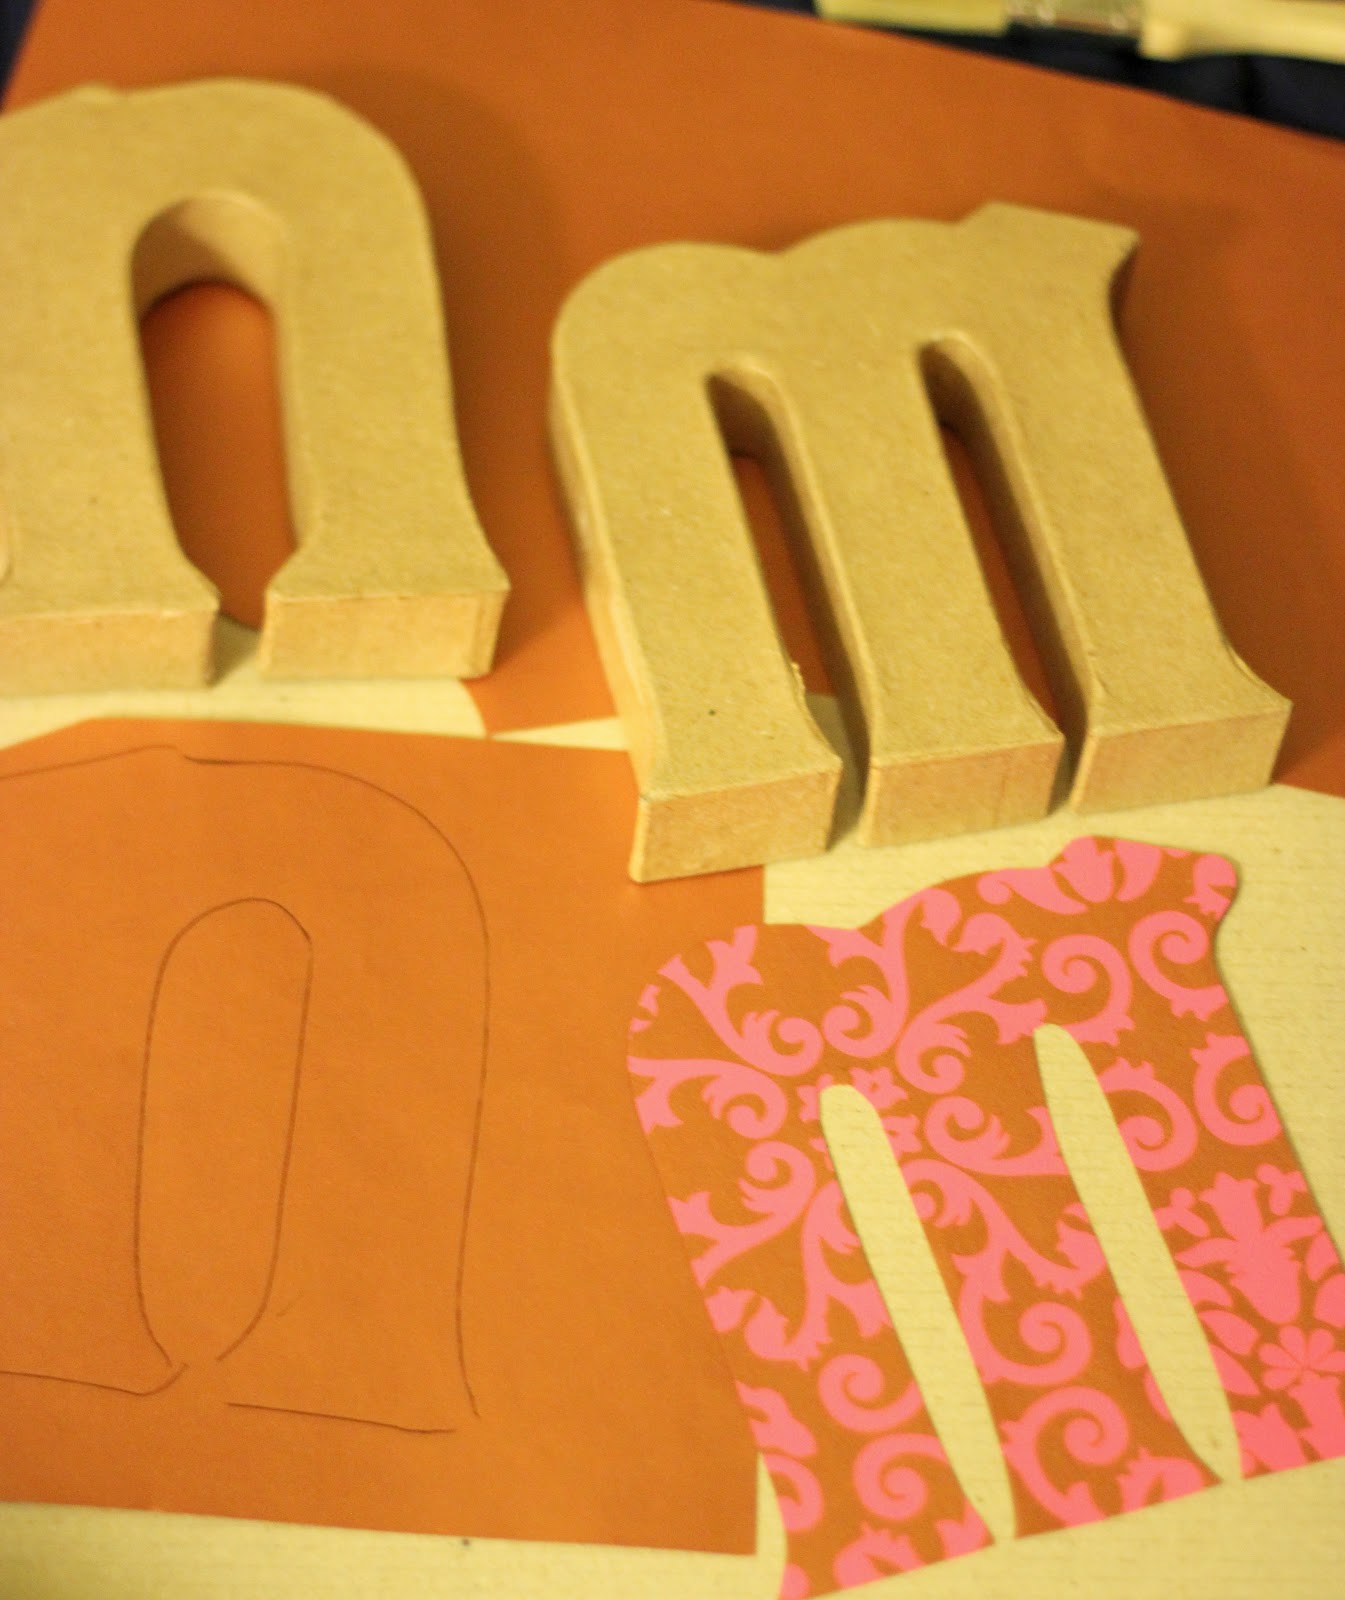
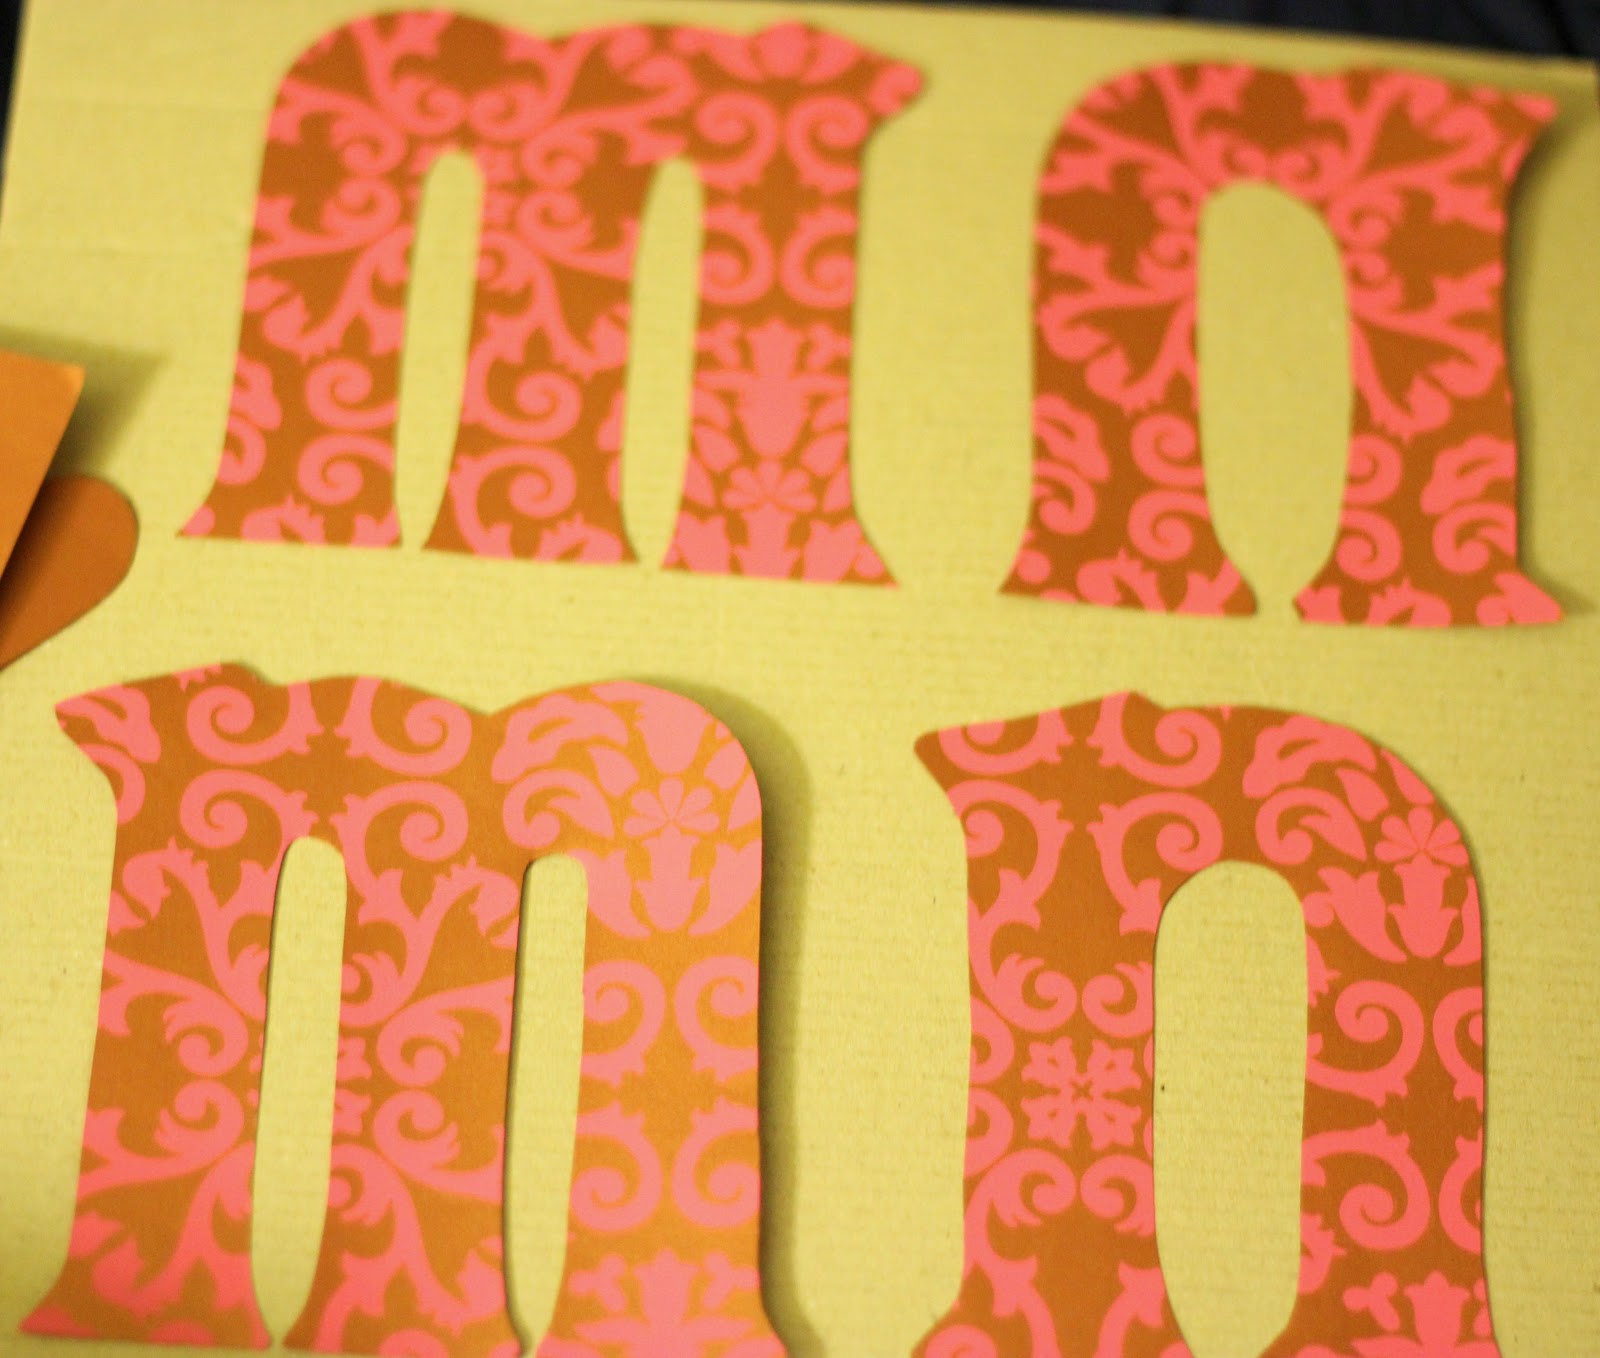

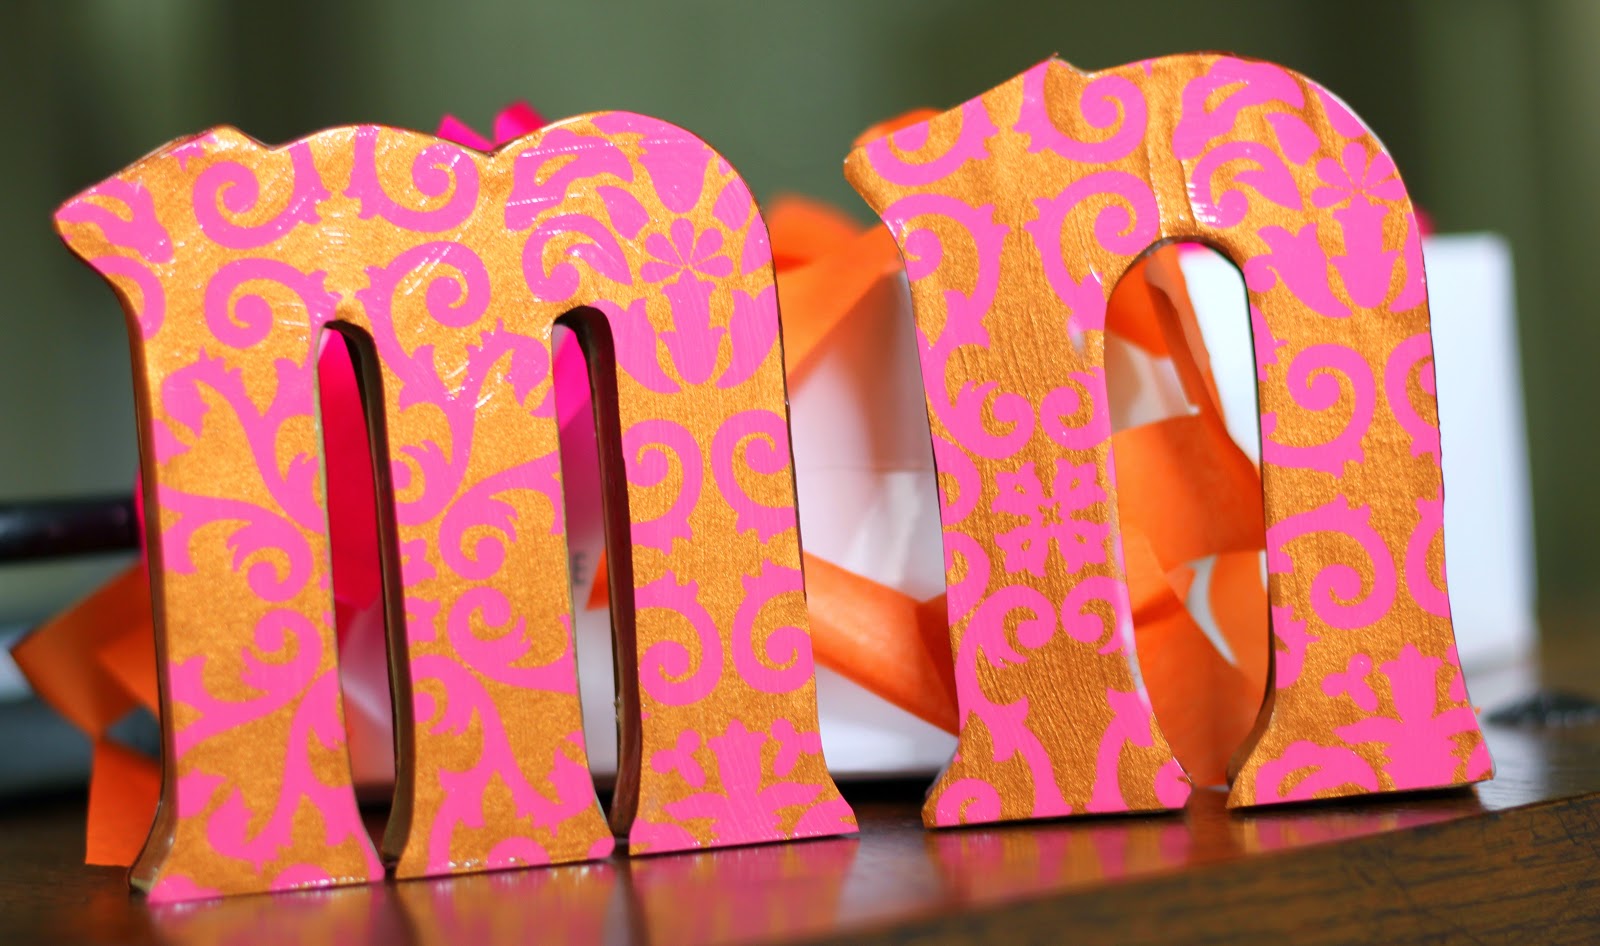
After cutting out my letters, I used the other side of my craft paper (which is usually a complementary color, mine was shiny gold) to decorate the sides of the letters (you can use the front pattern or no pattern or a totally different pattern - it's your thing, you do what you like!). I Mod Podged the sides first, then the back (as a tester in case anything went wrong) - after the sides and back dried, I did the front. 

The whole process is incredibly simple:

1. Apply a layer of Mod Podge
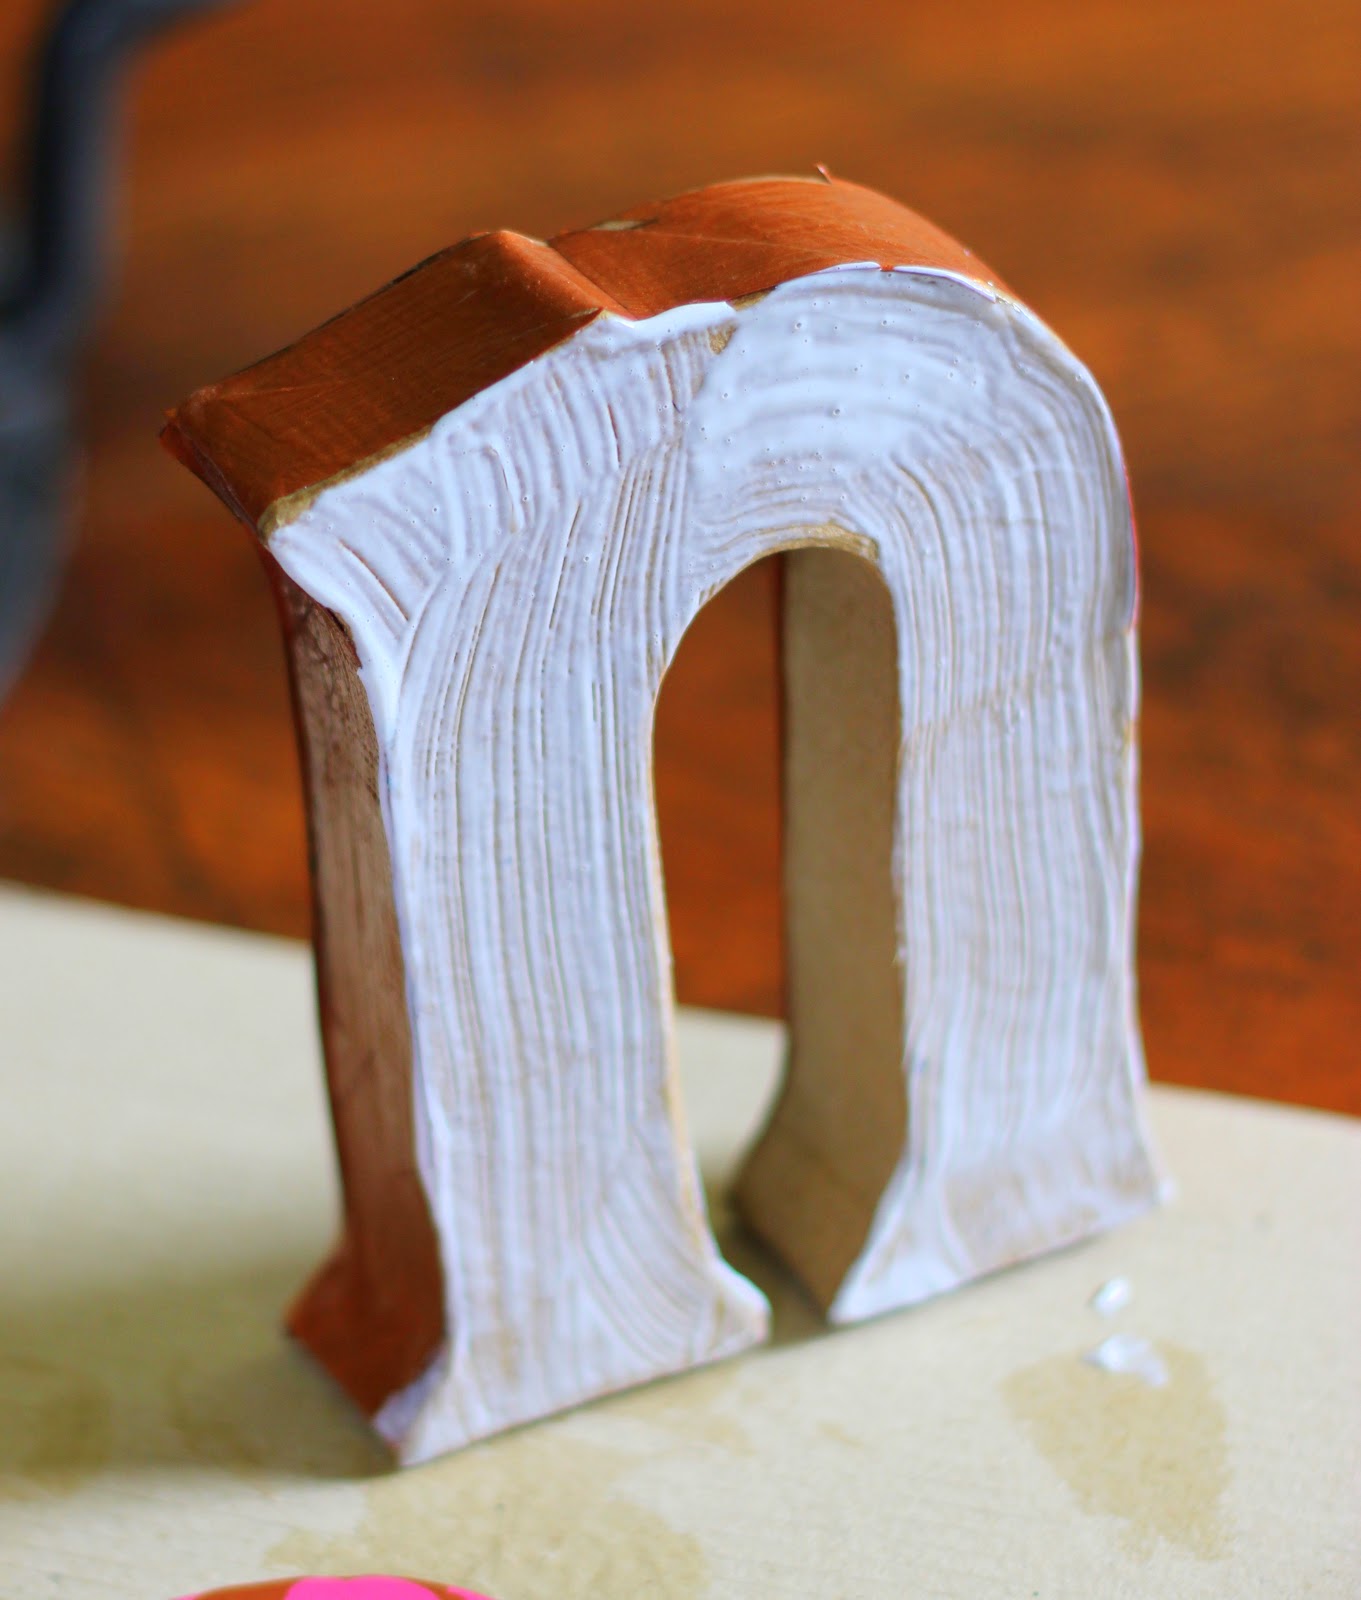

2. Apply the paper cut out, pressing it firmly and securely 
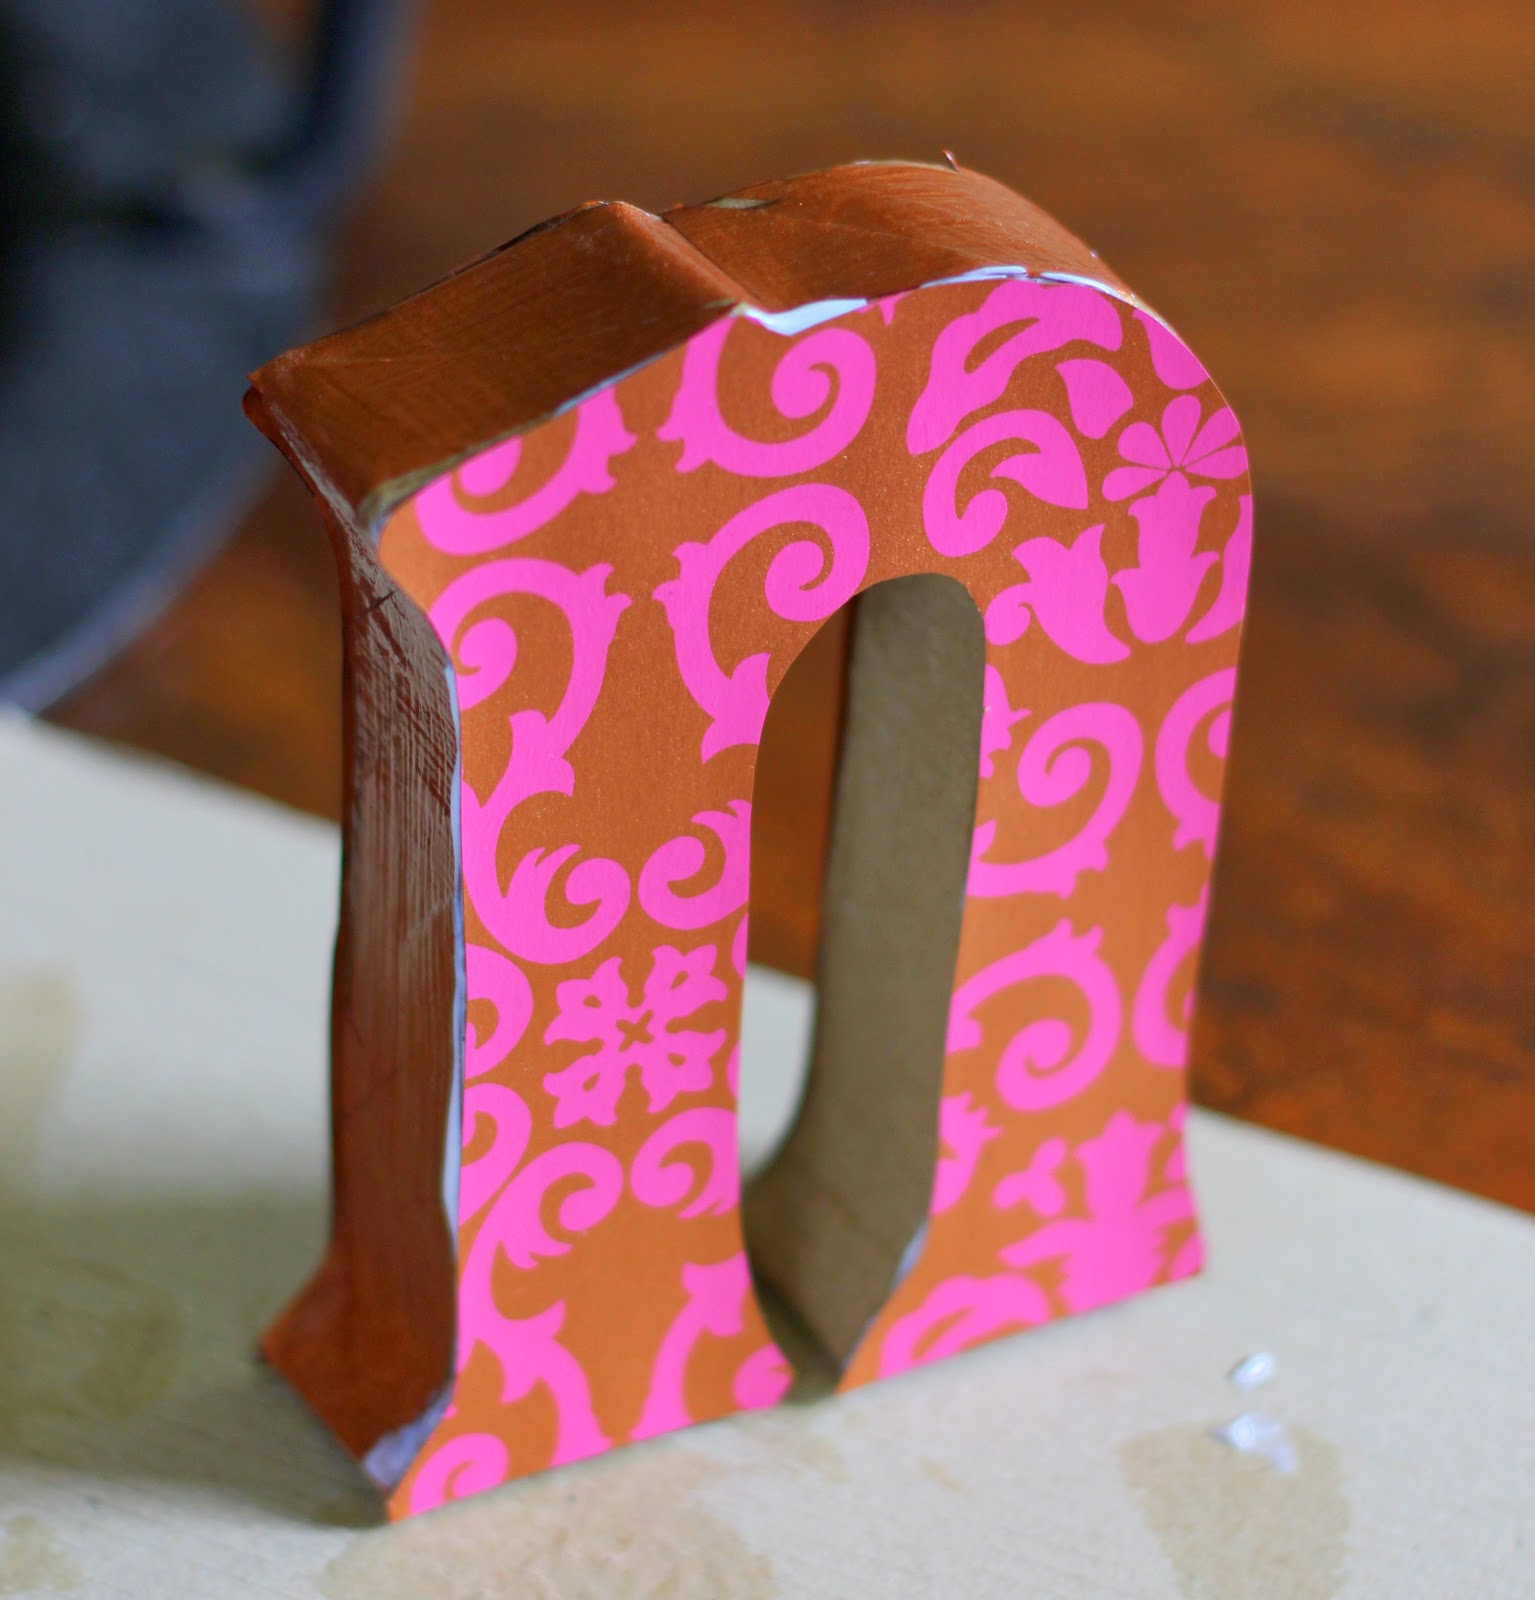

3. Apply another layer of Mod Podge
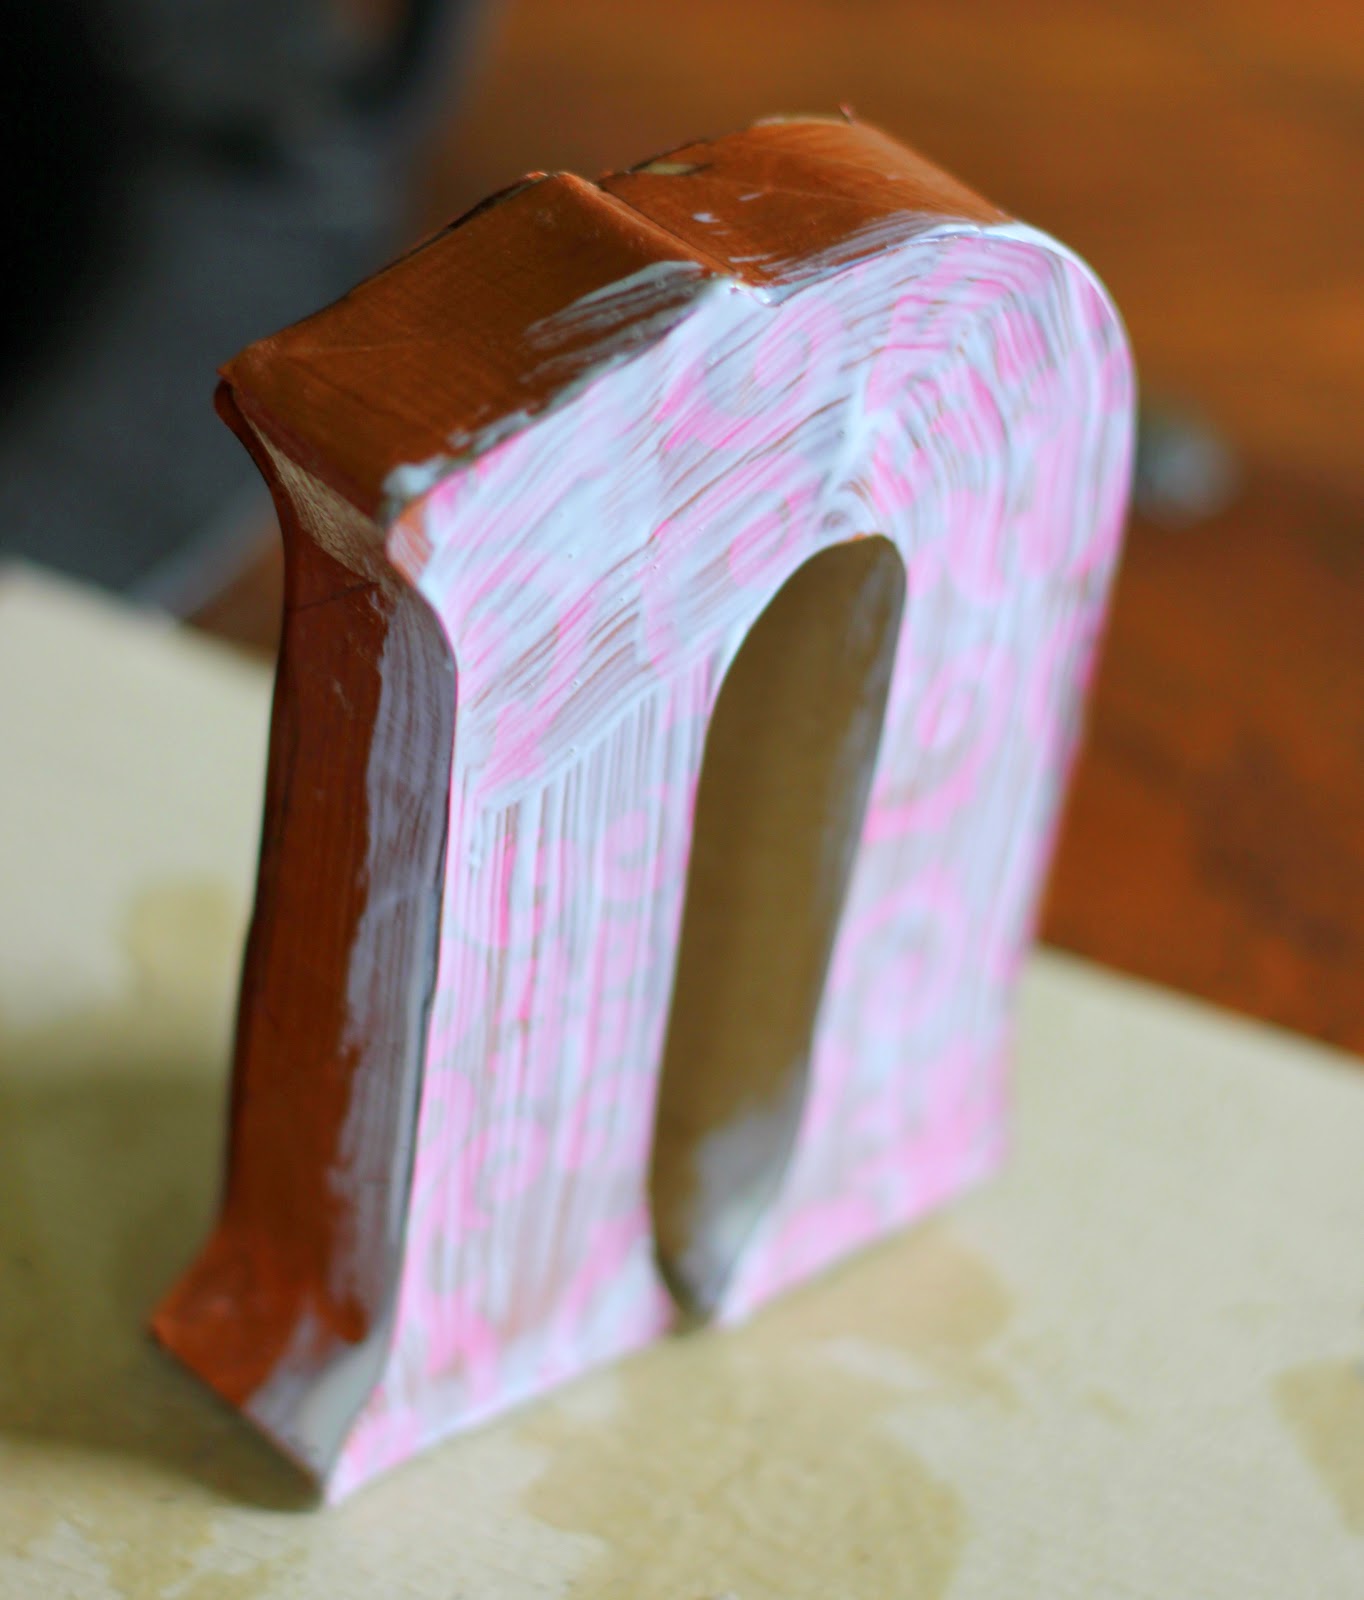

4. Sit back and watch two episodes of The Office as your letters dry
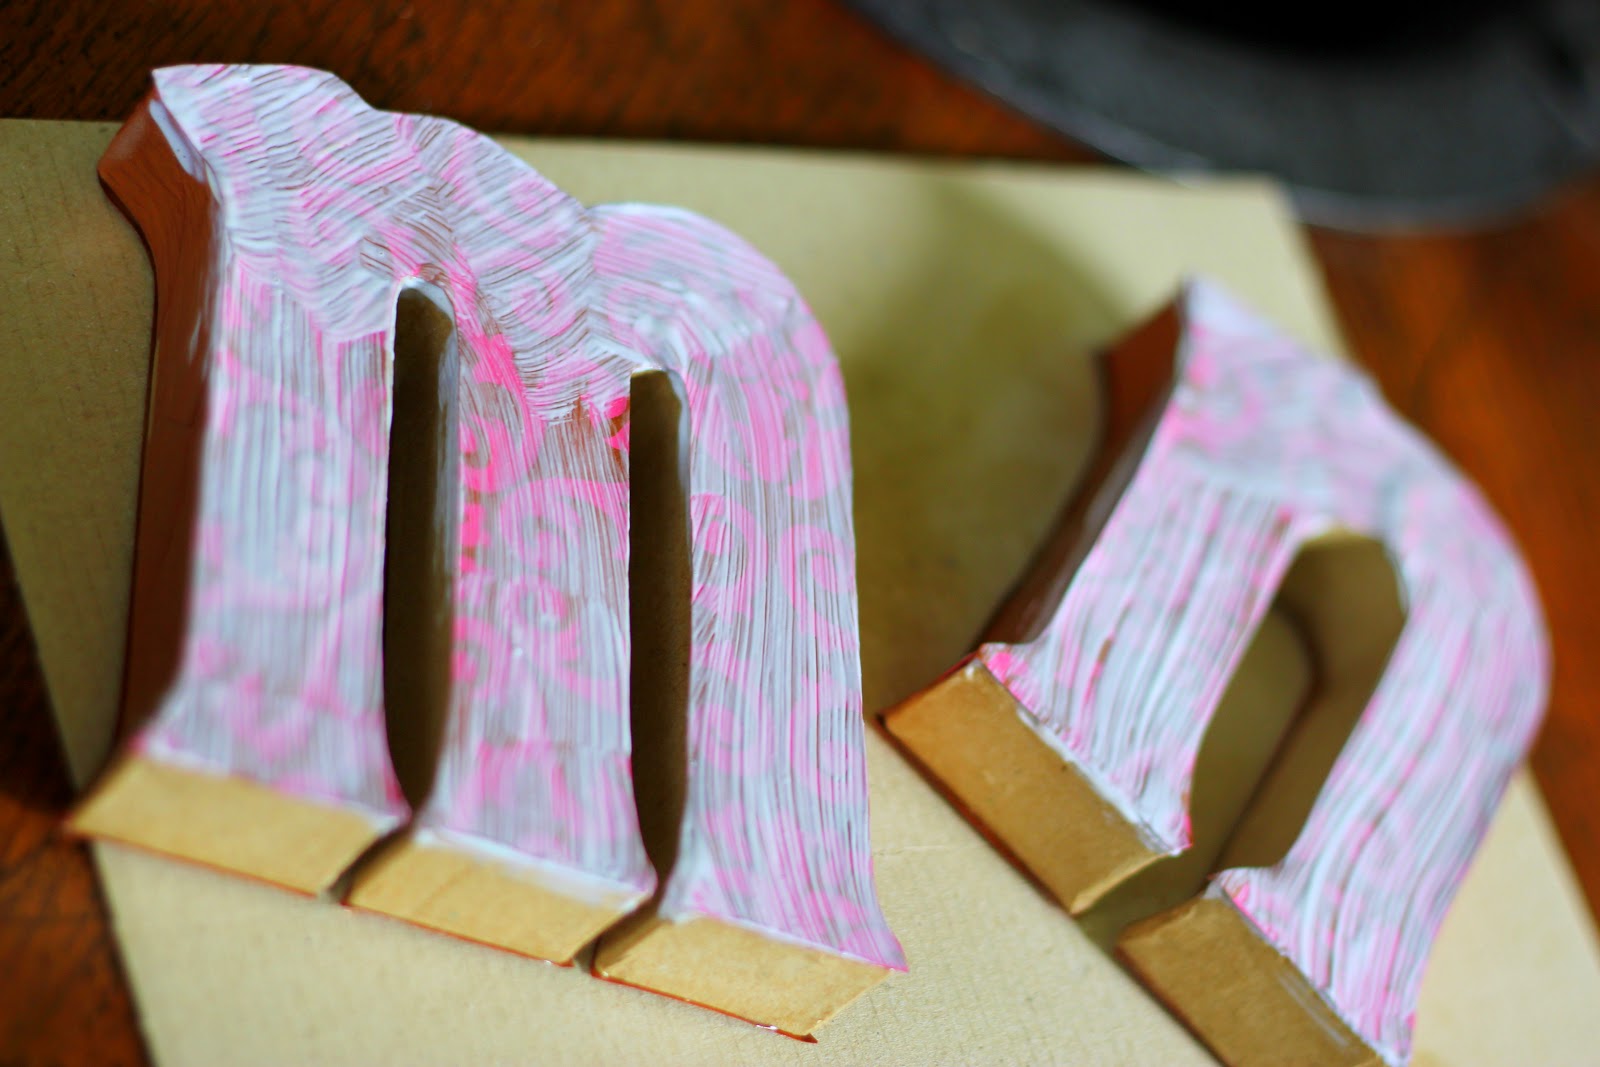

TADA! BEAUTIFUL!
Haha, from the pictures, you didn't think they'd turn out this great, did you? :)
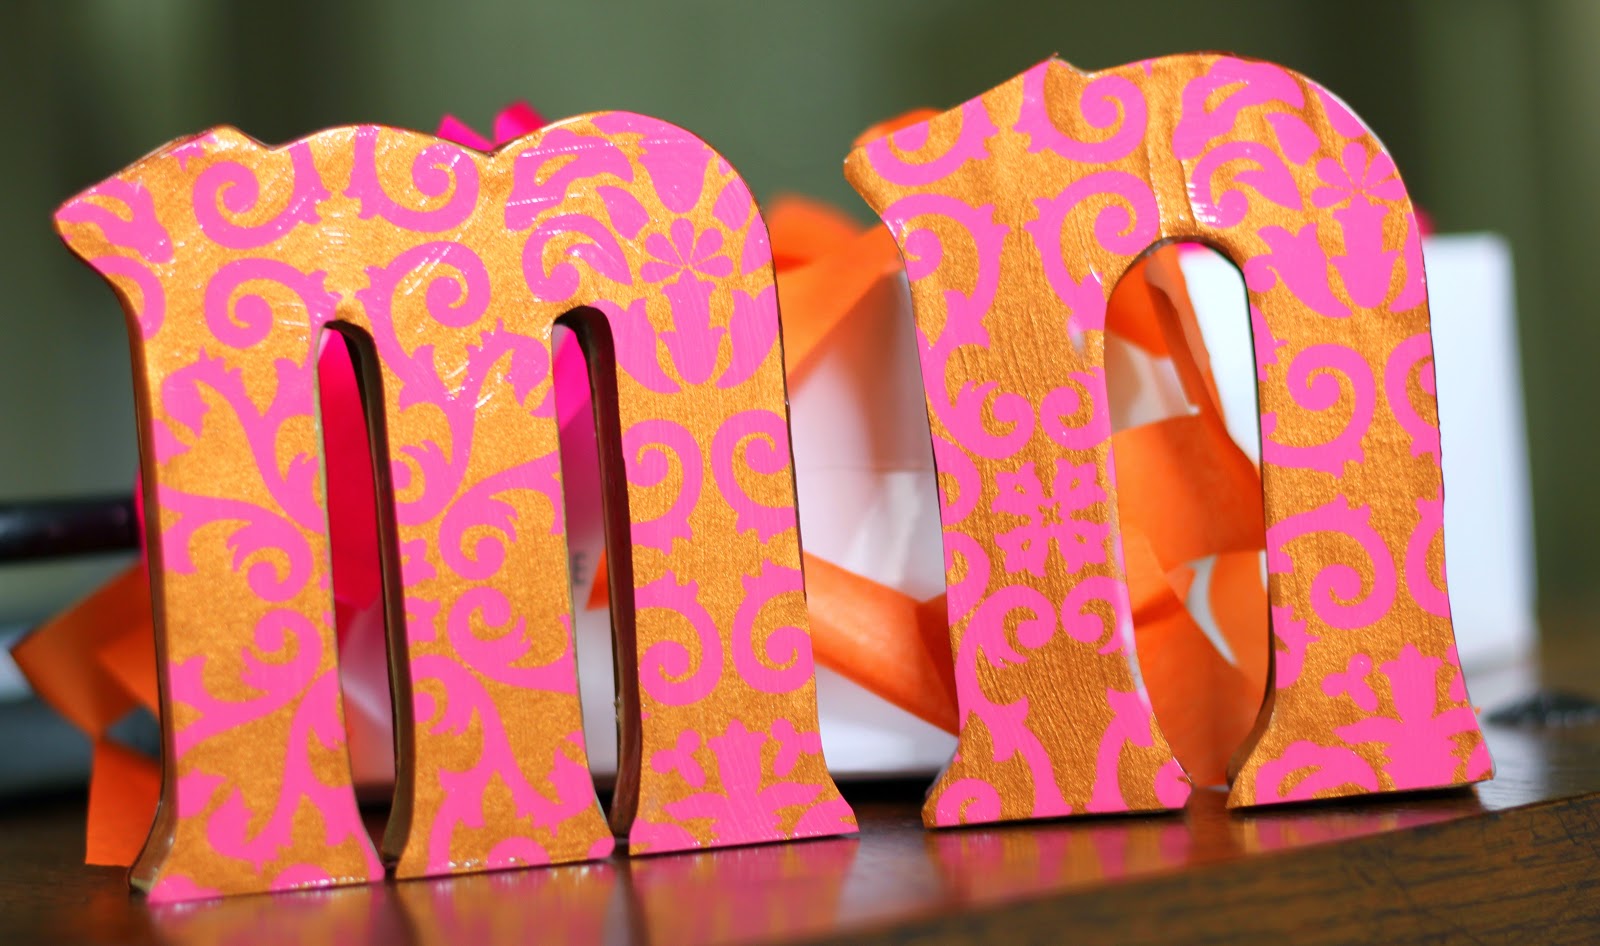

Paper Source has these cardboard letters here, Hobby Lobby has them here, Michaels apparently has them and I know I have seen cute scripted letters (which I want to find and make!)

They're all wrapped up and ready to send - I hope MN loves them!
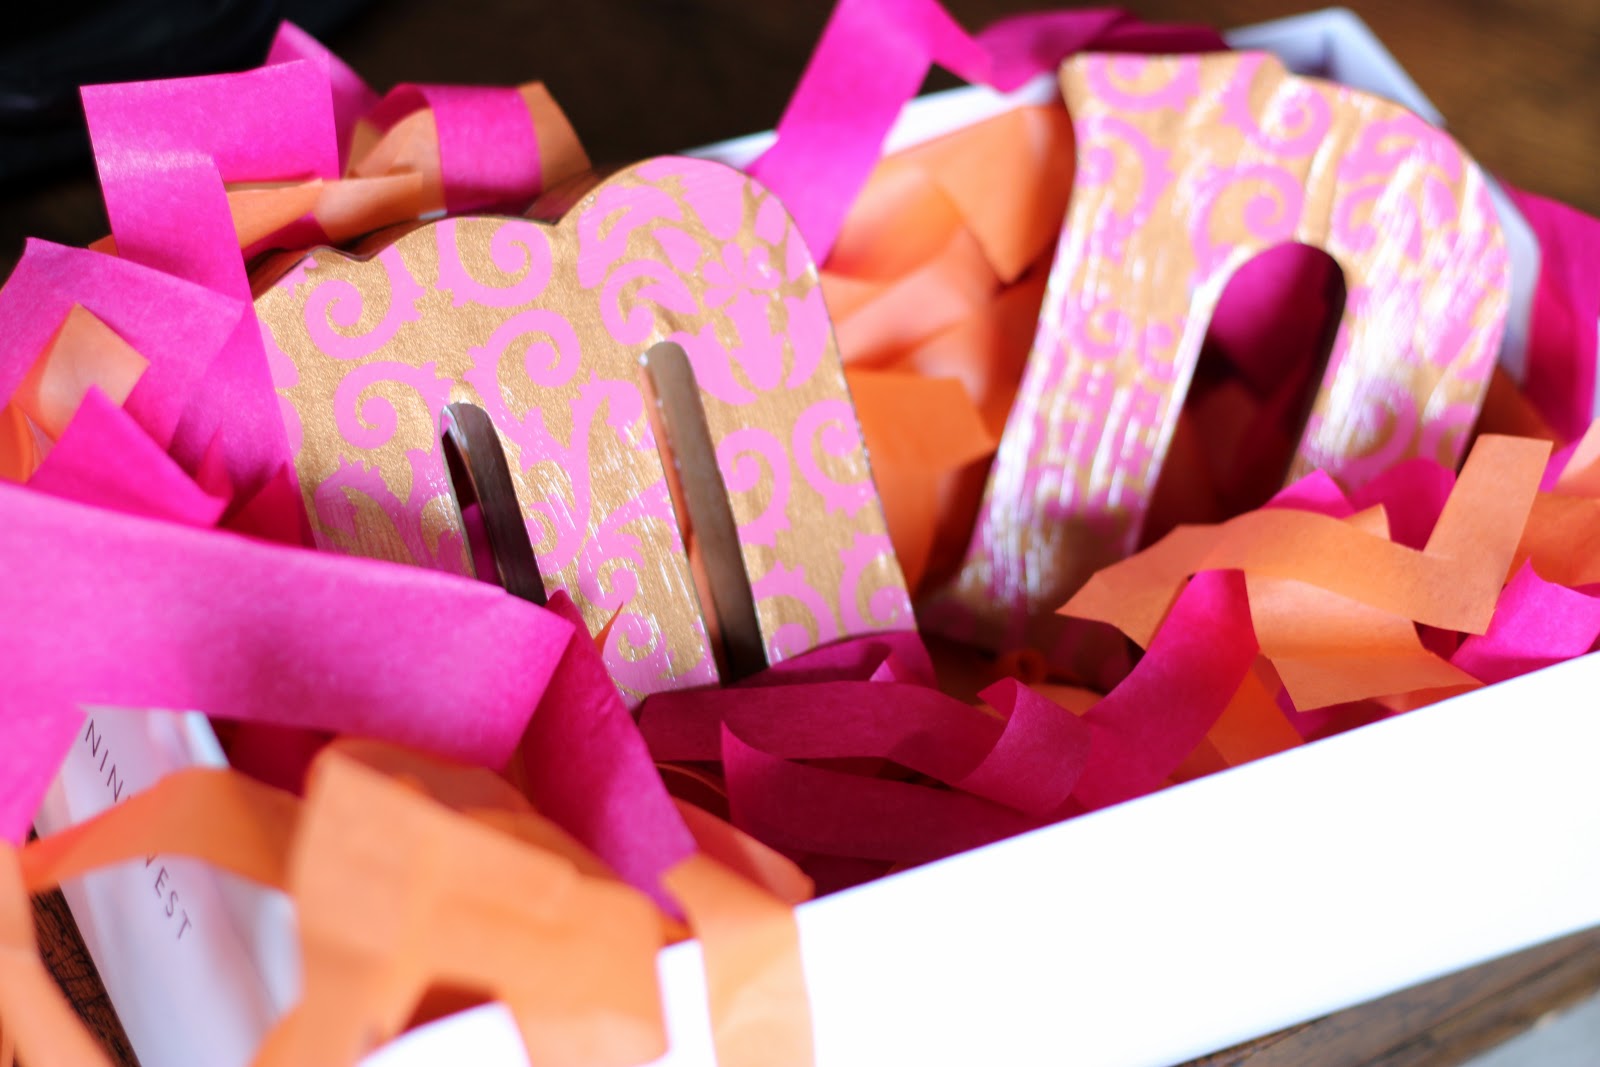


*Beautiful gift filling, huh? Hop on over to the blog post here.

Some variations:


I saw a blog today where the crafter applied glue adhesive along the rim of the letters so that the paper firmly stuck along the rims (and still used Mod Podge under the paper, inside of the glue outlines) . SMART - the edges were an issue I had! So I will try that next time. 


- You can also opt out of using Mod Podge on the outside of the letters but I wanted to give mine a shiny finish. I am going to do other letters soon for another friend - I am wanting to use a matte paper so I will leave the outside Mod Podge-free.

Monday, April 23, 2012

A giant free plug for Paper Source

Being in a new city without knowing a lot of people leaves you 1. with quite a bit of time on your hands and 2. quite bored. So I decided to take a class! I figured it would be a good way to meet others interested in what I like, to learn something new and have a fun evening that doesn't involve The Office reruns and stir fry. :)

I signed up for an Upcycling class at the local Paper Source - I love creating, crafts and cards - oh and I love the earth (reusing, reducing and recycling) so what better class that one where you use scraps and used materials to create beautiful cards to send to friends and family.

I had a blast - 3 hours of cutting and gluing and sparkling = my idea of heaven! It was also fun to use a bunch of tools that I don't have, like a boning knife, edge rounder, different stamps, etc. Here are some of the cards I made during the class as well as some that I made at home this weekend! Enjoy - and remember, sending a homemade card means so much to people. :)

Sending to a dear friend who is headed off to Italy this summer - so excited for her!

Sticky foam squares do wonders - on this card, I raised two of the bird cases and made them sparkly - just fun!

A Mother's Day card for my boyfriend's mom - I also learned how to make envelope liners which add an extra POP to personalizing cards! :)

Mother's Day card for my momma and envelope liner.

Not sure if you can see the sparkle, but I love this card.. Also, I used the same pictures of the red bicycle from a calendar that hard a large picture and a small picture. Creative, reusing, perfect.

Love Vespas! Also, the same concept as above, I used the outside of a calendar to make an envelope and the inside I used on the card!

Also raised the Vespa up using foam squres!

Up close picture of the 3D bird using foam squares.

Up close of the bird cages using foam squares.

I needed to send some Thank You's this week and decided to try my hand at making my own. Love how these turned out - all you need are flat cards, a bike stamp and a "thank you" stamp. Super simple!


All supplies can be found at Paper Source, or anywhere that cards, envelopes, glue, tape and foam squares are sold. I am addicted and can't wait to send folks these personalized, hand made cards. :) I hope you are getting inspired to create and send a little note of love to someone who could use it, or maybe take a class and get excited about something. :) Cheers!

Tuesday, February 7, 2012

Ode to the heart: DIY Valentine's Day Cards

I have been wondering if I should unleash my "show your love, people" rant since Valentine's Day is coming up.. and I have decided that I will - in moderation.

Listen people, we, as a society, don't show enough love. It seems like hand-written notes are a thing of the past, gifts are only for Christmas (or Hanukkah, heeeey Jewish friends) and we only know it's someone's birthday because facebook tells us so. Don't get me started on rude people and folks who don't smile back when you both make eye contact and you smile! Even just a turn of the sides of the mouth is appreciated.

I don't know a lot about our purpose on earth, but I know one thing to be true - one of our jobs is to show love, to give love, to make others feel beautiful and special, and then, in turn, to receive love. I am a HUGE fan of sending greeting cards (who does not love getting a personalized piece of mail? See below), finding the perfect gift for someone (that fits the receiver's personality, not the giver!), and letting special people know you love them - just because! 


So this brings me to my adoration of Valentine's Day. Not necessarily the history of Valentine's Day (interesting article found here: http://www.history.com/topics/valentines-day) because it's quite gruesome and depressing, but the modern interpretation of Valentine's Day is to SHOW LOVE. How could this be bad? If you peel away the "I hate the commercialization, you-have-to-have-a-boyfriend, remind-me-I'm-single-why-don't-you"ness, the true meaning of Valentine's Day is for us to stop and take a moment to really think about those that we love. So whether this means sending an email to a faraway friend, or calling your mom, or making or buying a card for someone - it is important to stop and think of those we love.

Myth: "You have to have a significant other." 
My verdict: FALSE. Some of my favorite (and let's be clear, most of my) Valentine's Days have been spent with girlfriends - having a potluck dinner, watching horribly wonderful chick flicks, or having a "pamper ourselves" night. Those nights were lovely, and ones that I remember forever.

Myth: Valentine's Day is just a Hallmark holiday. 
My verdict: TRUE/FALSE - Yes, Hallmark makes a ton off of Valentine's Day, but you don't have to buy into that! I started making holiday cards during my first stint with unemployment (oh boy, this makes me look good). I didn't have a lot of money but I did have a lot of time. I used fabric from my favorite shirt (that had just ripped due to shotty craftsmanship) and spent hours making hand-made Christmas cards. That was two years ago and I have been making my holiday cards ever since.

Since I happen to have a lot of time on my hands this year (wow, surprised!) - I have made Valentine's Day cards for about 15 loved ones, that I will be sending with some other goodies that I am going to make this week (blog posts to follow, youbetcha!)


Here's what I did for my cards, but really, as long as you have some crafty paper and a pen, you can do anything you like! Even finger paint hearts is fun and easy. See below for links to other great Do It Yourself Valentine's Day Cards.

I found at Papersource:

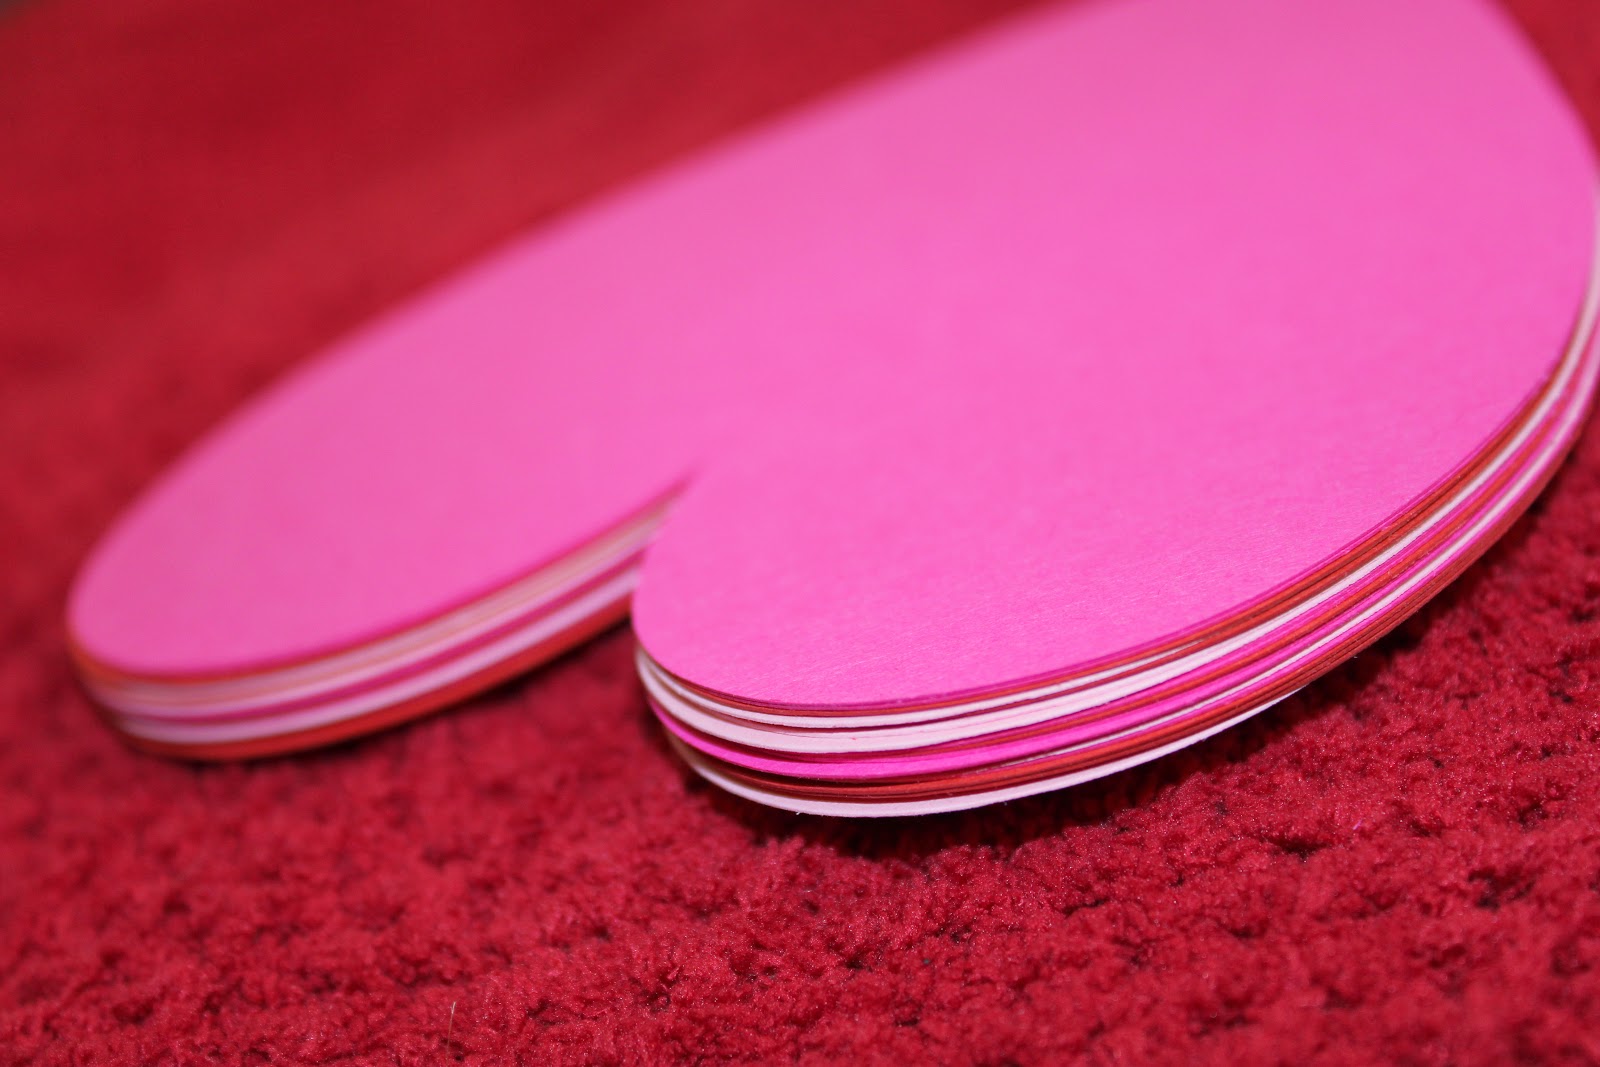
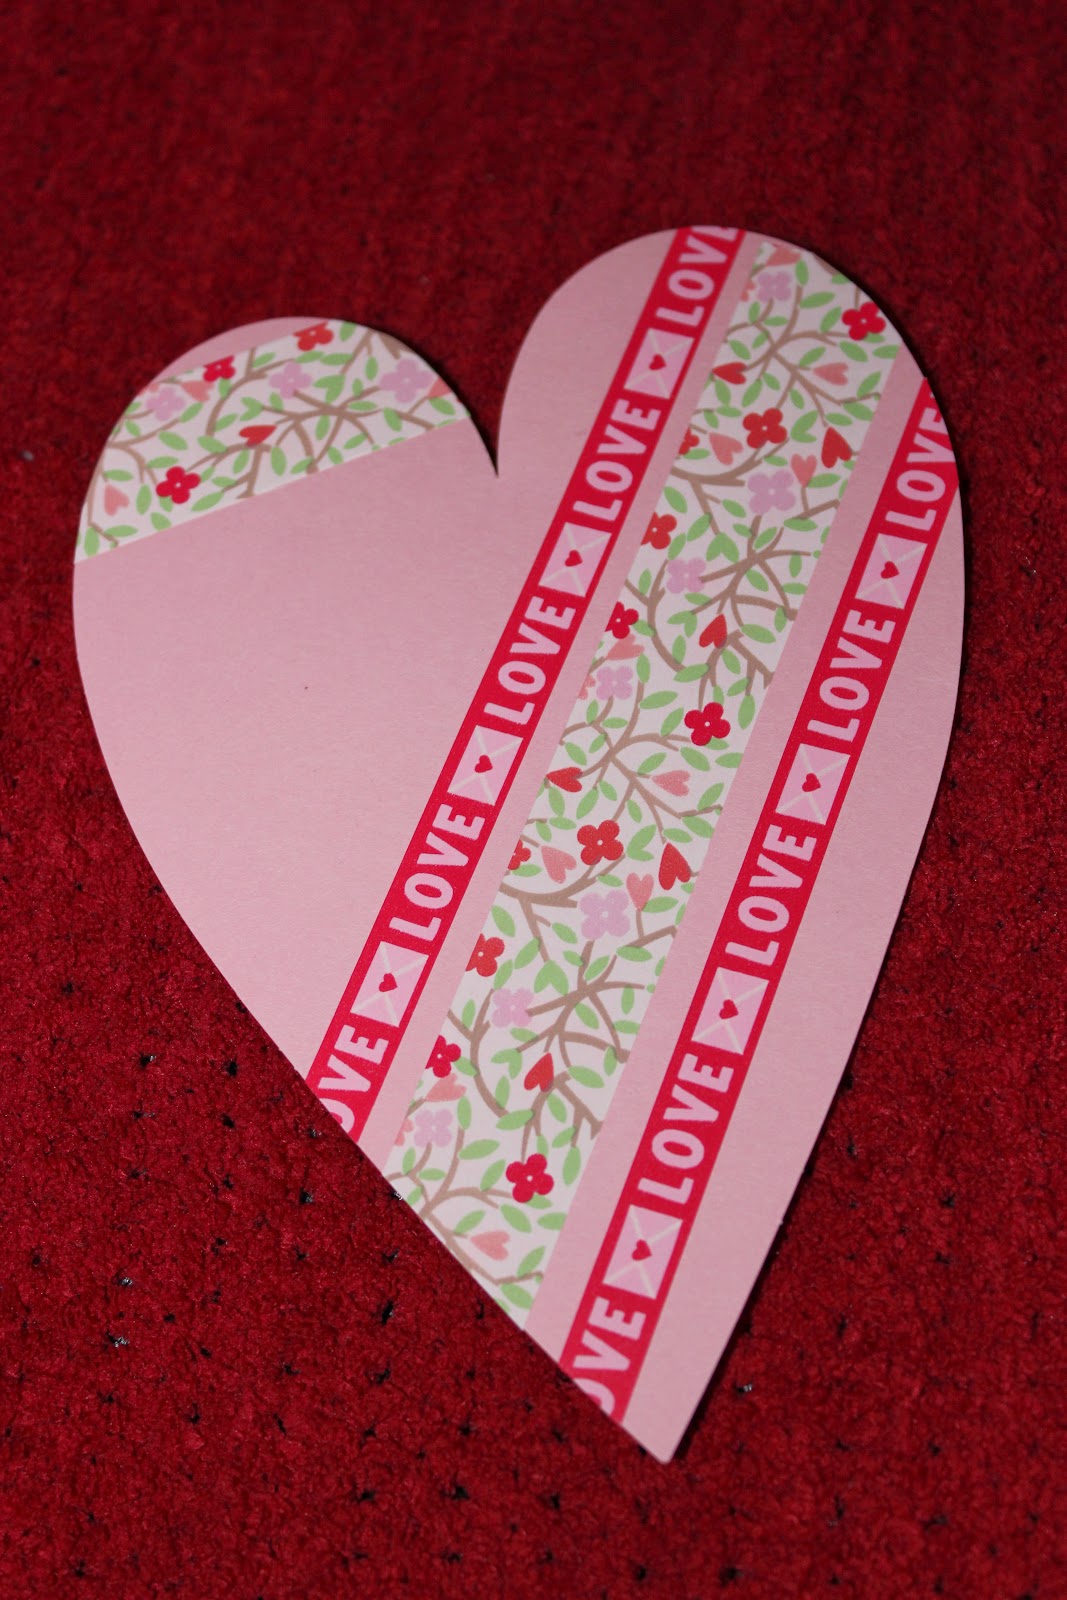
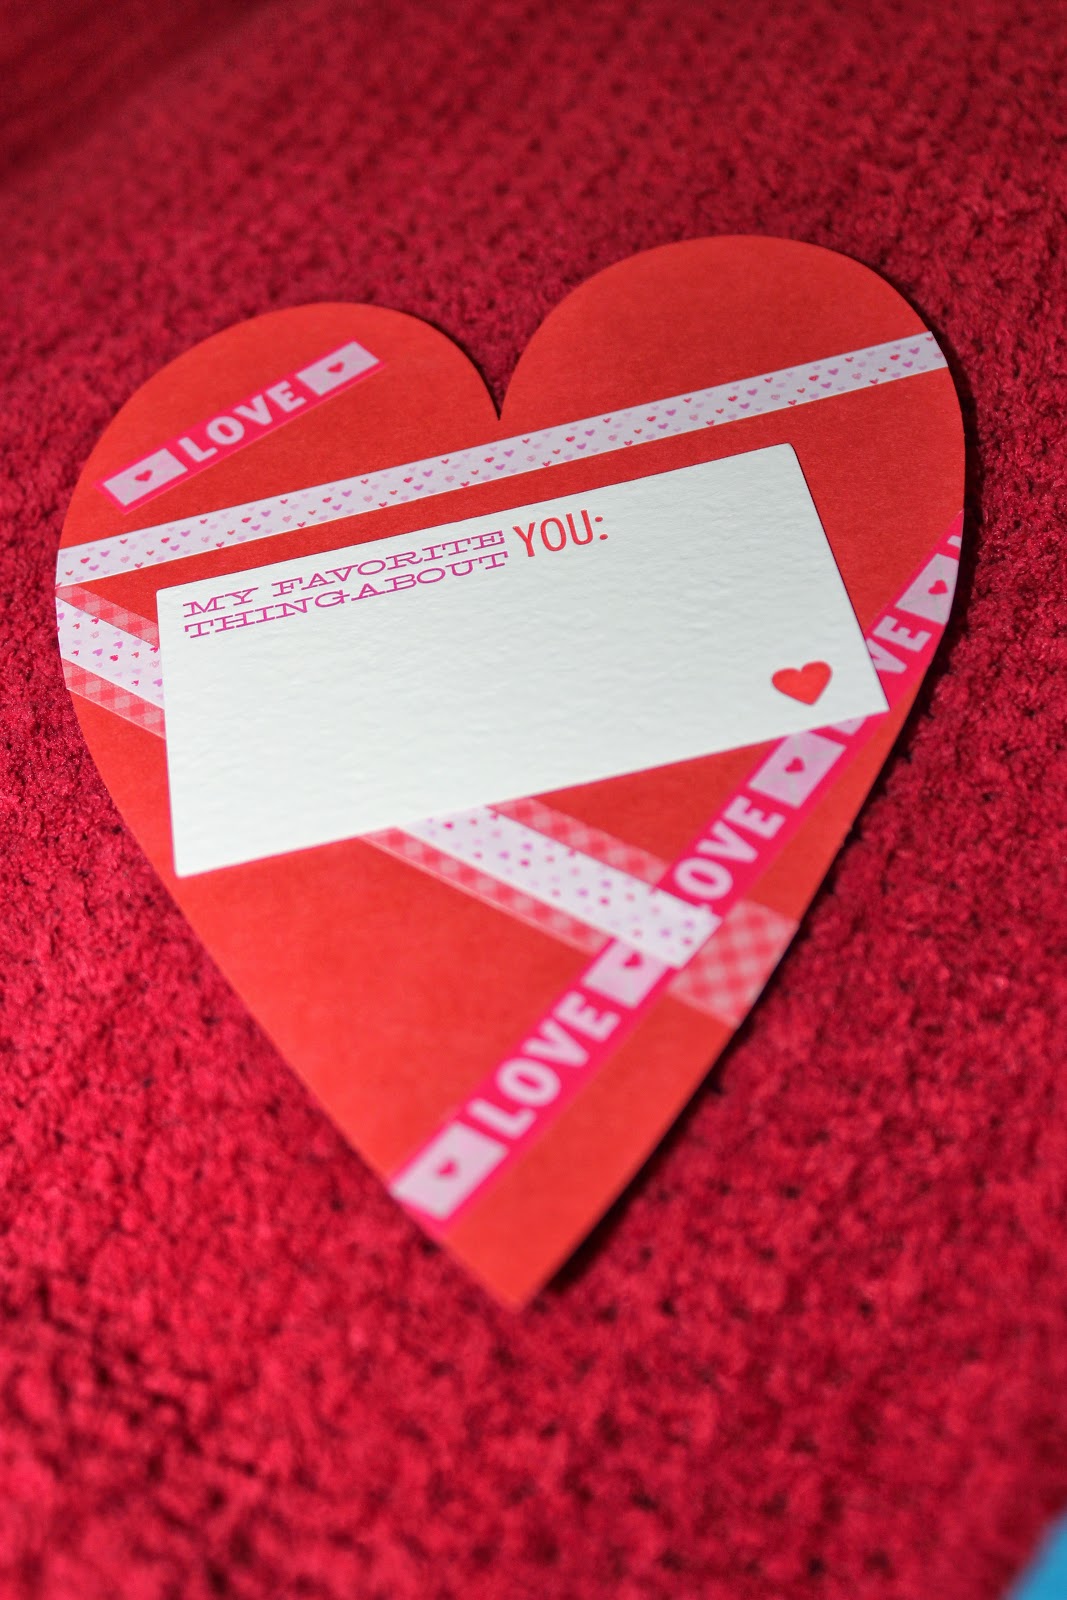
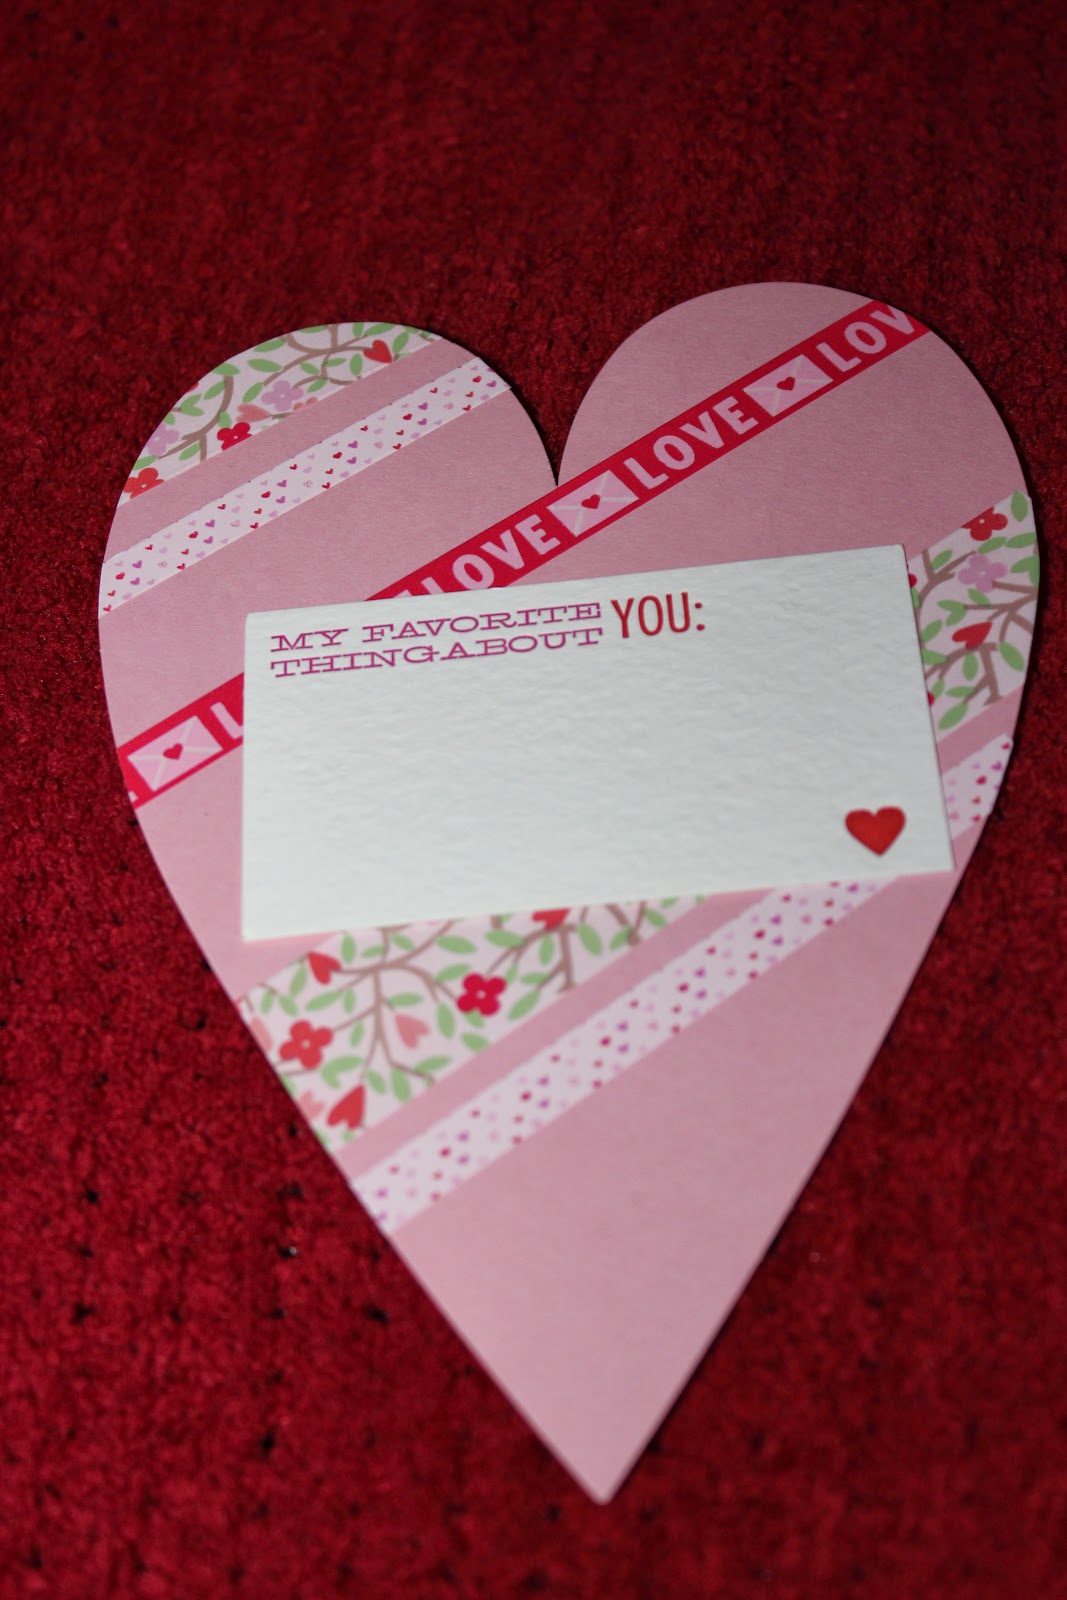
20 paper hearts (already pre-cut but super easy to do yourself)


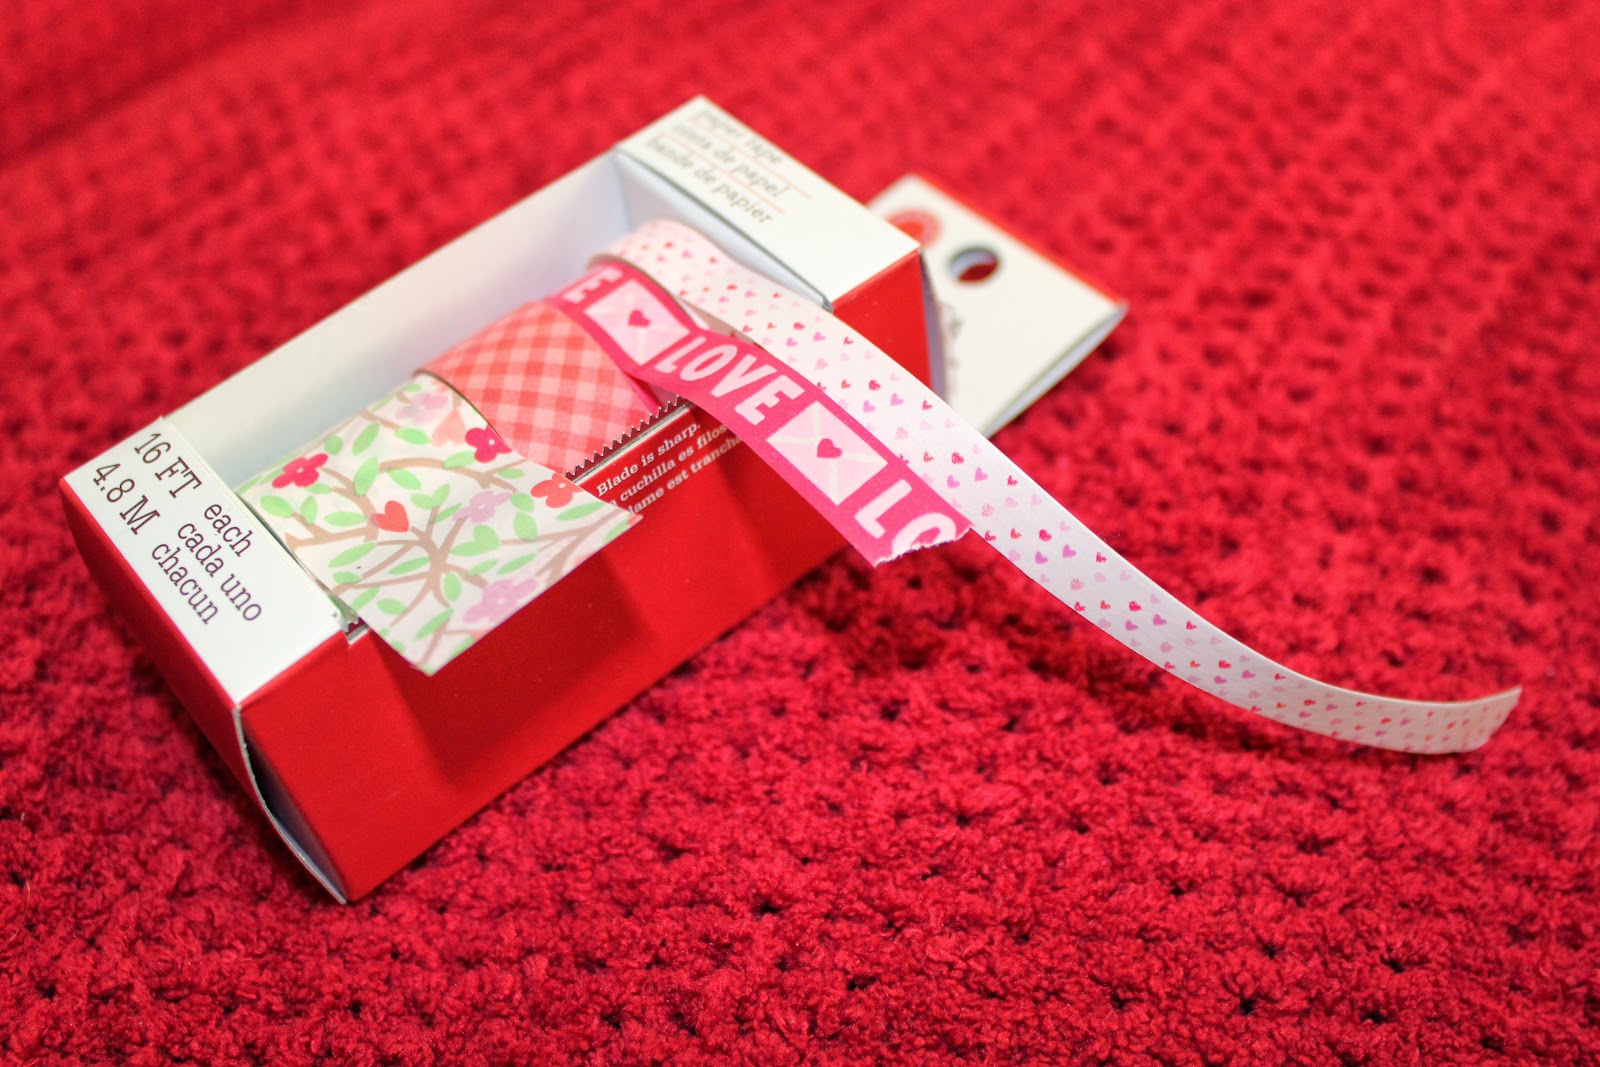
Ribbon tape (great alternative to ribbon since you don't have to mess with glue)


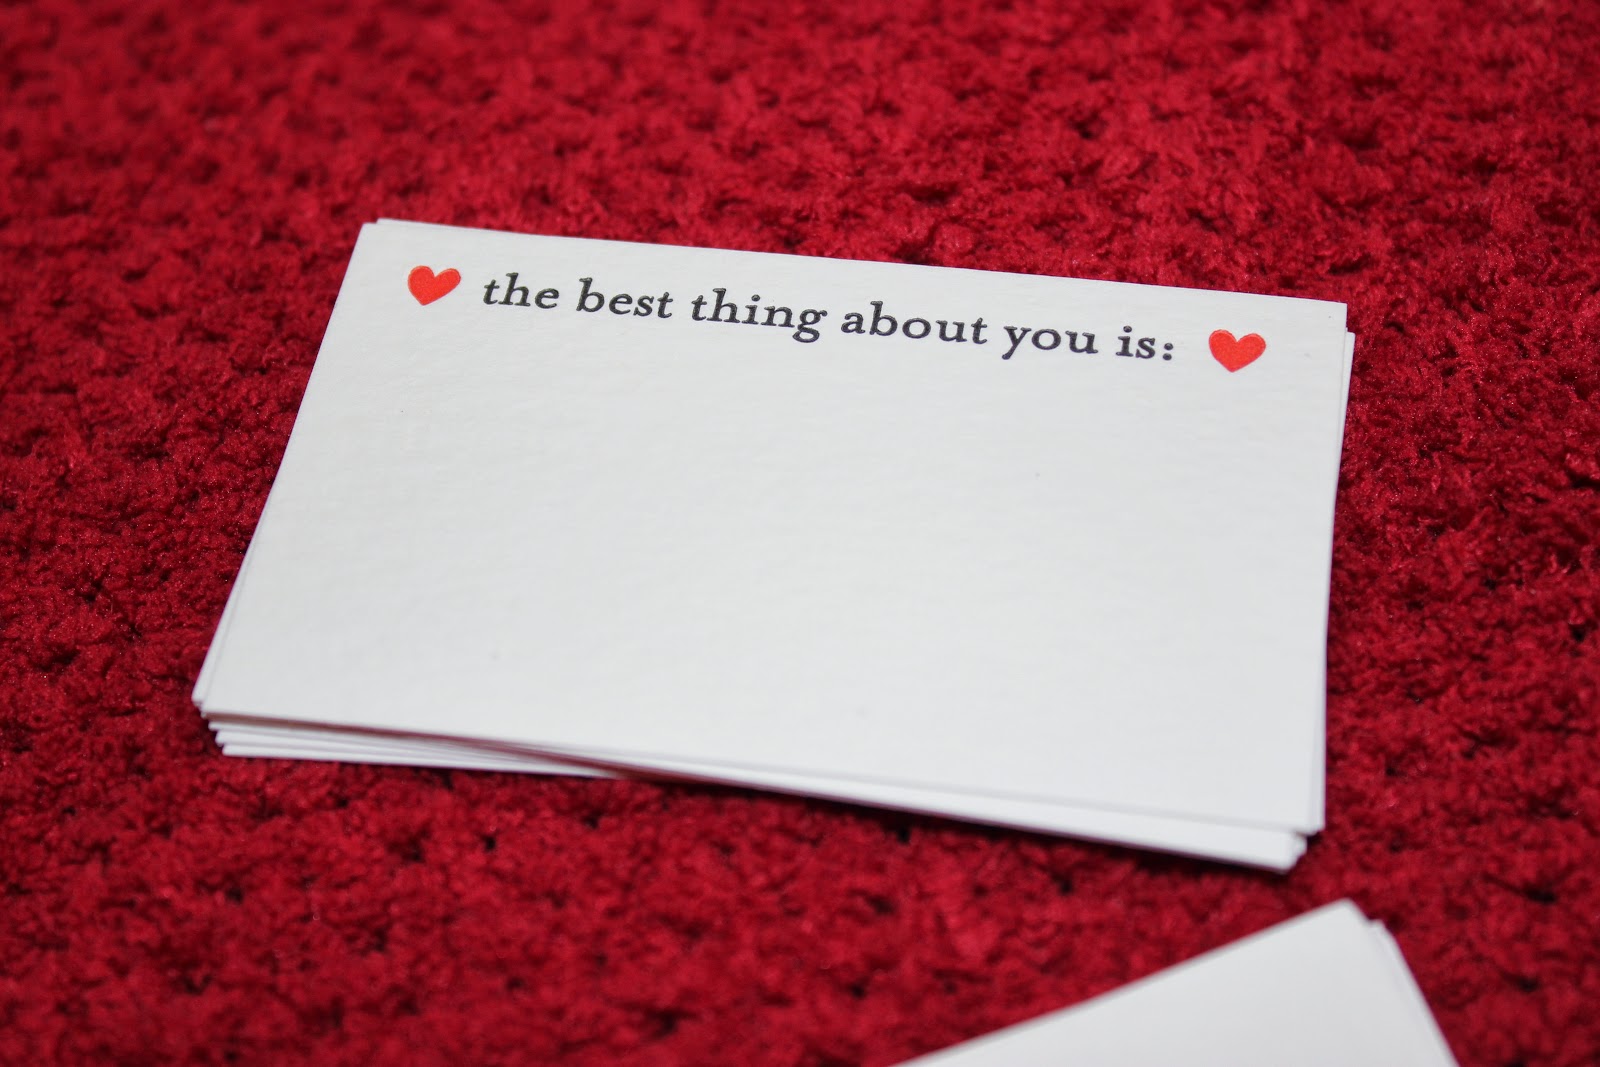
And I went to town! Decorating each heart with ribbon to reflect the person that I was sending it to (remember - designing the gift for the receiver).. I then attached my card and wrote one to two favorite things about the person I am sending it to.


Not only was this a fun craft project, but I am hoping that these cards will bring a moment of happiness to my mom and girlfriends (and even some guy friends), they'll also appreciate the effort as well as the love. :)