We are, as human beings, incredibly narcissistic. We love most everything to do with ourselves. Including our names, our initials, monogrammed bags, jewelry, mugs, you name it (ba dum cha!!).
As English speakers, we're very lucky that there are only 26 letters in the alphabet - it makes personalized stationary, anything with initials (oh, I'm wearing an "L" necklace right now), and gift giving a lot easier.
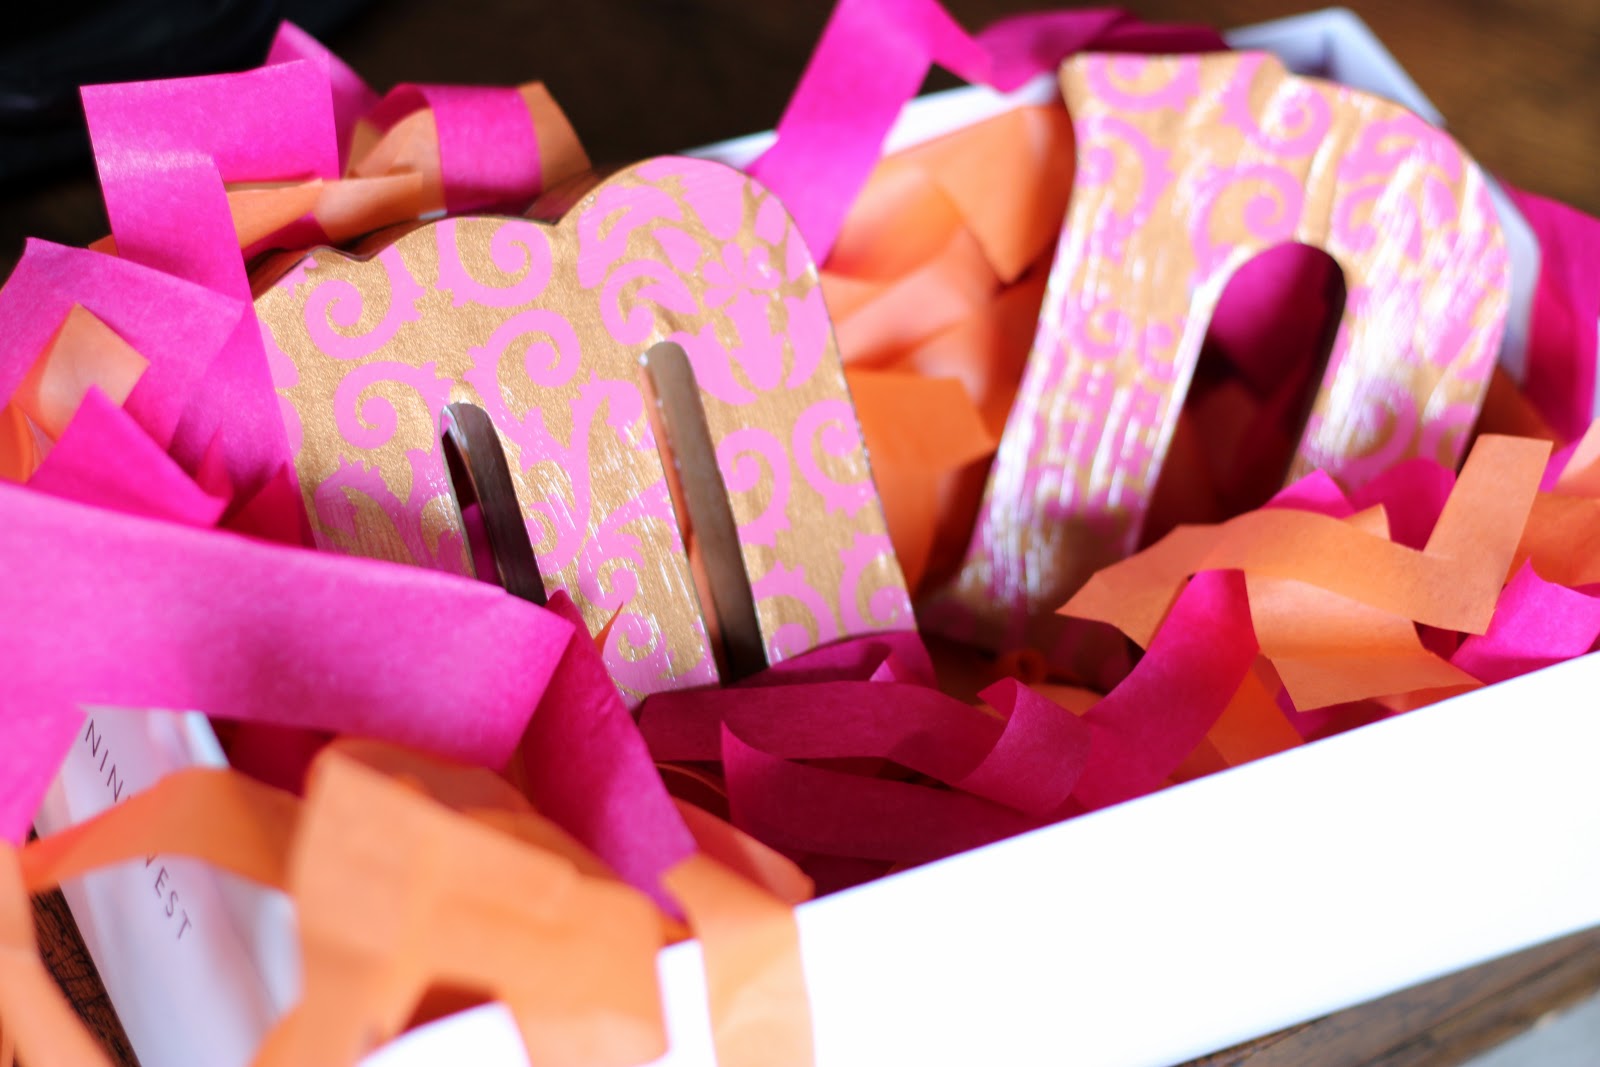
While trying to find a (fun, young and thoughtful) gift to send a friend, I ran across these cardboard letters! Now, tell me, who doesn't love their initials?!
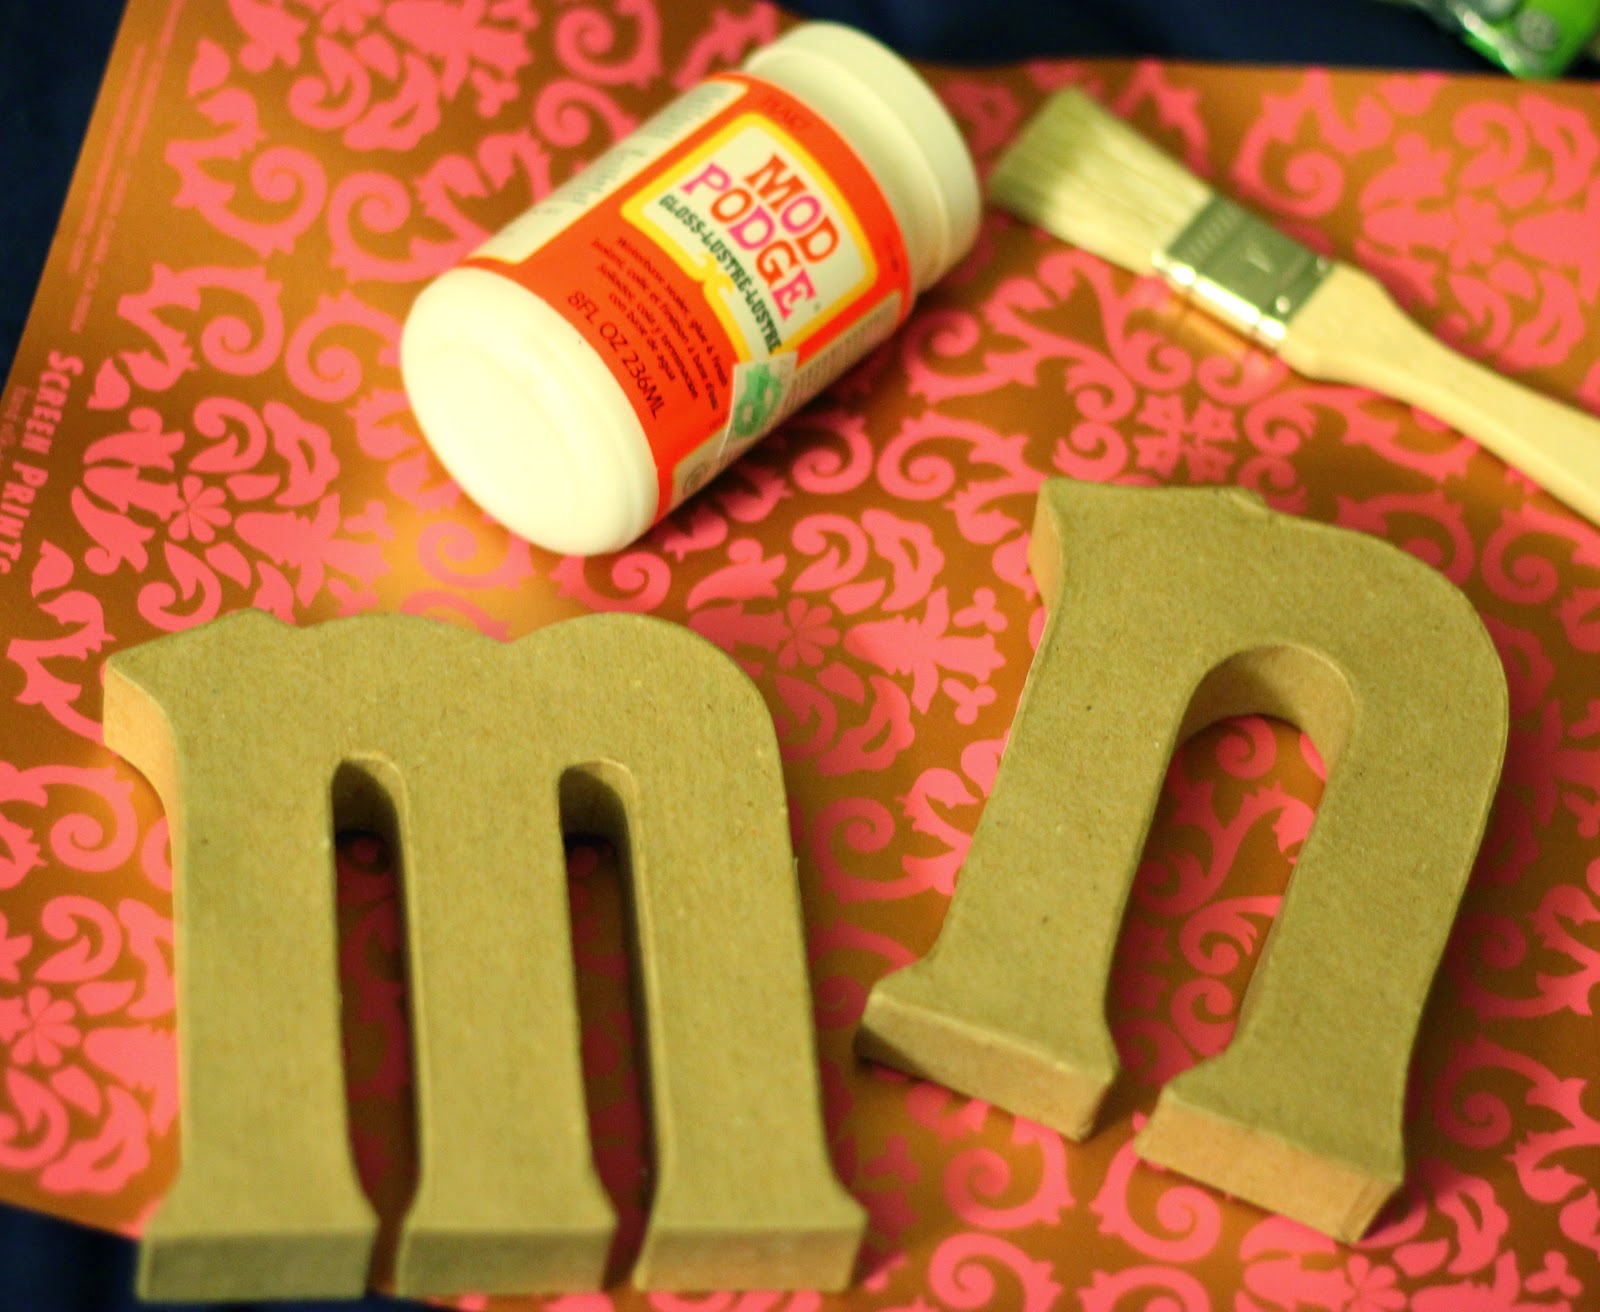
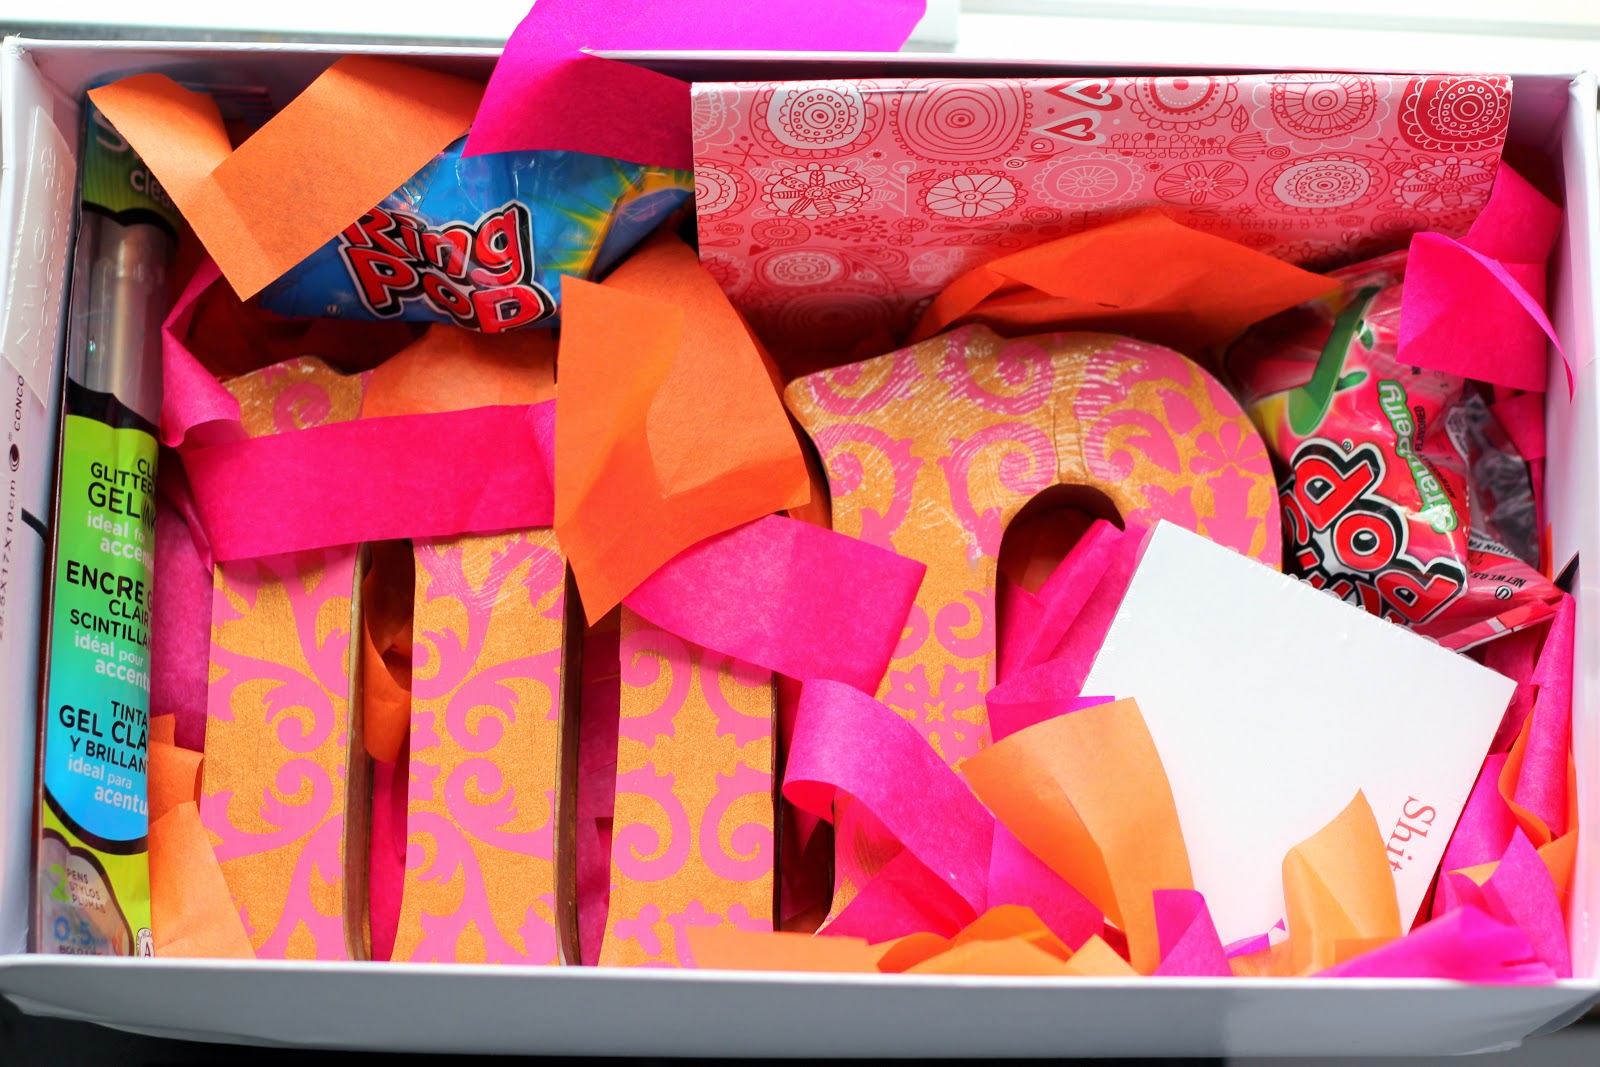
At less than $4 each, I grabbed one for my friend's first initial and one for her last initial and one sheet of pretty craft paper.. I already had Mod Podge and a brush.
Total cost coming in under $10.
Easy + inexpensive + thoughtful + I get to play with glue* = perfect present!
*I started the first part of this project in bed, while my boyfriend worked. He gave me a look which said "don't get glue on the bedspread" and I responded with a look that said "Gawd, so insulting! I can't believe you don't trust my crafting skillz!" Sure enough - I spilled mod podge on his bedspread. I don't think I'm allowed to craft in bed anymore. :-/
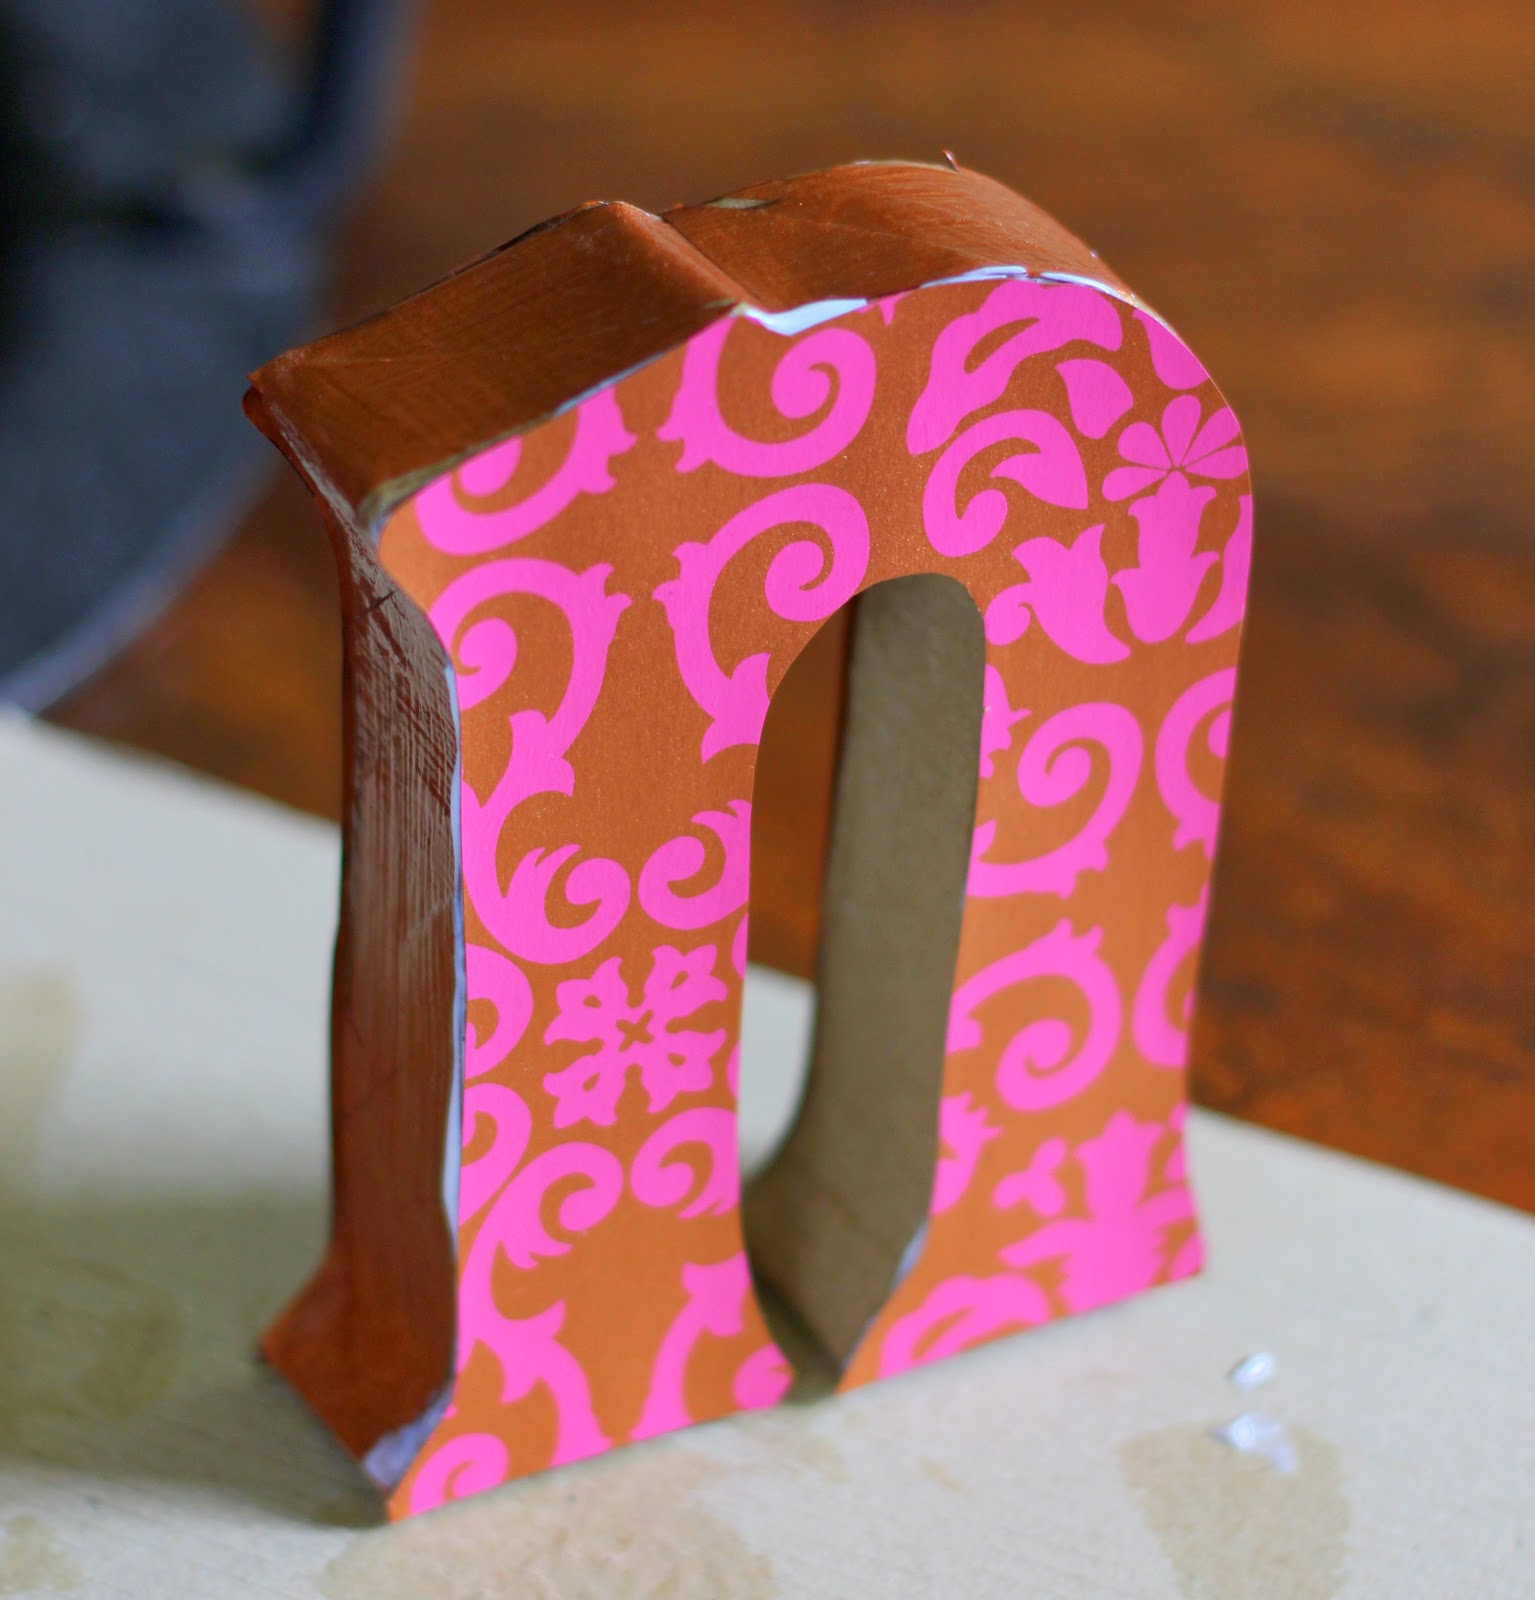
To start, I traced my letters on the back of the pretty craft paper (making sure to trace one for the front of the letter and one for the back of the letter).
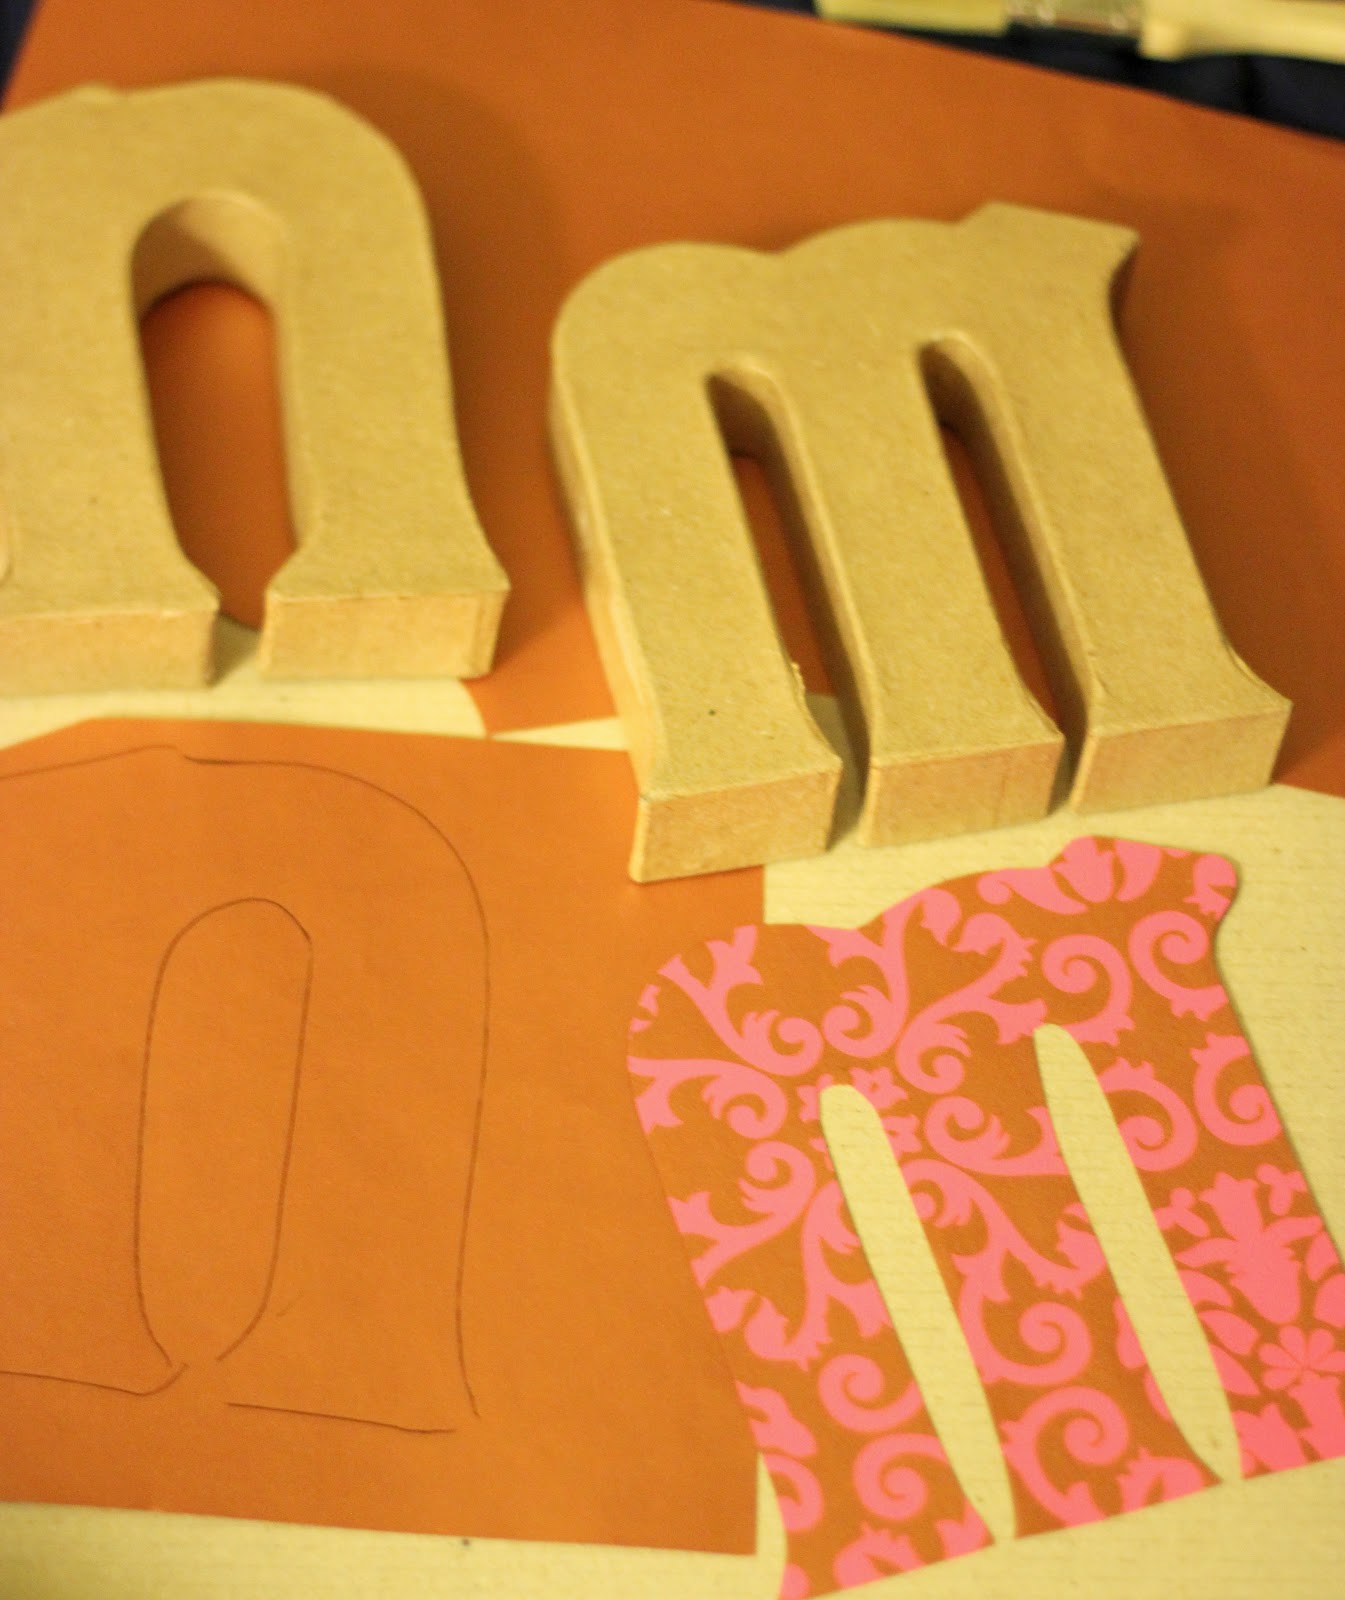
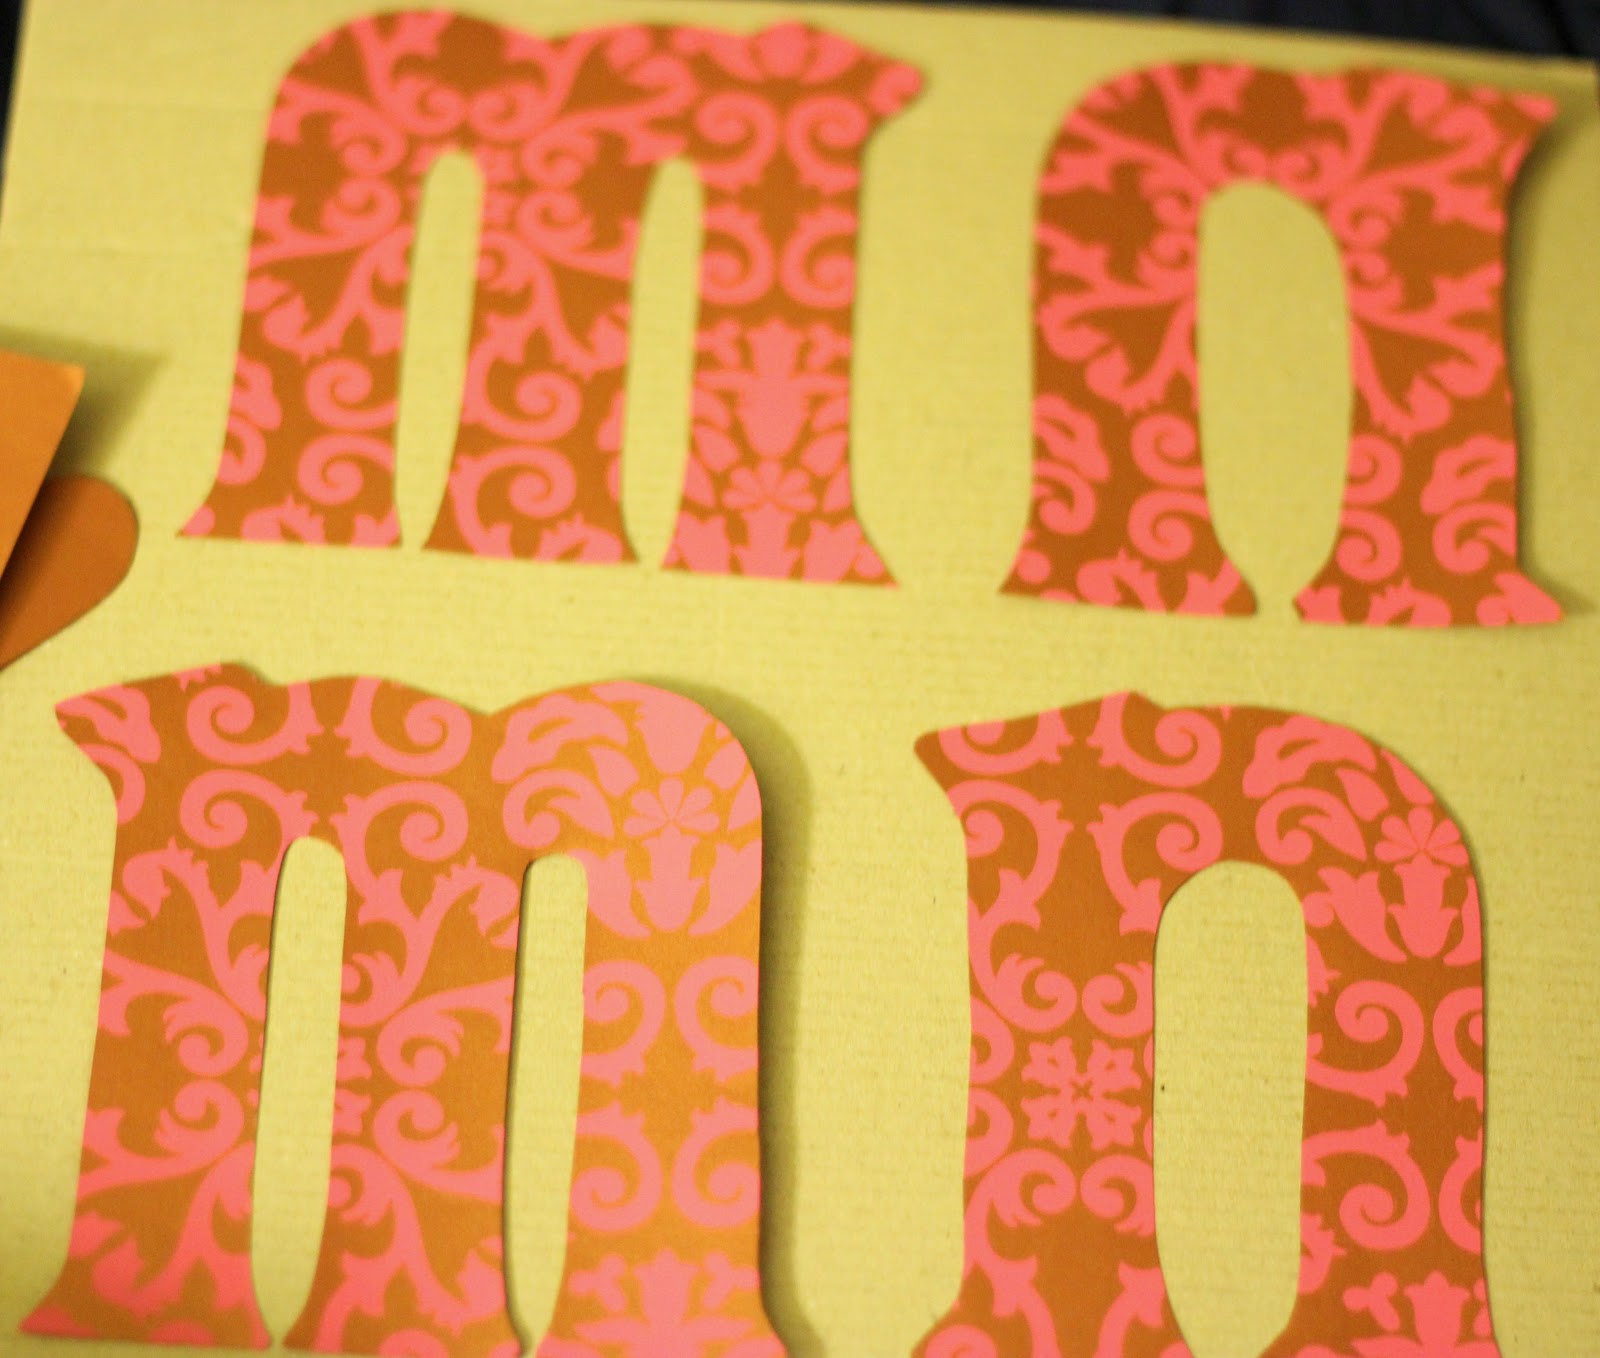
After cutting out my letters, I used the other side of my craft paper (which is usually a complementary color, mine was shiny gold) to decorate the sides of the letters (you can use the front pattern or no pattern or a totally different pattern - it's your thing, you do what you like!). I Mod Podged the sides first, then the back (as a tester in case anything went wrong) - after the sides and back dried, I did the front.
The whole process is incredibly simple:
1. Apply a layer of Mod Podge
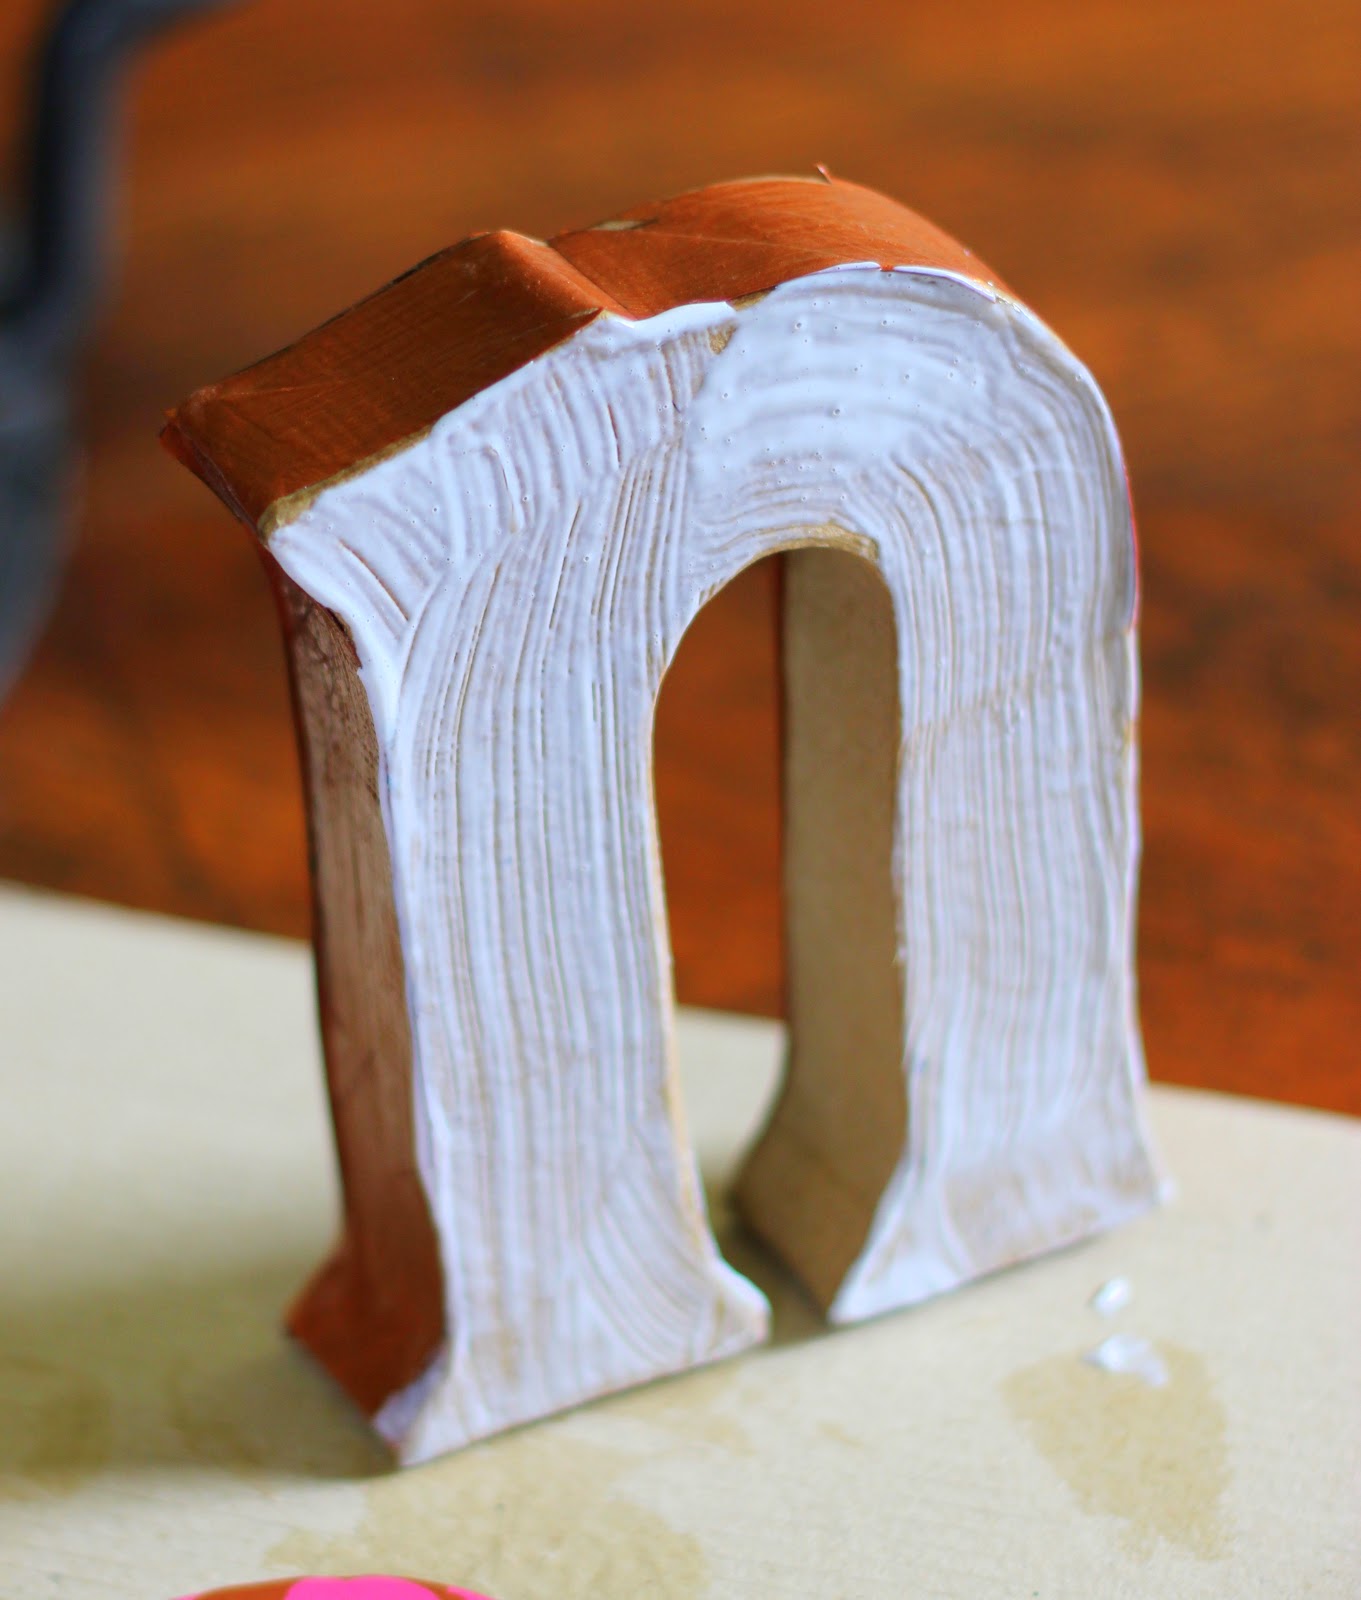
2. Apply the paper cut out, pressing it firmly and securely
3. Apply another layer of Mod Podge
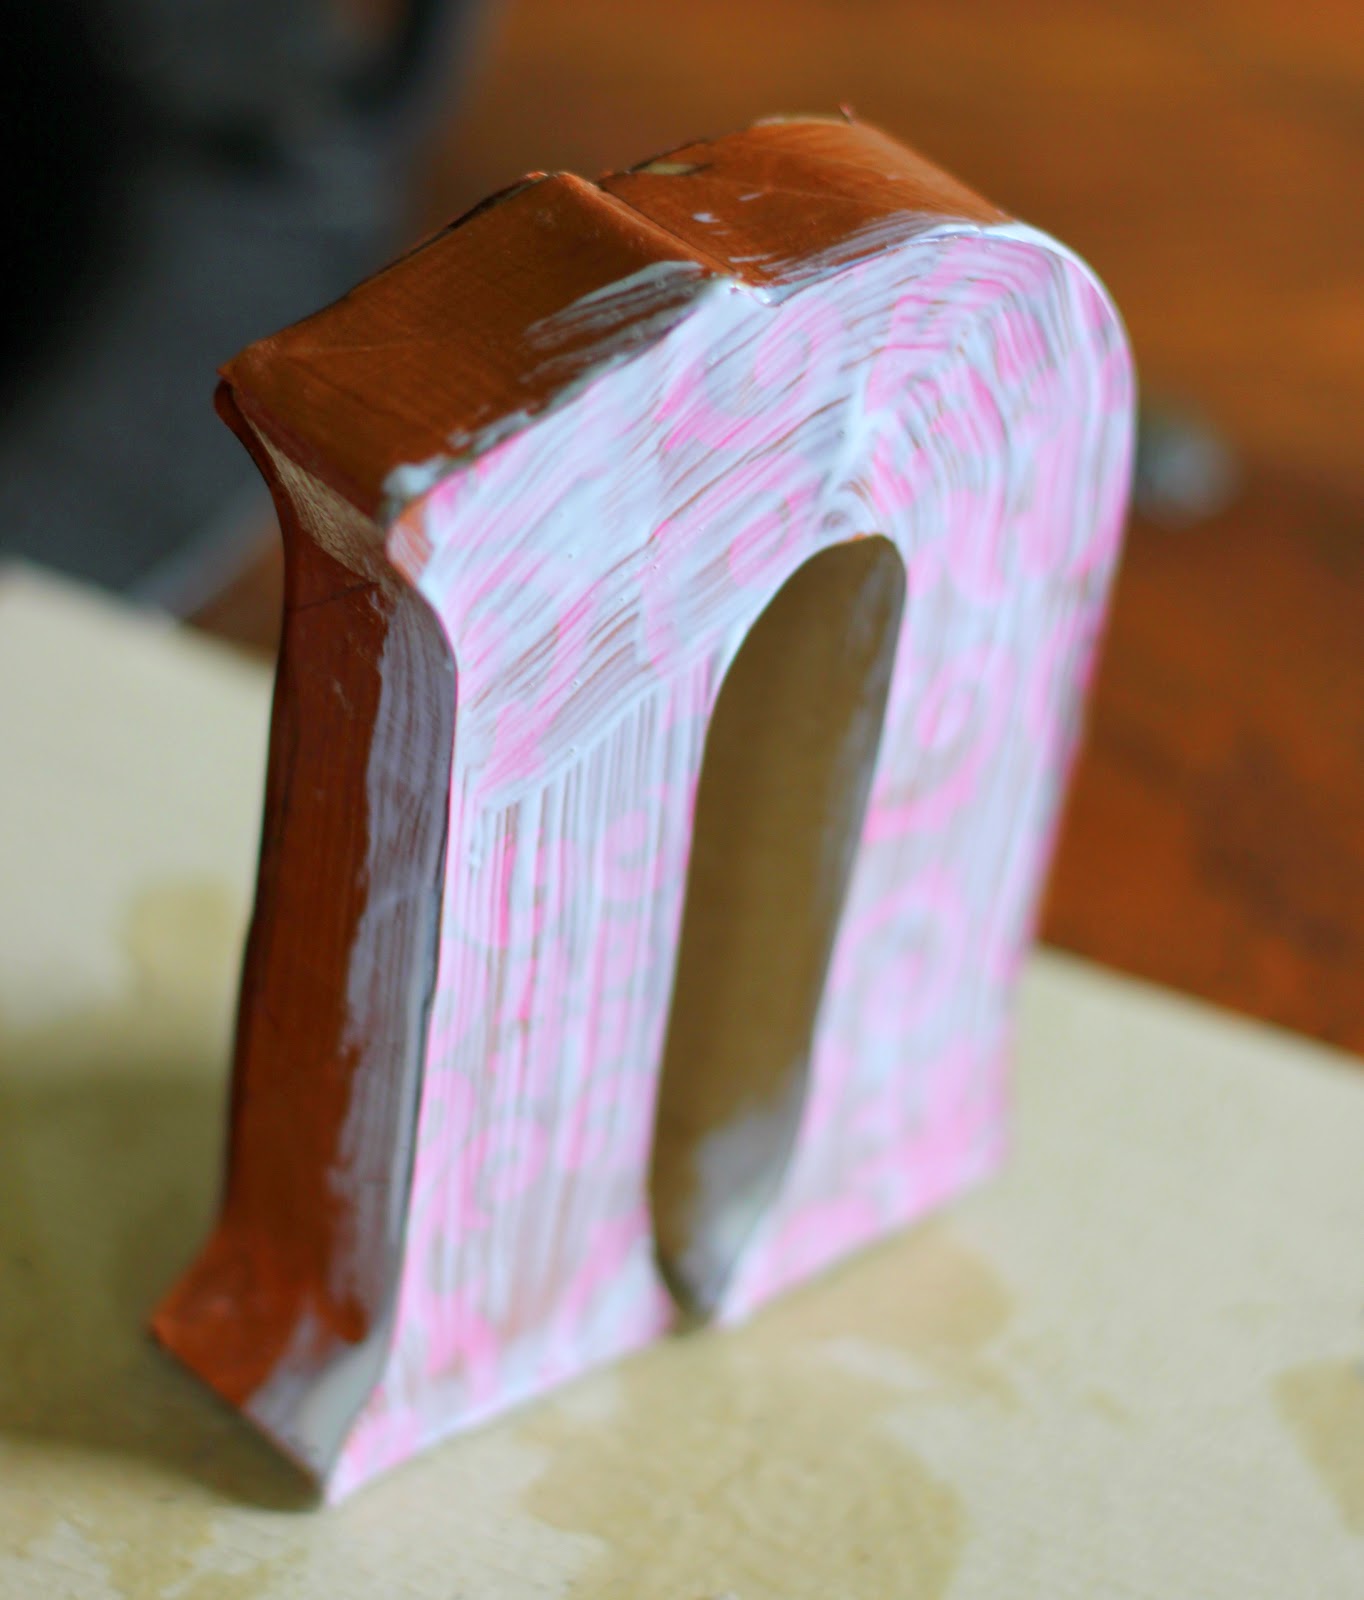
4. Sit back and watch two episodes of The Office as your letters dry
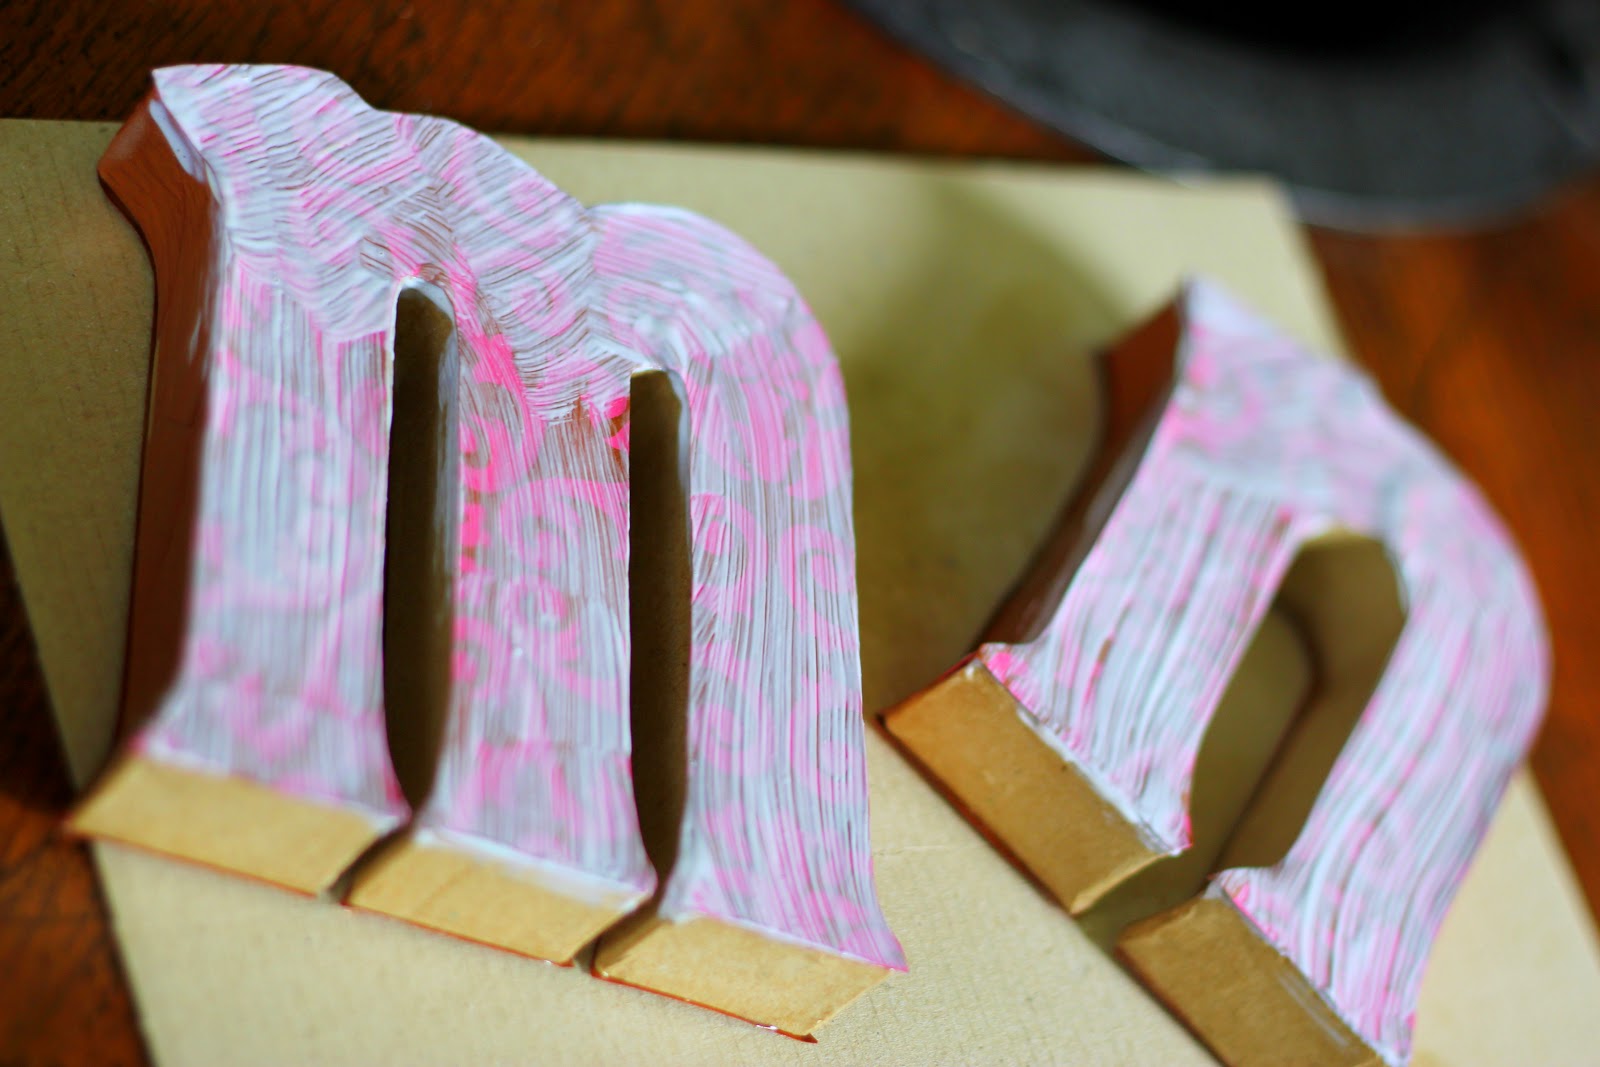
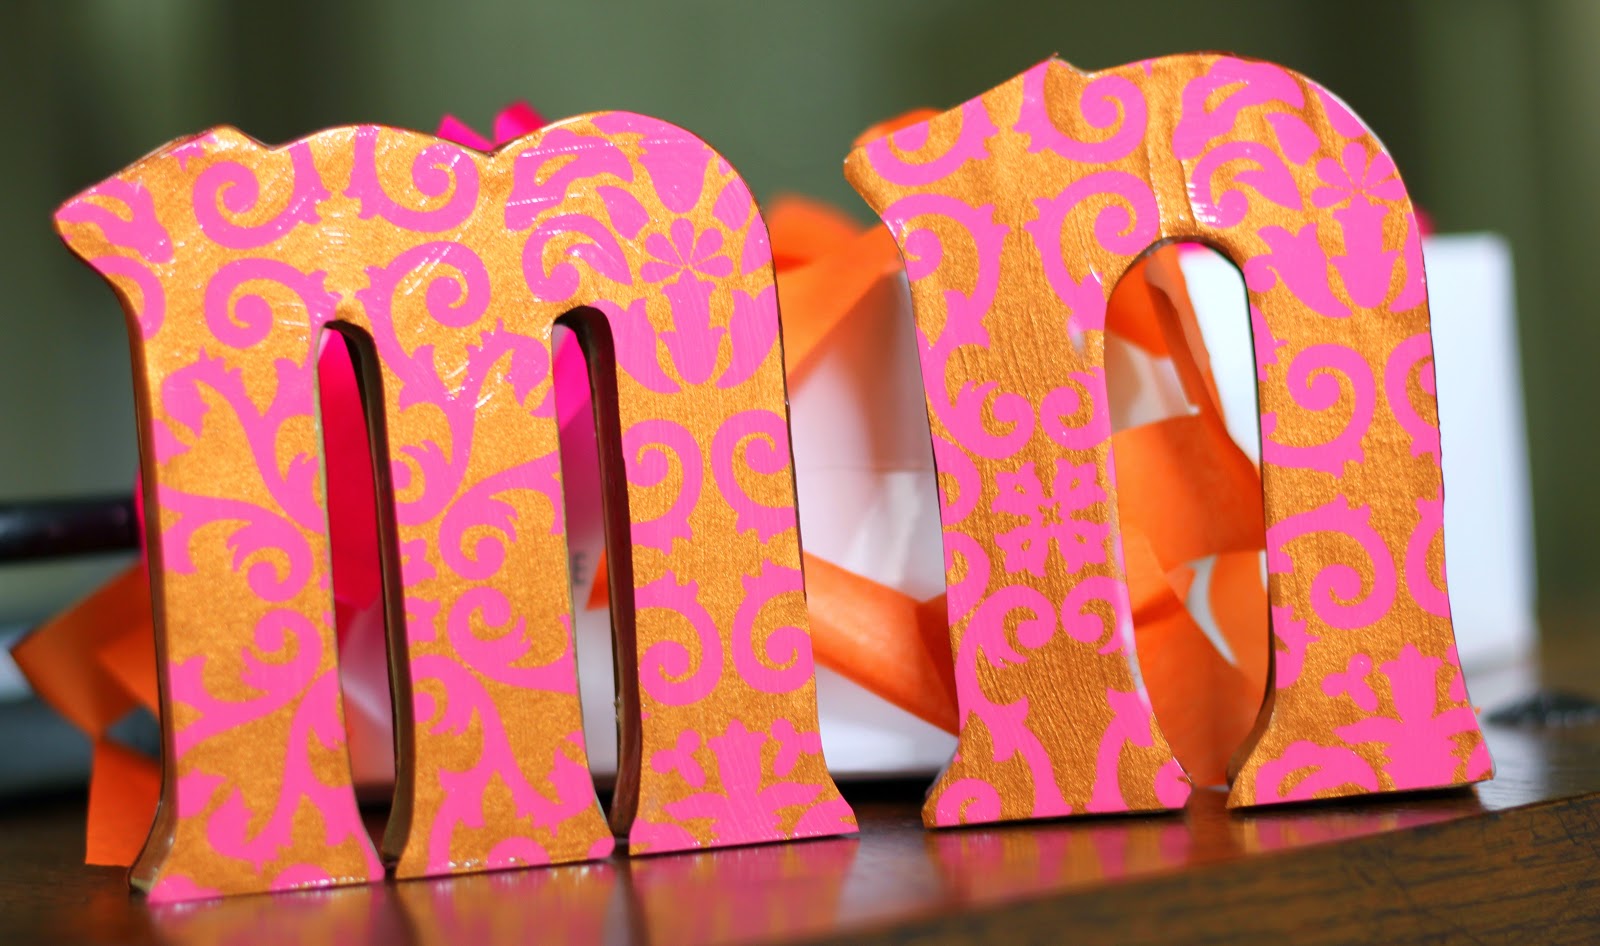
TADA! BEAUTIFUL!
Haha, from the pictures, you didn't think they'd turn out this great, did you? :)

Paper Source has these cardboard letters here, Hobby Lobby has them here, Michaels apparently has them and I know I have seen cute scripted letters (which I want to find and make!)
They're all wrapped up and ready to send - I hope MN loves them!
- I saw a blog today where the crafter applied glue adhesive along the rim of the letters so that the paper firmly stuck along the rims (and still used Mod Podge under the paper, inside of the glue outlines) . SMART - the edges were an issue I had! So I will try that next time.
- You can also opt out of using Mod Podge on the outside of the letters but I wanted to give mine a shiny finish. I am going to do other letters soon for another friend - I am wanting to use a matte paper so I will leave the outside Mod Podge-free.
No comments:
Post a Comment